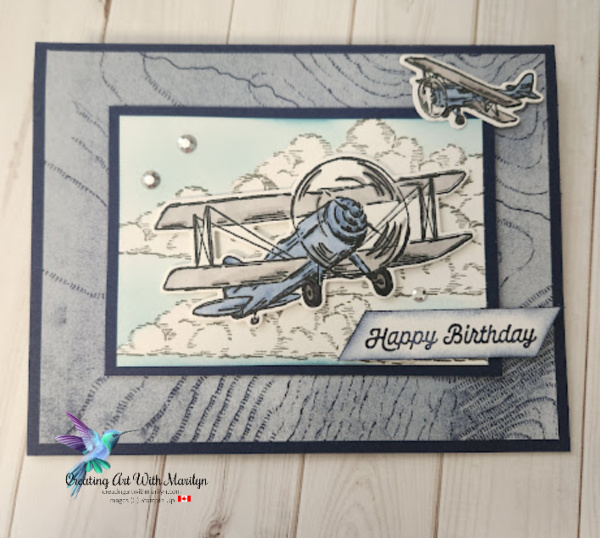
- Stamp Set – Adventurous Sky
- Dies – Adventurous Sky
- Designer Series Paper – Take To The Sky
- Card Stock – Night Of Navy
- Embellishments – Adhesive Backed Metallic Gems
Cutting and Instructions to create is card:
- Card base is Night of Navy card stock, cut at 8 1/2″ x 5 1/2″, scored and folded at 4 1/4″
- Designer Series Paper is Take To The Sky, cut 4″ x 5 1/4″, adhered directly to card base with liquid glue
- Card stock mat is Night of Navy, cut 4″ x 2 3/4″
- Basic White card stock, cut 3 3/4″ x 2 1/2″
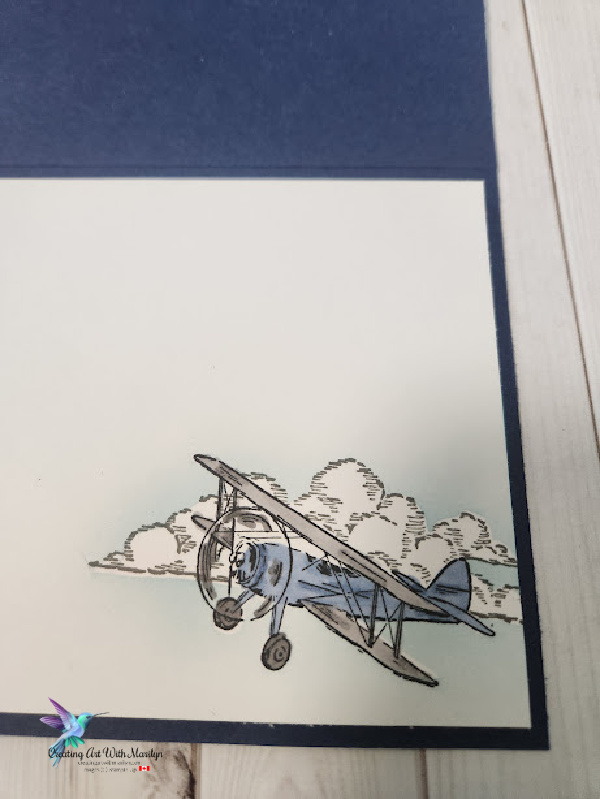
- Stamp some large clouds on Masking Paper and cut them out with Paper Snips, creating masks
- Stamp some clouds in Smoky Slate, on the Basic White card stock, covering them with a mask and stamp on top of the masked clouds to make a cloudy sky
- Leave the masks on and lightly brush the sky with Balmy Blue ink, using a small Blending Brush
- Remove the masking paper
- Adhere the sky stamped image to the Night of Navy card stock layer with liquid glue
- Pop this layer to the card with dimensionals
- On a scrap of Basic White card stock, stamp the large plane and smallest plane in Memento Black ink
- Die cut the planes out using the matching Adventurous Sky dies
- Color the planes with Stampin Blends. I used light and dark Misty Moonlight, light and dark Smoky Slate and light Basic Black
- Attach the planes to the card using dimensionals
- Stamp a sentiment from the Adventurous Sky stamp set in Night of Navy ink on a piece of Basic White card stock cut at 1/2″ x 2 1/2″,
- Angle the ends and sponge the edges in Misty Moonlight ink using a dauber
- Pop the sentiment to the card with dimensionals
- Add some Silver Adhesive Backed Metallic Gems to finish the card

")
 Designer Series Paper")