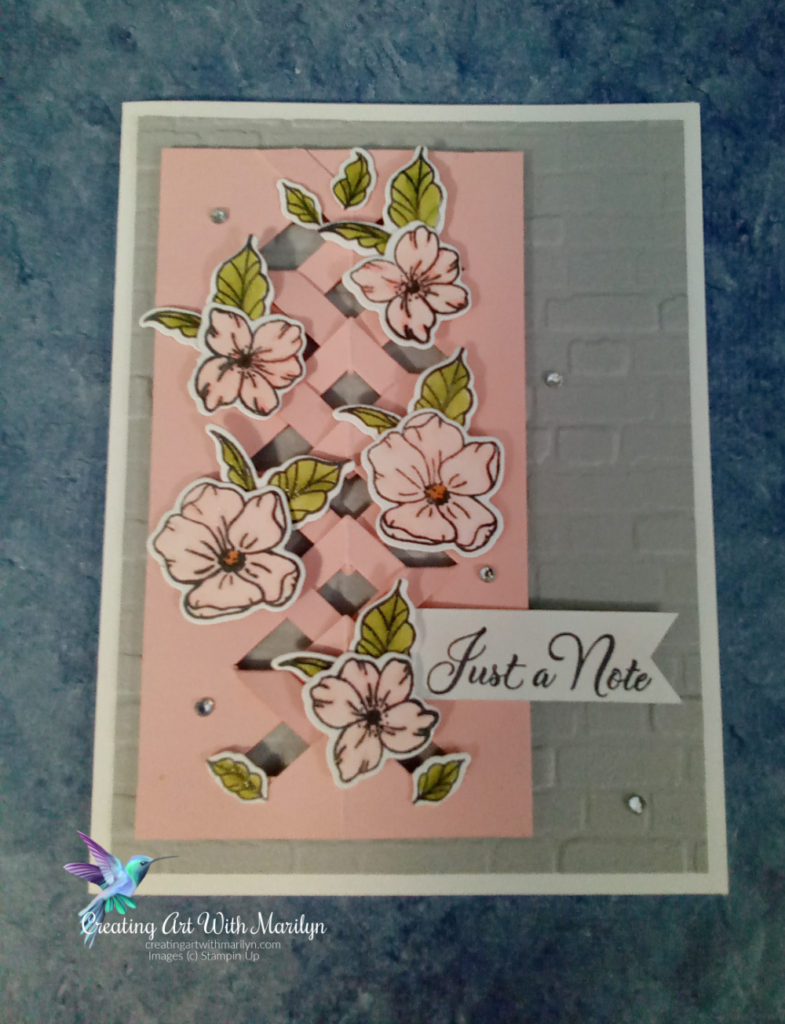
Have you seen the New Framed Florets Bundle that will be featured in the new January to June Mini Catalogue? This is such a pretty bundle I can’t seem to stop playing with it. I made this card using the Braided Folding technique. I placed the braided card stock on the front of the card rather than the fold of the card. I embossed the Smokey Slate card stock with the Brick and Mortar 3D embossing folder.
Cutting and instructions to create this card:
- Card base is Basic White card stock cut at 8 1/2″ x 5 1/2″ scored and folded at 4 1/4″
- Smokey Slate card stock layer is cut at 4″ x 5 1/4″
- Emboss the Smokey Slate card stock layer with the Brick and Mortar 3D embossing folder and attach to the card base with liquid glue
- Cut a piece of Blushing Bride card stock at 2 1/2″ x 4 3/4″, score at 1 1/4″
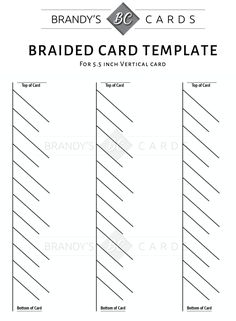
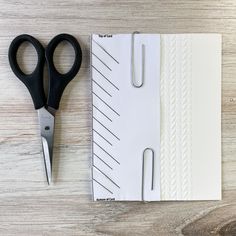
- Fold the Blushing Bride layer and place the braided template (pic 1) evenly with the fold and cut on the lines with scissors (pic 2)
- Starting at the bottom of the card stock, fold the cut piece down to the bottom
- Remove that first braided piece and save it to use later ( pic 3)
- Continue up the braid folding each piece down
- Tuck the braid into the last braid and attach it with a glue dot
- At the top of the braid, add the cut braided piece with liquid glue
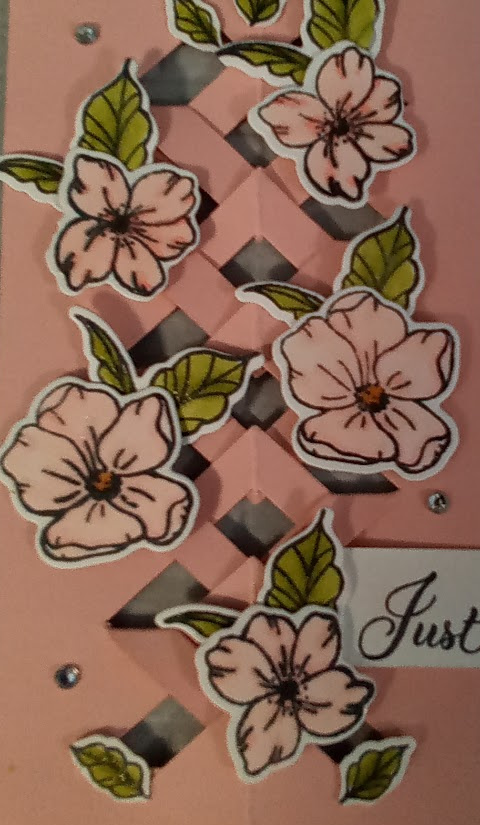
- Stamp some flowers and leaves from the Framed Florets stamp set in Memento Black ink and die cut with the matching Framed Floret dies
- Color the images with Stampin Blends. I used Light Flirty Flamingo, SU1000, Light and Dark Old Olive
- Brush the flowers and leaves with Wink Of Stella for some bling
- Attach the flowers and leaves to the braid with dimensionals
- Attach the finished braided layer to the emboss layer with dimensionals
- Stamp a sentiment from the Go To Greetings in Memento Black ink
- Flag one end and place on the card with dimensionals
- Place some Basic Rhinestones on the card for some bling

 |  | ||
 |  | ||
 |  |  | |
 |  |  |  |
 |  |  |
")
")