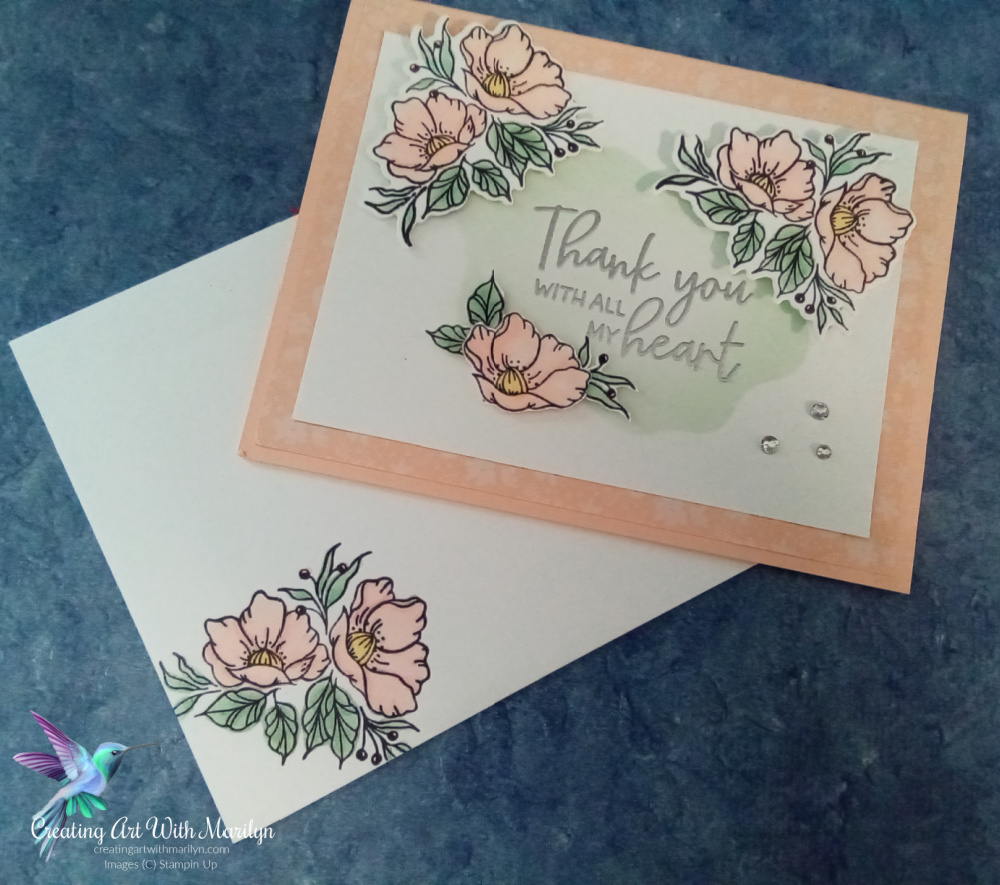
This Thank You card was created with the New Framed Florets Stamp set that will be in the new January to June Mini Catalogue. It is available for Demonstrators now and will be available to customers in November. This is available as a collection with Designer Series Paper, Gold Adhesive Backed Swirls gems and a Christmas Stamp set called Framed and Festive . The paper, gems and Christmas stamp set will not be available in the New Mini Catalogue and will only be available while supplies last .
Cutting and instructions to create this card:
- Card base is Petal Pink card stock cut at 8 1/2″ x 5 1/2″ scored and folded at 4 1/4″
- Cut a piece of the Petal Pink 6 x 6 Designer Assortment Paper 4″ x 5 1/4″ and adhere directly to the card base with liquid glue
- Cut a piece of Basic White card stock 3 1/2″ x 4 3/4″
- Make a stencil with the Layering Diorama dies. Cut the stencil the same size as the Basic White Layer and place the stencil exactly where you want it
- Lightly brush some Mint Macaron ink on the Basic White stenciled piece with a Blending Brush.
- Remove stencil and stamp a sentiment on the brushed area. I stamped a sentiment from the Framed Floret stamp set in Versamark and heat embossed with Silver Embossing Powder
- Attach the stenciled layer to the card with liquid glue
- Stamp several flower images from the Framed Floret stamp set in Memento Black ink.
- Color the flowers with Stampin Blends. I used Light Polish Pink and SU 1000 for the flower petals, Light and Dark So Saffron for the center of the flowers, Light and Dark Mint Macaron for the leaves. The berries I used Dark Polished Pink
- Die cut the flowers using the matching dies from the Framed Floret Dies. One flower image I fussy cut it and separated it for a smaller image
- Place the flowers on the card with dimensionals
- Add some Basic Rhinestones for some bling
- Stamp a matching envelope with the flower image and color with Stampin Blends. Place a scrap of copy paper inside the envelope so the Blends do not leak through to the other side of the envelope