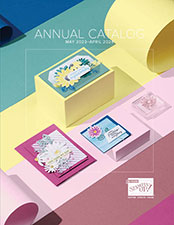
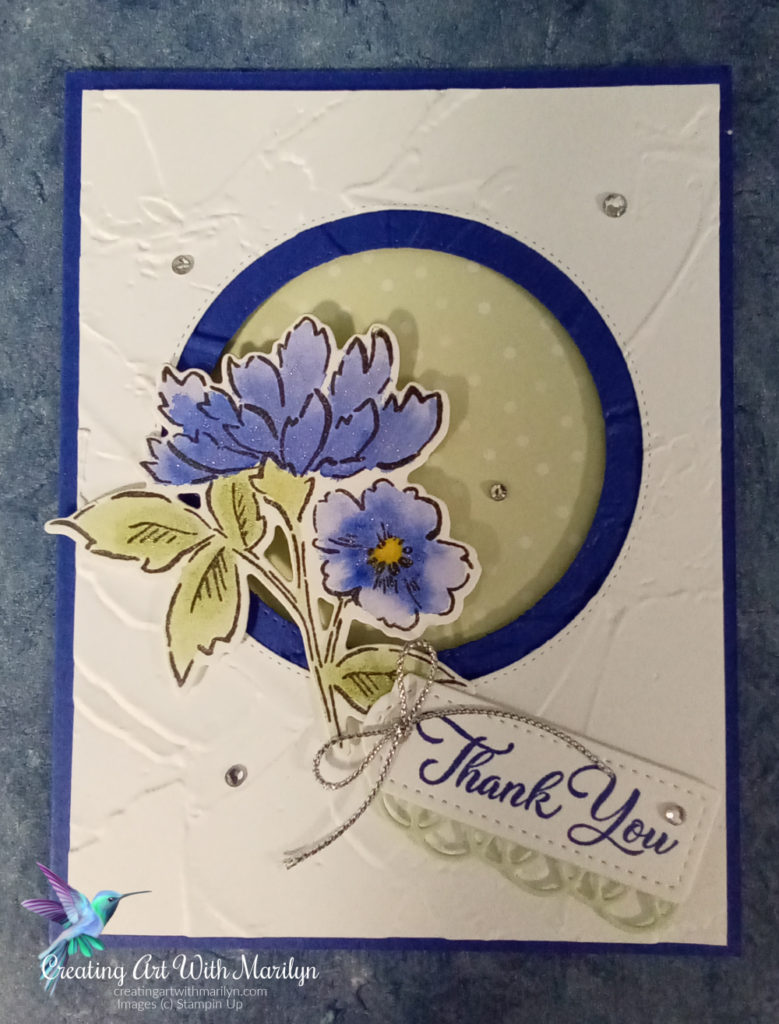
This gallery challenge is made up of very talented stampers that create amazing cards that you are able to vote on and pick your favorites later on in the month. The top ten winners will get to be part of an International blog hop at the end of the month. I’m always up for a good challenge and this month I decided to play with an old favorite stamp set of mine, the Hand-Penned Petals from the Annual catalogue. This stamp set has a matching die set called The Penned Flowers.
I would really appreciate you taking the time to vote for my card.

Instructions to create is card:
- Card base is Orchid Oasis card stock cut at 8 1/2″ x 5 1/2″ scored and folded at 4 1/4″
- Basic White Card stock is 4″ x 5 1/4″
- Die cut the large circle from the Stylish Shaped Circles dies in the center of the Basic White layer
- Now emboss the Basic White layer with the Painted Textured 3D embossing folder
- Cut a piece of Orchid Oasis card stock 3 7/8″ x 4 1/2″
- Die cut the next smaller circle from the Stylish Shaped in the center of the card stock
- Emboss the Orchid Oasis layer with the Painted Texture 3D embossing folder
- Attach the two layers together with liquid glue
- Cut a piece of the Soft Sea Foam 6×6 Designers Series Assortment paper 3 7/8″ x 4 1/4″
- Center it over the Circles and attach with dimensionals
- Add this completed layer to the card base by add dimensionals along the edges of this layer only, and some liquid glue to the center of the Designer Series Paper
- Stamp the flower image from the Hand Penned Stamp set onto Water Color Paper in Stazon Ink
- Color the flower with Orchid Oasis and Soft Sea Foam ink using a Water Painter brush
- Let dry completely then attach to the card base with dimensionals
- Die cut the scalloped edge from the Painted Labels dies in Soft Sea Foam card stock
- Stamp the sentiment from the Go To Greeting in Orchid Oasis ink on a piece of Basic White Card stock
- Die cut the sentiment using the smallest tag in the Tailored Made Tags die set
- Glue the scalloped layer to the tag with liquid glue
- Pop the sentiment up with dimensionals
- Tie a small bow with the Silver Simply Elegant Trim and attach with a glue dot
- Add some Wink of Stella to the flower and leaves
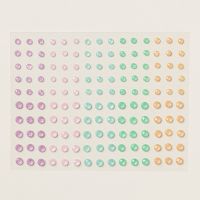
- Add some Basic Rhinestones to the card for some added bling


