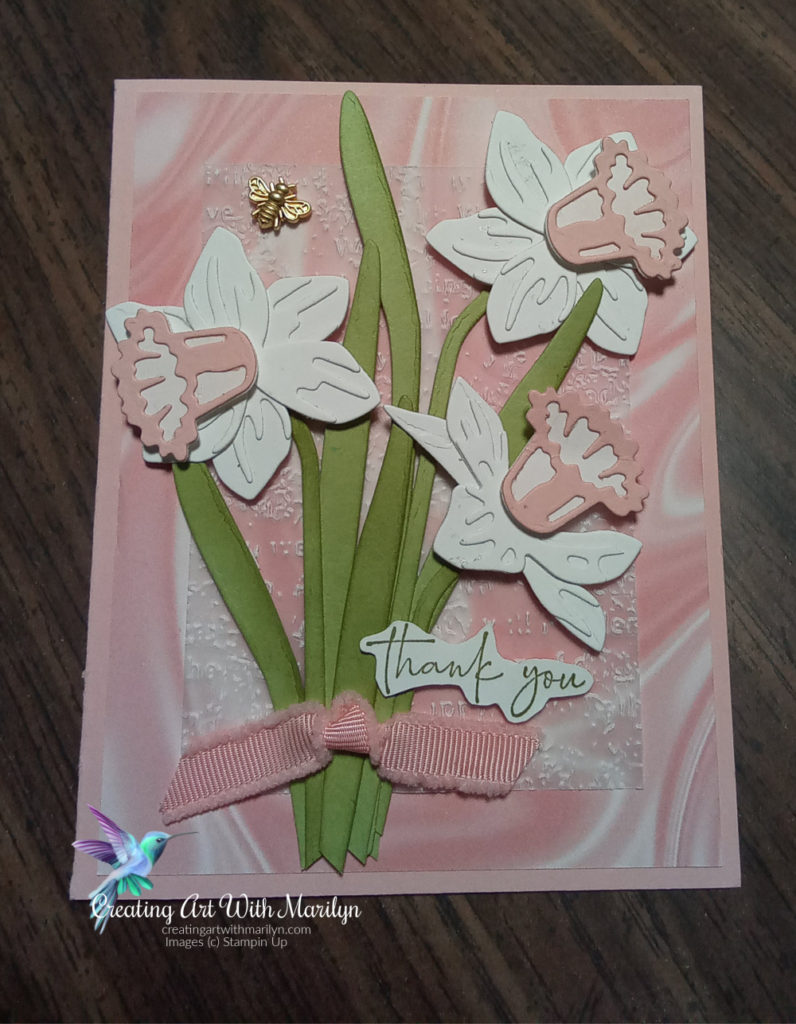
I’m so excited to be able to participate in Kylie’s Monthly International Highlight Blog Hop once again. There are Demonstrators from all over the World participating in this Blog Hop. Today I’m playing with the Daffodil Daydream Bundle from the new Mini Catalogue. I love daffodils and this Bundle is so much fun to play with. At first it looks very intimidating but with a little playing you will soon find out how much fun it can be! I also played with the Simply Marbleous Designer Series Paper from the Sale A Bration brochure.
Products Used:
- Daffodil Daydream Stamp Set
- Daffodil Dies
- Happy and Heartfelt Stamp Set
- Timeworn Type 3D Embossing Folder
- Simply Marbleous 6×6 Designer Series Paper
- Vellum card stock
- Blushing Bride Card Stock
- Pear Pizzazz Card Stock
- Basic White Card Stock
- Old Olive Ink Pad
- Blushing Bride 3/8″ Frayed Grosgrain Ribbon
- Bumblebee Trinket
- Blending Brushes
Instructions to create this card:
- To make the daffodils, I brushed some Blushing Bride ink onto Basic White card stock using my Blending Brushes. I wanted a light pink modelled color for the background of the trumpet of the daffodil
- Die cut the solid piece of the trumpet in the brushed pink colored card stock
- Die cut the detailed part of the trumpet in Blushing Bride card stock
- The rest of the petals and detailed layers for the petals I die cut in Basic White card stock
- For the stems and leaves I used Pear Pizzazz card stock and die cut them out. I brushed the edges of the leaves and stems with Pear Pizzazz ink
- The card base is Blushing Bride card stock cut at 8 1/2″ x 5 1/2″ scored and folded at 4 1/4″
- The next layer is a piece of the Pink Simply Marbleous Designer Series Paper cut at 4″ x 5 1/4″ and adhered to the card base
- Cut a 3″ x 4 1/4″ piece of vellum card stock and ran it through the Timeworn Type 3D embossing folder and lightly sponged some liquid glue on the back to keep the glue from showing through the vellum
- Assembled the white petals of the daffodils with liquid glue and add the trumpet with a dimensional
- Arranged the leaves and stems on the card with dimensionals and also add the flowers with dimensionals
- Make a faux bow with the Blushing Bride ribbon and place on the card with a glue dot
- Stamp the sentiment in Old Olive ink and fuzzy cut it out and add to the card with mini dimensionals
- Place a Bumblebee Trinket on the card with a glue dot
Product List


