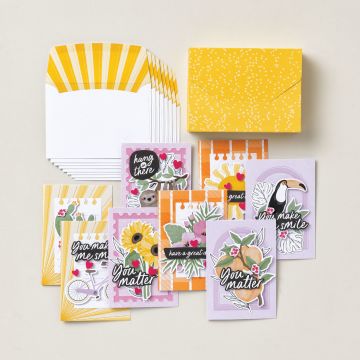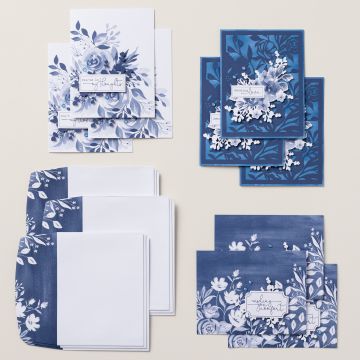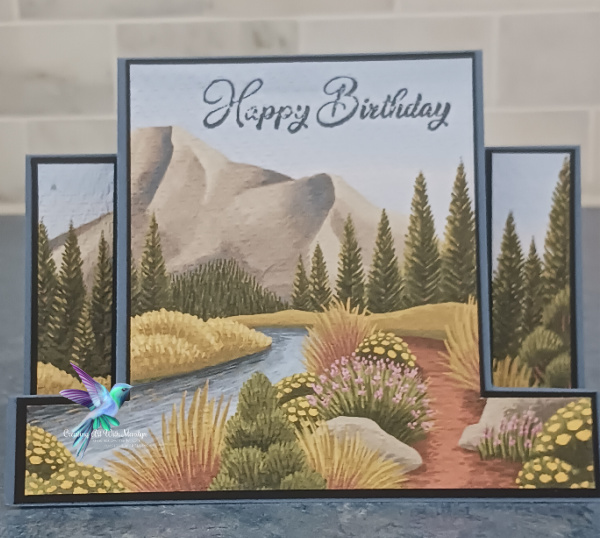
I have really enjoyed playing with the add-on Cards and Envelopes for the May Paper Pumpkin Kit, Exploring In Color. These cards are so quick and easy creating a great card. This card is called a step card.
I found this template on Pinterest and I must give Sandy of creativemomentswithsandy credit for this template Here are the cutting and scoring instructions for the card.

Cutting Instructions and Products to create this card:
- Card base is Misty Moonlight card stock cut at 8 1/2″ x 5 1/2″
- With a Paper Trimmer and on the long side of the card stock, score at the 1″mark for 1 1/4″, lift the scoring blade and then score at 4 1/4″ mark to the end of the card stock
- At the 2″ mark score for 1 1/4″, lift scoring blade and score again at 4 1/4″ mark to the end of the card stock.
- Score again at 4 1/4″ mark , 1 1/4 ” in from the edge of the card stock. Score until the 4 1/4″ mark
- Score at 5 1/4″ mark for 1 1/4″, lift scoring blade and score again at 4 1/4″ to the end of the card stock
- Rotate card stock to the short side
- Cut from the 1″ score line to the 5 1/4 score line
- Flip the card over and once again cut at the 1″ score line to the 5 1/4″ score line
- On the short side of the card stock make a mountain fold, then a valley fold, another mountain fold at the 4 1/4″ score line and then another mountain fold at the 5 1/4″ score line . This has created the step card
- Cut a piece of Basic Black card stock 4 1/8″ x 5 3/8″, make layers for the card base
- Cut the card, (from the cards and envelopes add-on for the May Paper Pumpkin kit) at the fold line and use the scenic image for the Designer Series Paper
- Cut the DSP to 4″ x 5 1/4″ making it 1/8″ smaller than the Basic Black card stock layer
- Stamp a sentiment from the Go To Greetings with Memento Ink on the Scenic Paper
- Place the scenic piece of paper in an embossing folder and run through the embossing machine. I used the retired Tasteful Textile embossing folder but any embossing folder like the Thatched Basic 3D Embossing Folder from the Online Exclusive Product will work
- Adhere the embossed designer paper to the Basic Black card stock layer with liquid glue and then attach to the step card with liquid glue


