Thank you for joining us for our Stampin’ Up!® Demonstrator Training Program Monthly Blog Hop! We are so happy that you could join us today for this blog hop for ideas and creative inspiration. We are a group of Stampin’ Up!® Demonstrators from around the world that are taking part in training that is helping us to build a successful Stampin’ Up!® business and reach some goals we have set. We really appreciate your support.
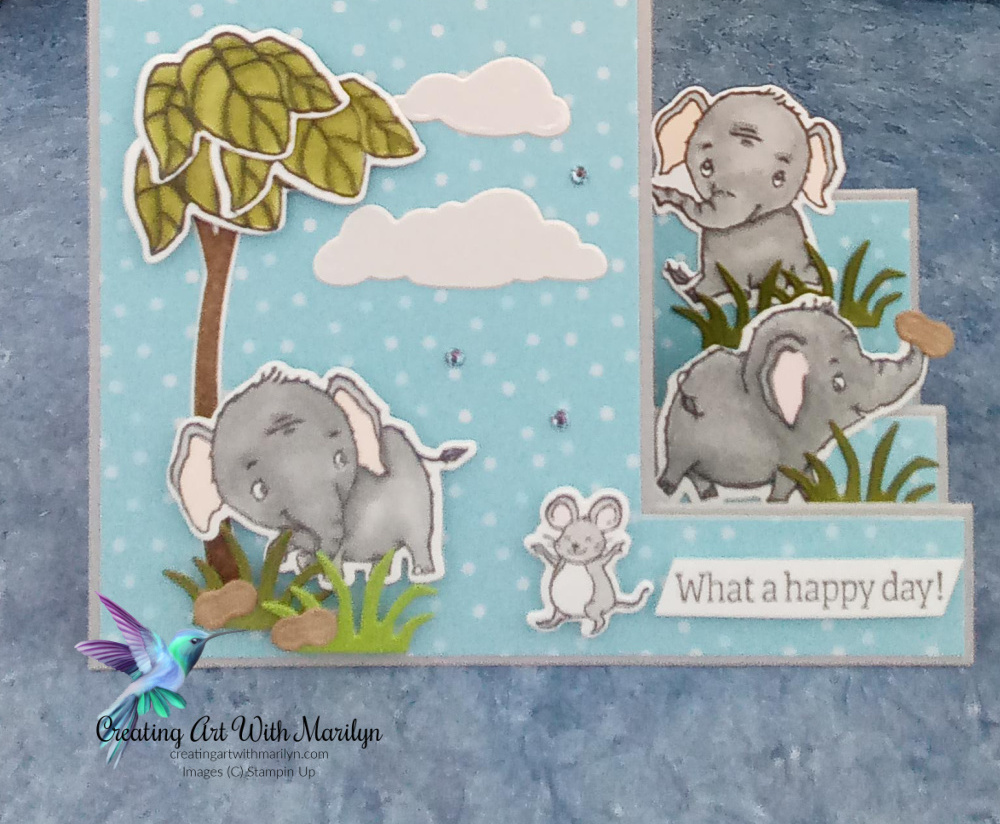
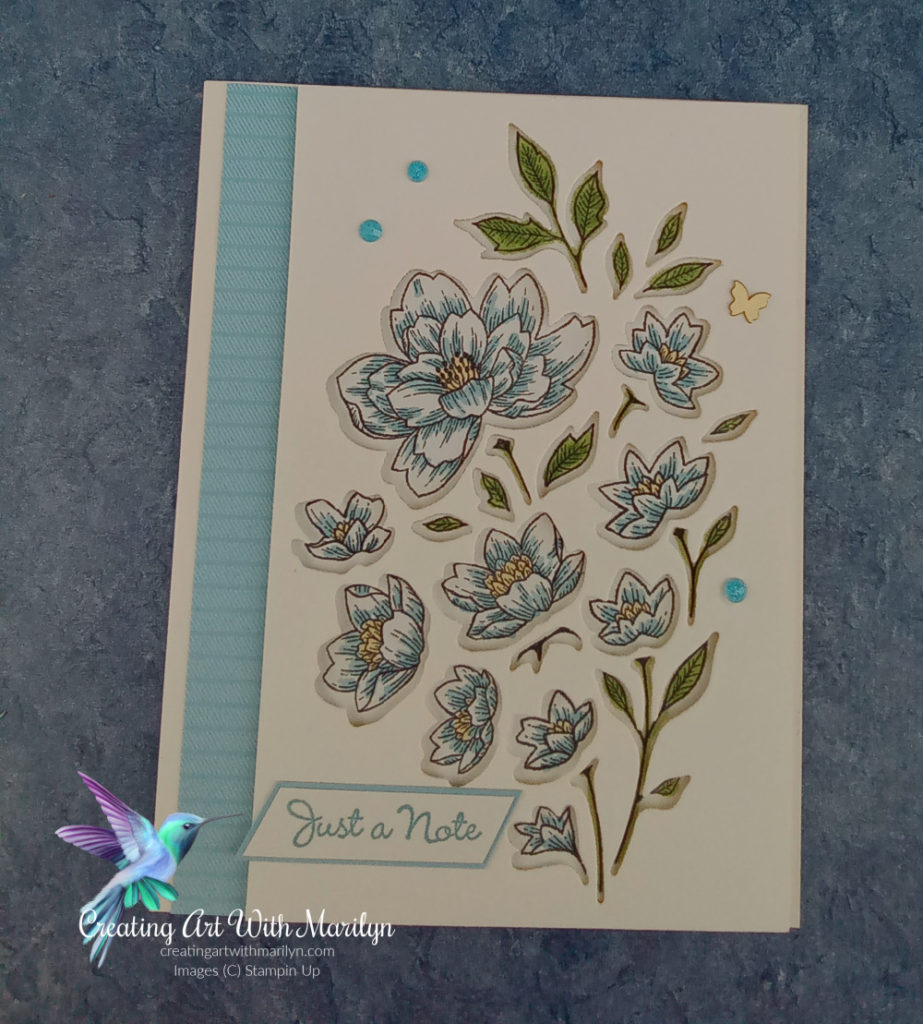
The Elephant Parade in the New Annual Catalogue is such a cute set, I just had to play with it and make a step card.
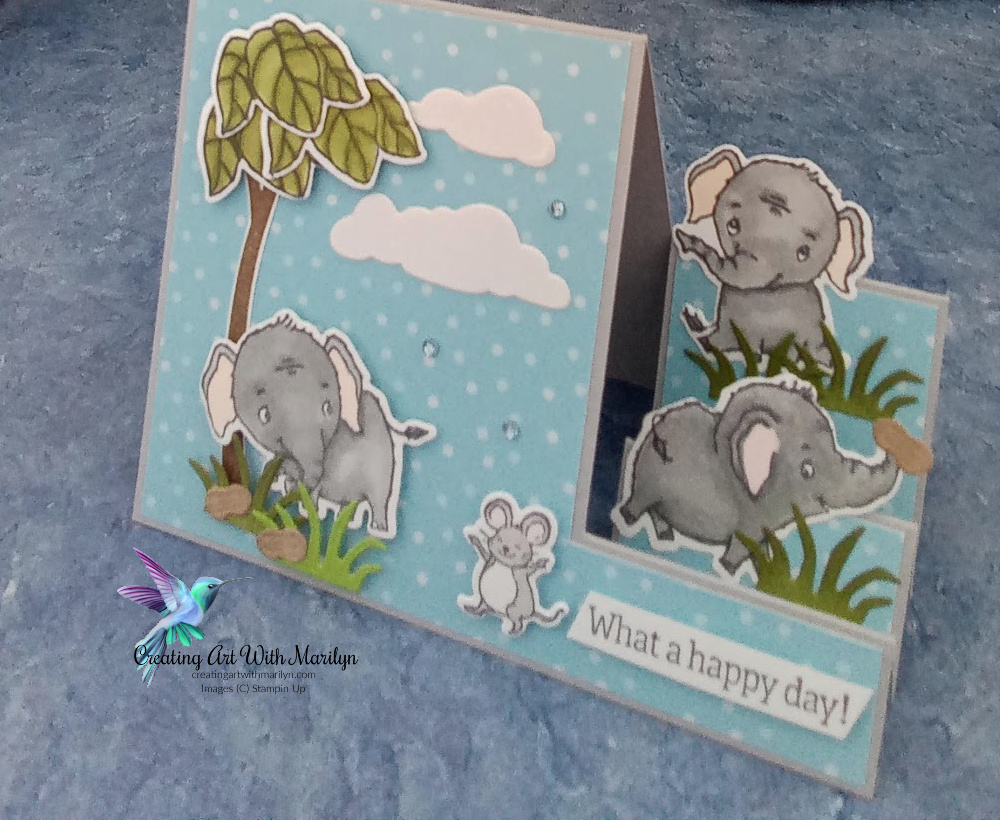
Cutting and instructions to create this card:
- Card base is Smokey Slate cut at 8 1/2 x 5 1/2
- Score and cut card stock as in the template below
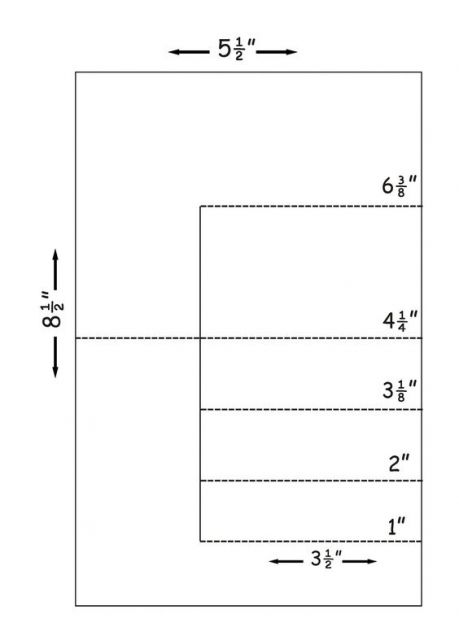
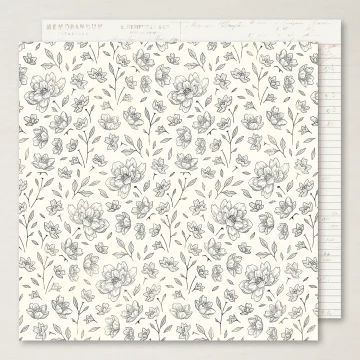
- Cut a piece of DSP from the 6×6 Assortment pack in Balmy Blue at 5 3/8″ x 4 1/8″
- Cut a section out of the DSP that is 3 1/4″ x 2″
- Attach to the front of the step card with liquid glue
- Cut another piece of the DSP that is 1 7/8″ x 1″ and attach it to the step behind the first step
- Cut the last piece of DSP, 1 7/8″ x 2″ and attach to the back of the last step
- Stamp and color the Elephants, mouse and the leaves with Stampin Blends
- The tree trunk is from the Sweet Songbirds stamp set, stamped in Early Espresso ink and fussy cut
- Die cut the grass in Old Olive and Granny Apple Green card stock, sponge the edges with Old Olive ink
- Die cut some peanuts in Crumb Cake card stock and lightly sponge with Crumb Cake
- Die cut the clouds using the Waves dies in the Pearlescent Specialty Paper
- Arrange the Elephants, tree, leaves, grass, mouse and clouds, popping them up with dimensionals
- Stamp a sentiment in Memento Black and attach to the card with dimensionals
- Add some colored Basic Rhinestone to the card for some bling
 |  | ||
 |  |  | |
 |  | ||
 |  |  |
")
")

 Designer Series Paper")


")


 Designer Series Paper")
 Specialty Pack")


")


")

 Designer Series Paper")


")


")


 Crinkled Seam Binding Ribbon")


")


 Glimmer Paper")


")


 Designer Series Paper")
 Layering Designs")


")