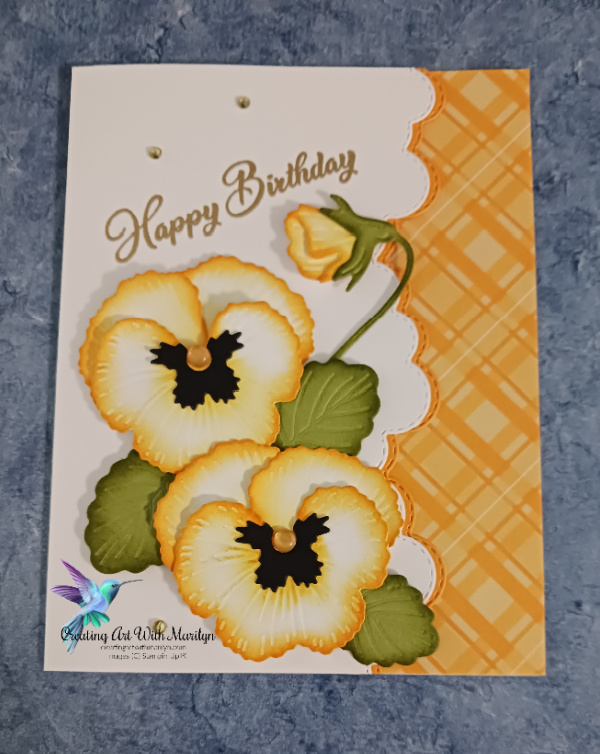
I made this Birthday card for a friend, using one of my favorite stamp sets and dies. The stamp set is called the Pansy Patch and the matching dies are Pansy. This set is very intimidating with all the pieces but after playing with it, it really isn’t that scary. The edge of the card is using the Basic Border dies and the Designer Series Paper is a retired 6×6 Designer Series Assortment pack (I didn’t have the new Regals Collection for the right color and patterns).


Cutting and Instructions to create this card:
Card base:
- Card base is Basic White card stock cut 8 1/2″ x 5 1/2″ scored and folded at 4 1/4″
- Using the scalloped Basic Border die, remove 1″ off the front edge of the card base
- On a 1 1/2″ x 6″ piece of Mango Melody card stock, cut another scalloped Basic Border strip
- Adhere the Mango Melody strip the the card base matching the scallops
- Cut a strip of Designer Series Paper 2″ x 5 1/2″, adhere to the inside of the card
- Stamp a sentiment from the Go To Greetings in Versa Mark in the upper corner, leaving room to put your pansy cluster. Heat emboss in Gold Embossing Powder
Directions to create the pansies:
- Die cut 2 of the large pansy petal and 4 of the single pansy petal and the pansy bud (2 pieces for the bud) in Basic White card stock
- Each flower petal is done the same way, Using a lighter yellow, Crush Curry and a sponge dauber, lightly sponge some color in the center of the petal working out to the edge of the petal
- Sponge the petal pieces on the outer edge in a darker yellow Mango Melody
- Do the same sponging on the flower bud as well
- Die cut 2 large leaves, 1 smaller leaf and the bud stem in Old Olive card stock
- Sponge the edges of the leaves and flower bud stem in Old Olive ink
- Die Cut 2 pansy faces in Basic Black card stock
Assembling the Pansy:
- Lightly curl the edges of each of the petals for some dimension
- Put a glue dot on the front of each of the single petals and a dimensional on the large flower petal
- Place the two single petals behind the large pansy petal
- Glue the pansy face to the large petal
- Place a 2023-2024 In Color Dot in Wild Wheat to the center of the pansy
- Curl the edges of the flower bud and attach with a glue dot. Attach the bud stem with liquid glue
Constructing the card:
- Do a test fit as to where you want to place the flowers
- Place a dimensional under the flowers and the leaves
- Pop up the bud with a dimensional and attach the stem to the leaf with a glue dot
- Add some more of the 2023-2024 Wild Wheat In Color dotsfor added bling
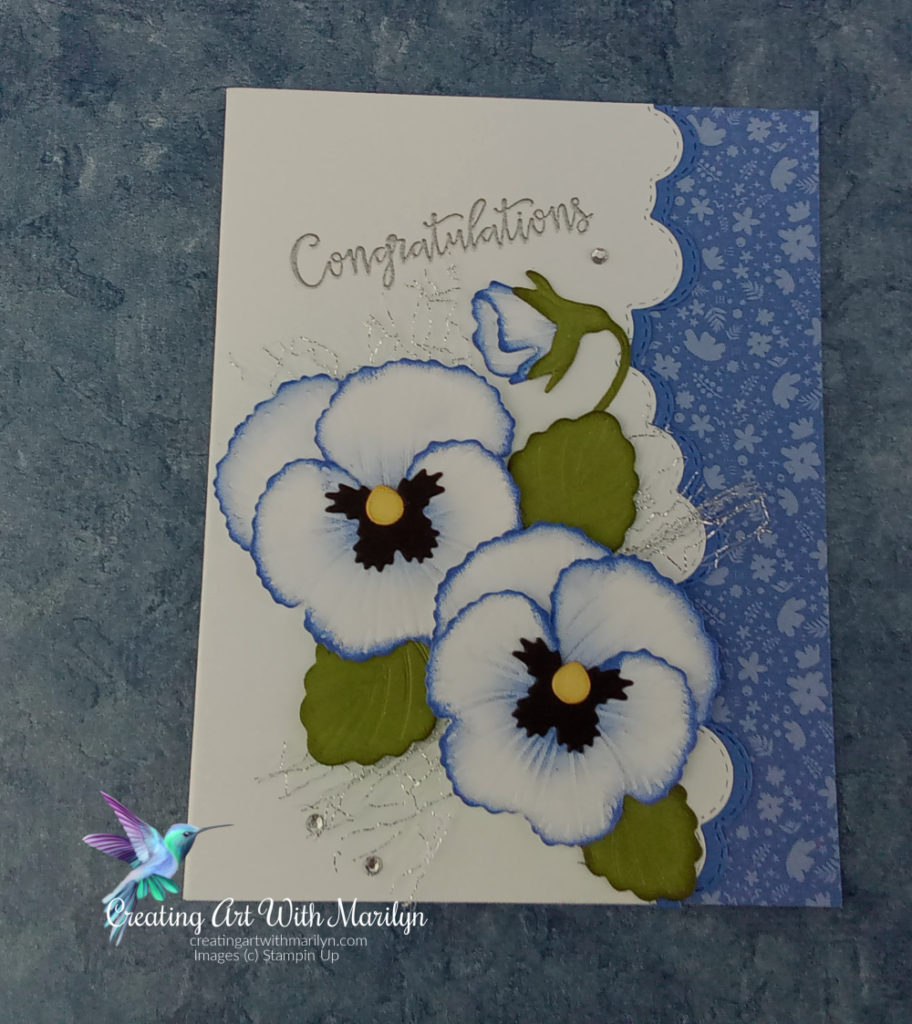
This is a card I made a few years ago and this is the video for it. I hope this explains it a little clearer.
Product List


