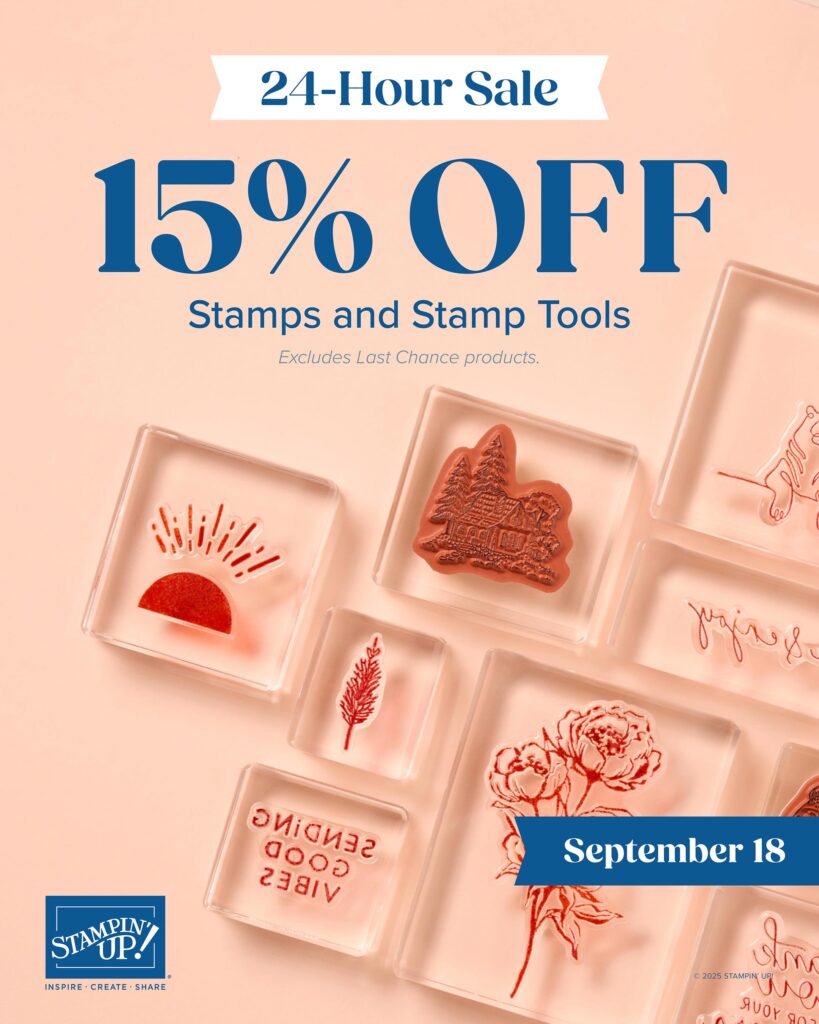
Have you ever found yourself staring at multiple stamp sets and stamp tools unable to decide which one to get? Well, great news! On September 18, you can get all the stamps and stamp tools you’ve been wanting at an amazing 15% discount. Act fast—this stamp-tacular sale only lasts for one day!
Stamp Set Sale Details
Sales period: September 18, 2025, from 12:00 a.m. to 11:59 p.m. (MT)
This stamp sale only happens once a year!
The sale will run for 24 hours.
The 15% discount will apply to all stamps and stamp tools*.
Bundles are not included in this sale.
Excludes Last Chance Products
Stamp sets and tools are only available while supplies last.
Tools includes shammy, blocks, grid paper and more
See and shop all qualifying products right here in the Online Store
Get your list ready and also collect Stampin Rewards
Posted inUncategorized|Comments Off on Stampin’ Up – Stamp Set Sale – 15% Off Stamps and Stamp Tools – September 18th only
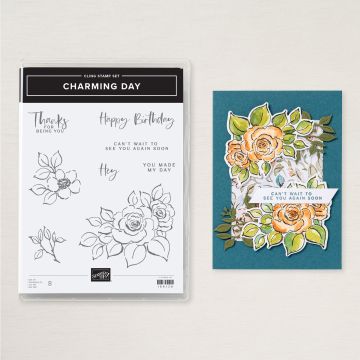
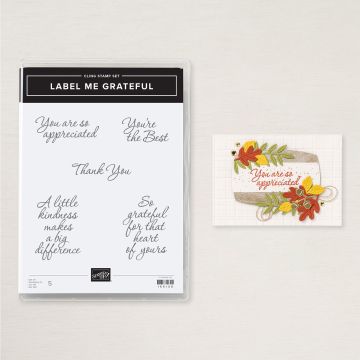
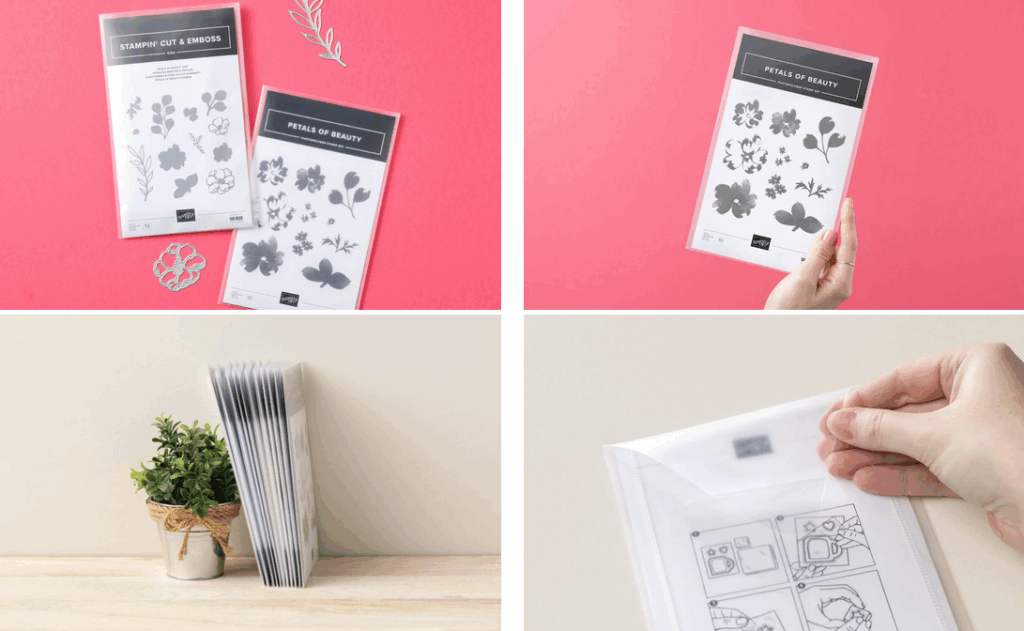
We have some updates about cling stamps and Stampin’ Write Markers, as well as some exciting news about new coordinating packaging for stamps and dies.
Cling Stamps (Red Rubber)
Stampin Up has decided to discontinue our cling stamp line due to challenges in sourcing the necessary raw materials. While they currently have access to enough raw materials to continue production for the time being, the supply has become increasingly inconsistent, and certain key raw materials are no longer being manufactured. They are choosing to make this change now to ensure a smoother, more strategic transition—with minimal disruption to you. They will continue to offer a wide range of photopolymer stamps to support various artistic styles and techniques.
Charming Day 166126Label Me Grateful 166108
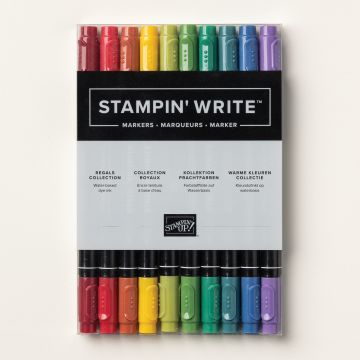
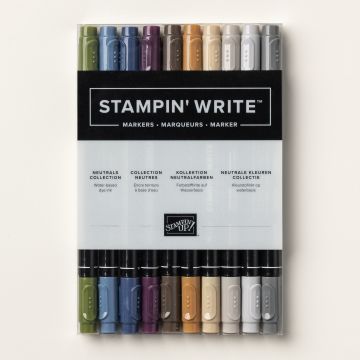
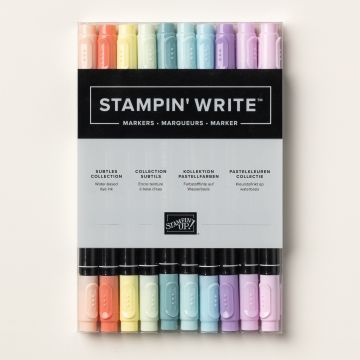
Stampin Write Markers
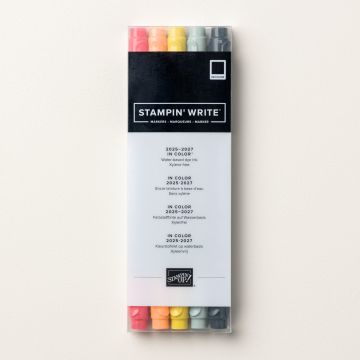
Stampin Up has also decided to discontinue Stampin’ Write Markers. With the growing popularity of Stampin’ Blends, they have seen a steady decline in sales of Stampin’ Write Markers. One of the primary techniques unique to Stampin’ Write Markers is coloring directly on cling stamps—a technique that will become less relevant as we transition away from cling.2025-2027 In Color Sale August 5 – 31. Shop here
As part of our transition away from cling stamps, we’re excited to introduce updated packaging for stamps and dies! Because photopolymer stamps are thinner, we’re able to offer sleeker, slimmer packaging that saves space. Both stamps and dies will now come in the same size and style of packaging, making it easier than ever to store bundles and coordinating products together. The new packaging is similar to our current die packaging—durable, clear plastic envelopes—but with an exciting improvement: Die packaging will now feature printed artwork for quick and easy identification! Stamp packaging will continue to display artwork as well.
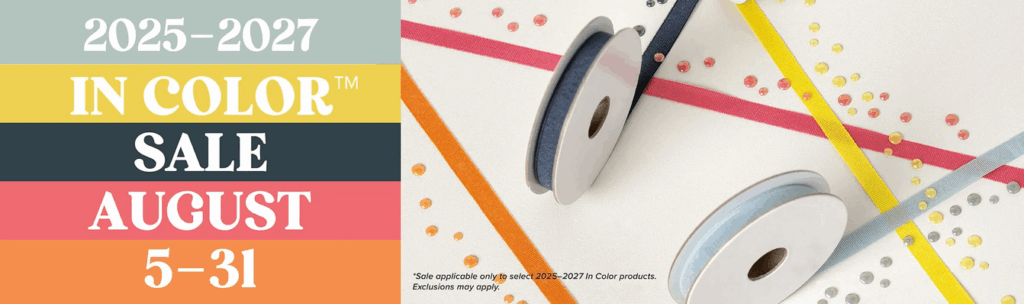
2025-2027 In Color Sale August 5 – 31
Starting August 5, select products that feature the new 2025–2027 In Colors™ are 15% off! This is a great opportunity to purchase new In Color products at a discount, so grab products you love—like ink, two-tone cardstock, and Designer Series Paper—and get everything you need to create projects that showcase Stampin’ Up!’s amazing color coordination!
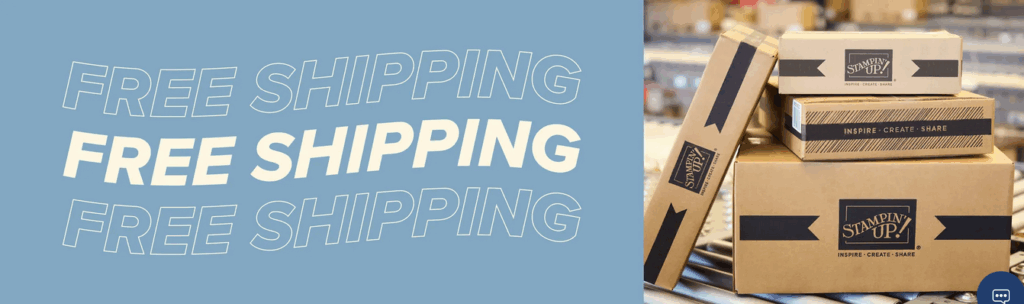
Starting July 23 – July 25. get FREE SHIPPING on orders $100 or more CAD before taxes. Stampin Rewards can be used on your order but the retail amount must be $100 before taxes. This is a Great time to get that Stamp set Bundle you have been looking at, the Product Suite Collections you have been eyeing up or just to restock your Card Stock, Basic White Card Stock or Designer Series Papers. Don’t forget to also check out the Online Exclusives and the Last Chance items as they can also be added to your orders to qualify for FREE SHIPPING!!
Posted inUncategorized|Comments Off on FREE SHIPPING!!!!!
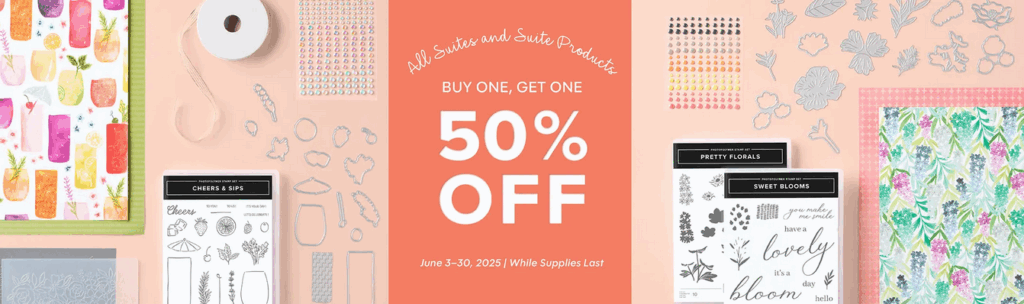
I’m so excited to share an incredible promotion with you: All Annual Catalogue and Online Exclusive suites and their individual products are included in this offer! That means you can mix, match, and save BIG when you purchase two or more suite collections – or create your own combination of items from across our suites and still enjoy a fabulous discount.
Here’s how it works:
Buy any two eligible suite products, and the lower-priced item receives 50% off.
Buy three items, and the cheapest one gets the discount.
Buy four, and the two lowest-priced items are half-price!
Important tip: Before checking out, double-check your cart to make sure you’re getting the best possible deal. You might even want to split your purchases into separate orders to maximize your savings. Plus, don’t forget that all orders of $25 or more qualify for 10% in Stampin’ Rewards!
A few example savings:
Purchase the Beautiful Gallery Suite Collection and the Celebratory Sips Suite Collection – you’ll get the Celebratory Sips Suite Collection for 50% off.
Buy the Celebratory Sips Suite Collection and the Inspiring Imperfections Bundle – the Inspiring Imperfections Bundle will be 50% off.
Or, if you grab the Floral Impressions Suite Collection, the Cheers & Sips Bundle, the Glass & Gardens Embossing Folders, and the Holographic Resin Dots – the Glass & Gardens Embossing Folders and Holographic Resin Dots will be 50% off because they’re the two lowest-priced suite
Important note: This special offer is only available from June 3 to June 30, while supplies last. Suite collections can only be purchased if all included items are in stock, so don’t wait to snag your favourites! Be sure to check out all the included suites in my online store and get ready to create some beautiful projects – and enjoy amazing savings while you do!
WATCH THIS VIDEO FROM STAMPIN UP! TO SEE ALL THE SUITES
Ange McKay of North Shore Stampers explains how to order from the Suites and take advantage of the 50% off sale.
Posted inUncategorized|Comments Off on Save BIG on Suite Collection Products
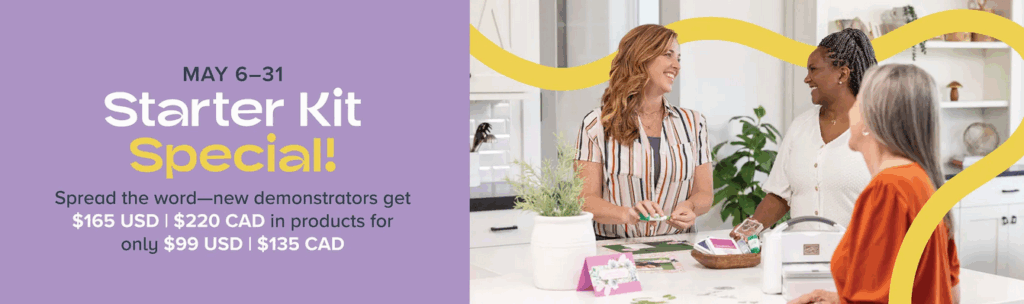
Have you made your Shopping List from the New Annual Catalogue yet and found it to be a very long want/ must have list? Stampin’ Up is offering the Starter Kit Promotion for May 6-31, you can pack your Starter Kit with $165 USD / $220 CAD worth of products of your choice for only $99 USD / $135 CAD. That’s an extra $66 USD / $85 CAD in products. You will get also get Stampin Rewards for the $165 / $220 worth of products and then will receive a 20% discount on all later orders! The Starter kit also comes with FREE shipping, 8 FREE catalogues to share with your friends AND a bonus, FREE Paper Pumpkin kit?)
You don’t have to be come a Demonstrator and do parties or hold classes. You can become a Demonstrator in title only, you will be able to take advantage of the $220 CAD worth of products and the 20% discounts on further orders. You can pick items from the Annual Catalogue, Online Exclusives and the Last Chance items.
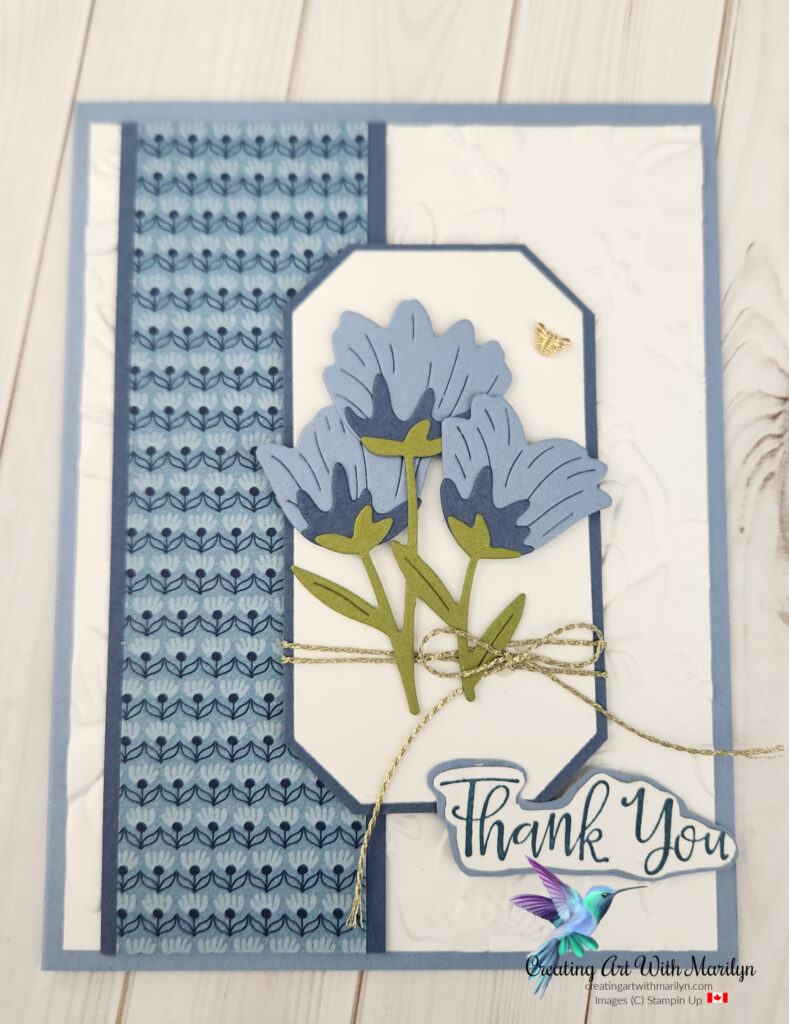
I made this card using the New Pretty Floral Bundle. The embossing folder is the Layered Floral 3D folder which is on the Last Chance List. The Designer Series Paper I used has now retired but the Country Lace Designer Series Paper has a piece that would work as well. The flowers are made with Boho Blue, Misty Moonlight and Old Olive card stock. For more details read more
Posted inUncategorized|Comments Off on Pretty Floral Bundle – Boho Blue with Countryside Dies
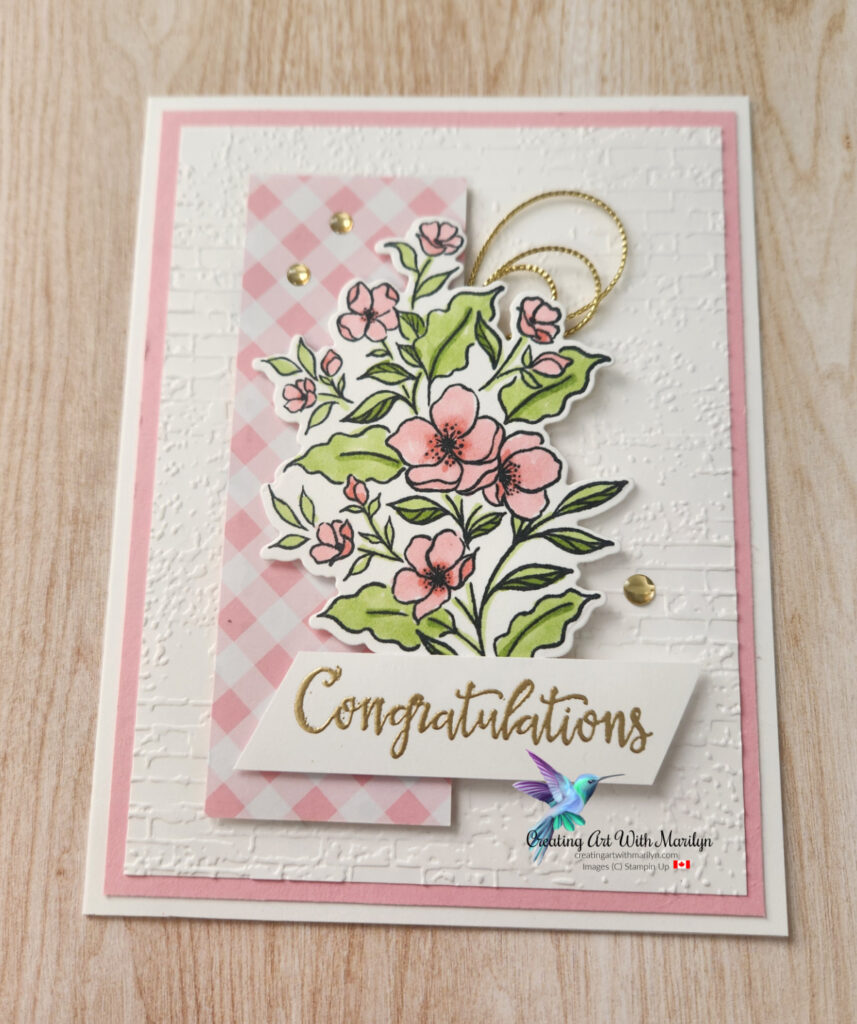
This card was created using the new Pretty Floral Bundle from the New 2025-2026 Annual Catalogue. The Designer Series Paper is the Floral in Bloom .The circle die is from the Spotlight On Nature. The embossing folder is the Exposed Brick 3D folder. Complete details and the products I used can be read more
Posted inUncategorized|Comments Off on Pretty Floral Bundle – Thank You
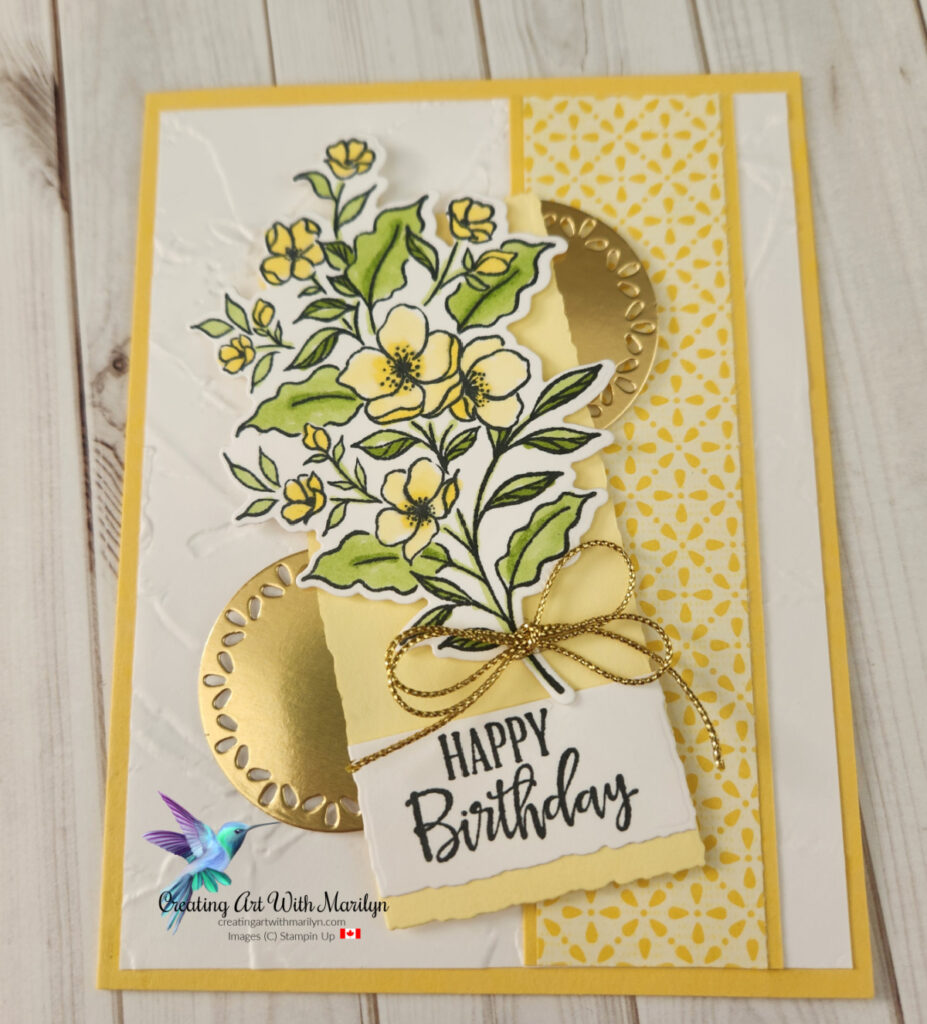
This card was created using the Memorable Blooms Bundle on the Last Chance List. The card base is Daffodil Delight and the Designer Series Paper is the Brights 6×6 Designer Series Paper. The flowers are colored with Lemon Lolly and Granny Apple Green Stampin Blends. The sentiment is a retired stamp set but the Labeled With Love stamp set also on the Last Chance List has great sentiments in it. For complete cutting and instructions to complete this card read more
Posted inUncategorized|Comments Off on Memorable Blooms – Last Chance List
This card is made using the Memorable Blooms which is on the Last Chance list. The pretty flowers were colored with Stamping Blends. The Designer Series Paper is the Wildflower Birthday paper. The embossing folder is the Exposed Brick 3D folder which is one of my go to folders but sadly it too is on the Last Chance List. The Gold Twisted Thread is also on the Last Chance List. So if you like this card be sure to check the Last Chance List. Complete cutting and instructions can be found here
Posted inUncategorized|Comments Off on Memorable Blooms – Last Chance List
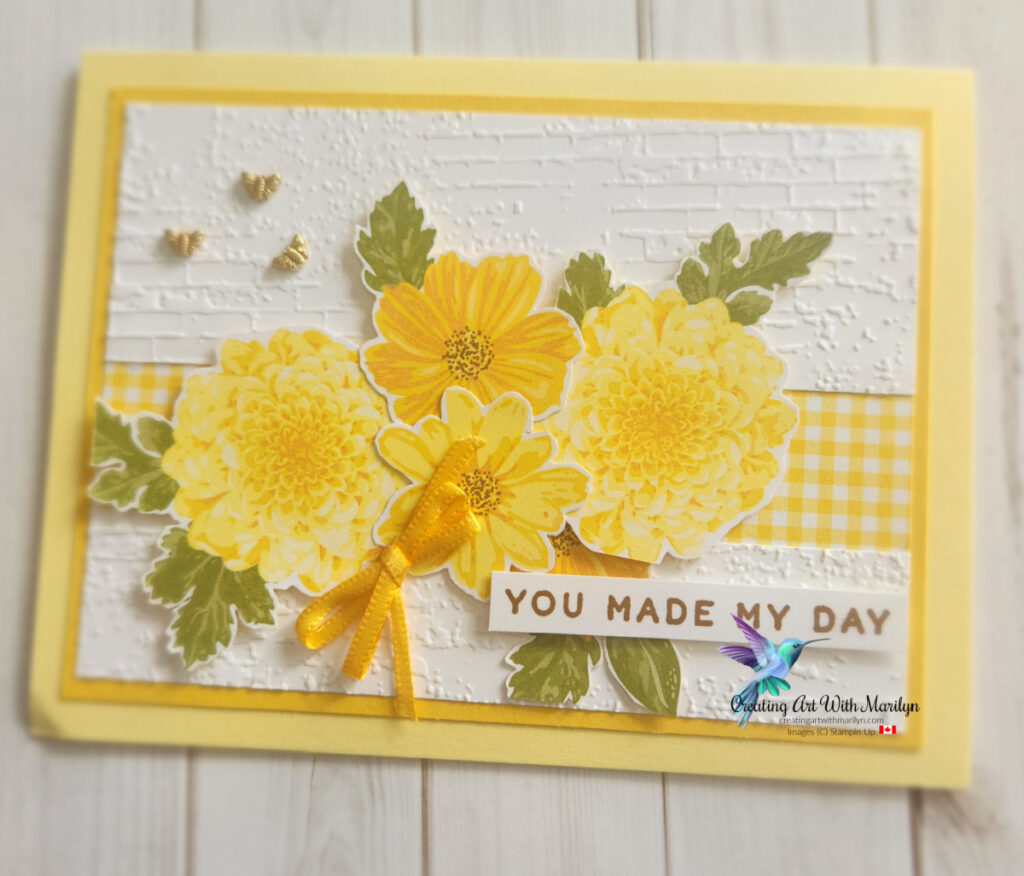
This card is made for the Floral Delight Designer Series Paper and the Exposed Brick 3D embossing folder. The flowers are fussy cut from the designer series paper. The sentiment is heat embossed in gold embossing powder. The embellishments are the Tiny Bee Trinkets and the Daffodil Delight 1/8″ ribbon. Complete instructions are found here
Posted inUncategorized|Comments Off on Floral Delight Designer Series Paper and Exposed Brick 3D Embossed Layer
Hi my name is Marilyn Pearen and I live in Prince George, British Columbia Canada. I have been a Stampin’ Up Demonstrator for 9 years now. Gosh how time flies when you are having fun and enjoying what you do. I decided to become a demonstrator to share my passion and love for card making.
All contents (including text, photographs and images are sole responsibility of Marilyn Pearen as I am an Indepentent Stampin Up! Demonstrator. The use of any contents, services, classes or products offered on this blog are not endorsed by Stampin Up! It is shared for personal use only. No contents may be removed , duplicated or copied for distribution or advertisement without permission.https://festivefridaychallenge.com/