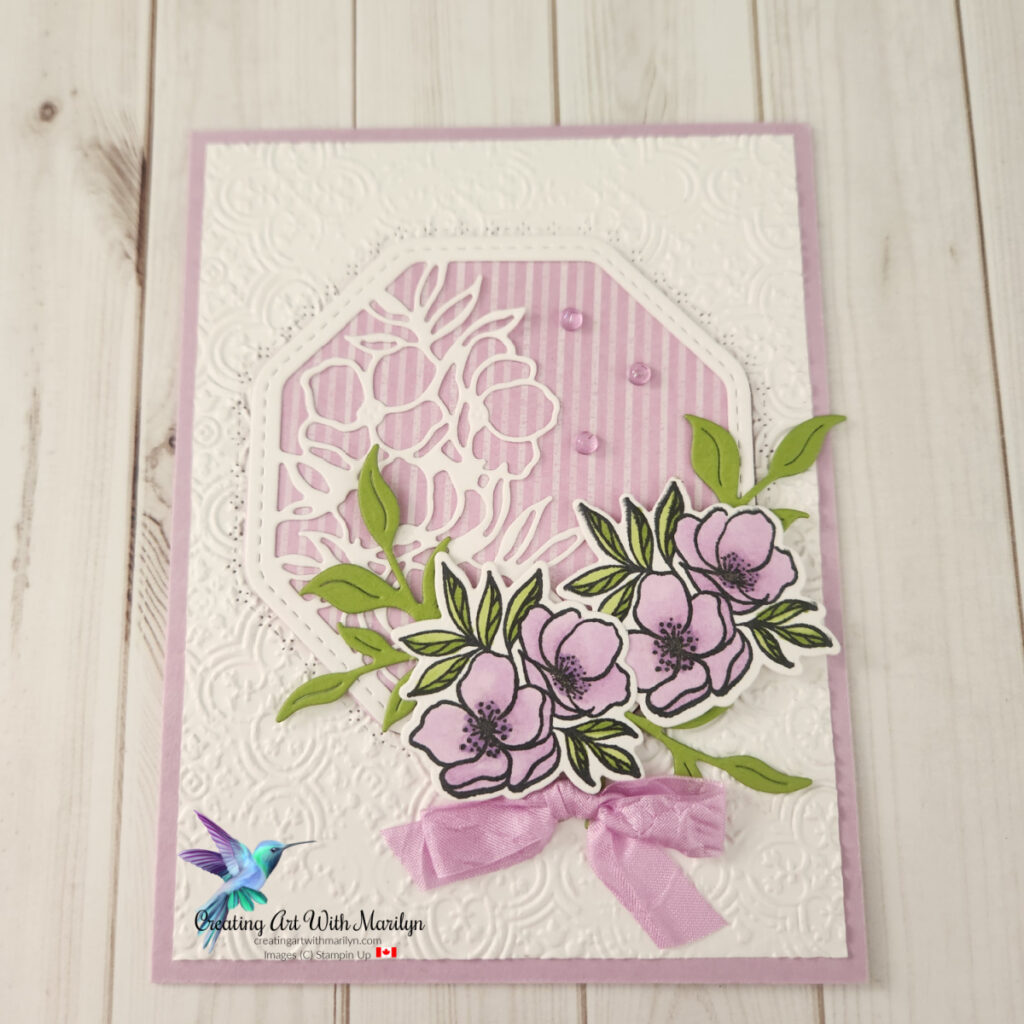
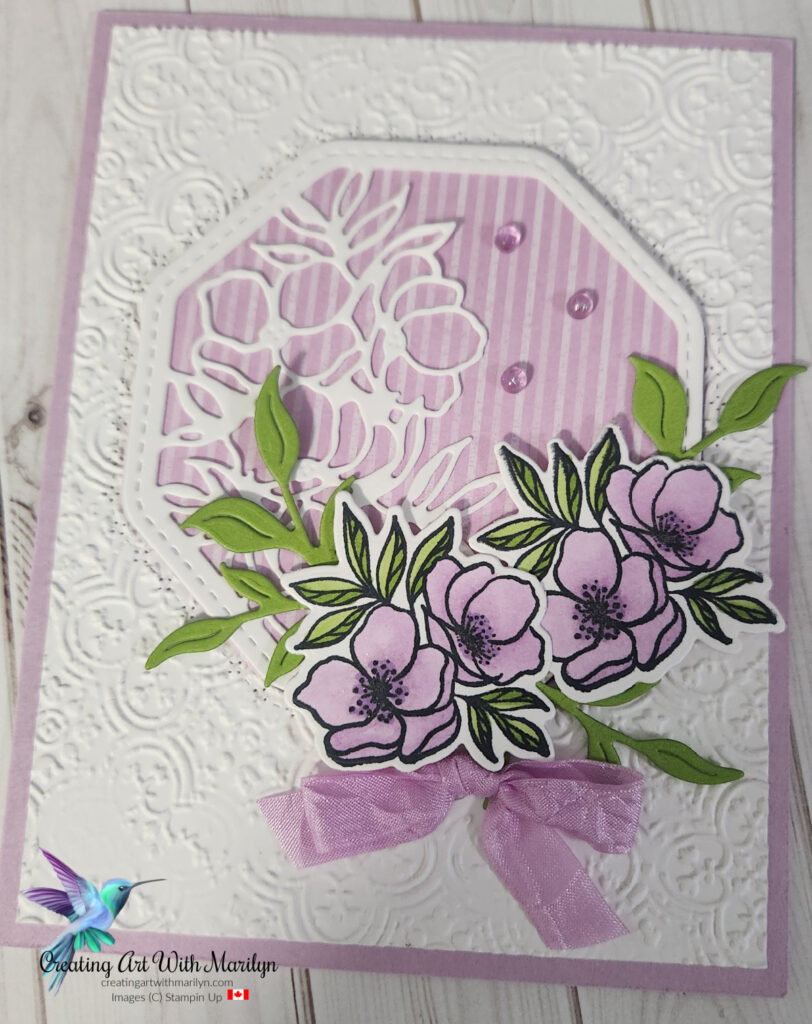
This card was made with the Memorable Blooms Bundle which is on the Last Chance List now. The flowers were colored with Fresh Freesia Stampin Blends and the hexagon is one of the dies included in the die set. The embossing folder is Distressed Tile 3D folder which is also in the Last Chance list. For complete instructions for this card read more
Posted inUncategorized|Comments Off on Memorable Blooms – Last Chance List – Fresh Freesia Flowers with White Underlayer
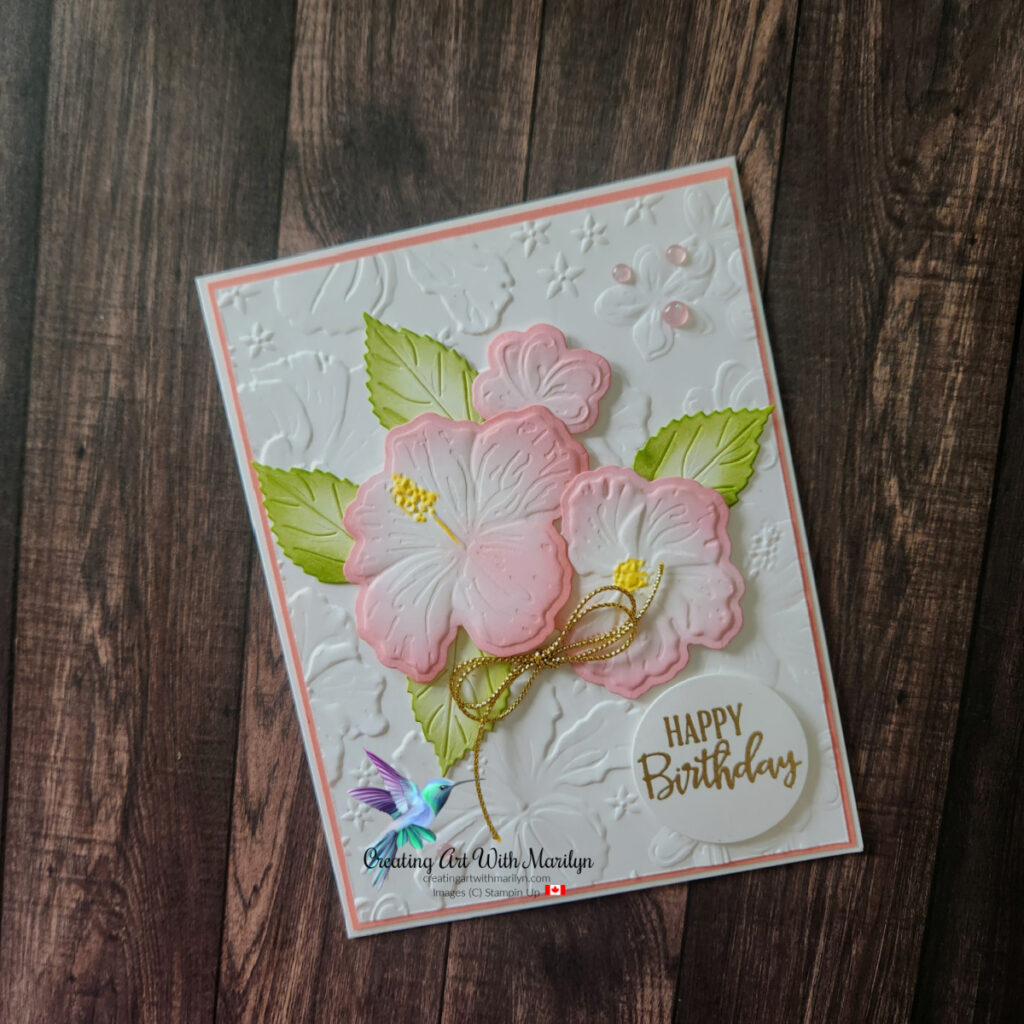
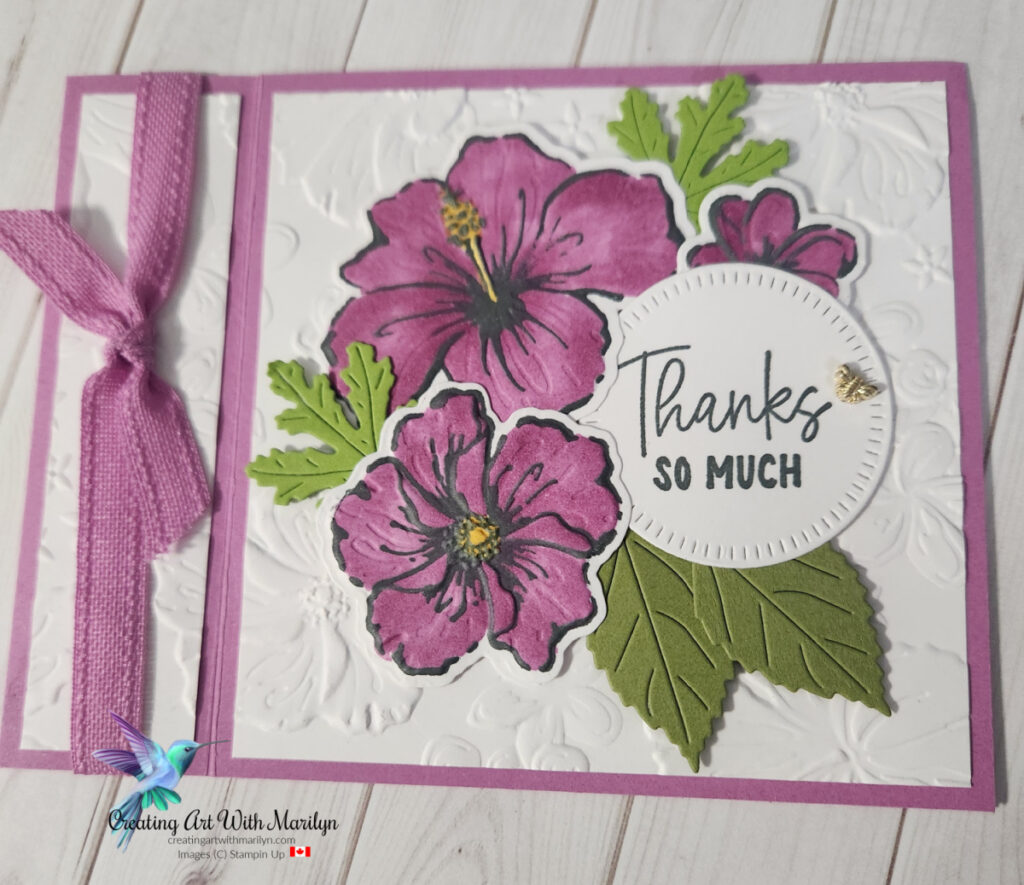
I made this card with the Happy Hibiscus Hybrid Bundle. I die cut the Hibiscus flowers out using the Hybrid folder and dies which also embossed the flowers. The edges of the flowers are lightly brushed with Bubble Bath and Flirty Flamingo ink and the centers of the flowers are colored with a Lemon Lolly Stampin Write Marker. The leaves are brushes with Granny Apple Green Ink. The Embossed layer is using the Happy Hibiscus Hybrid folder. For completed instructions on making this card read more
Posted inUncategorized|Comments Off on Happy Hibiscus – Happy Birthday
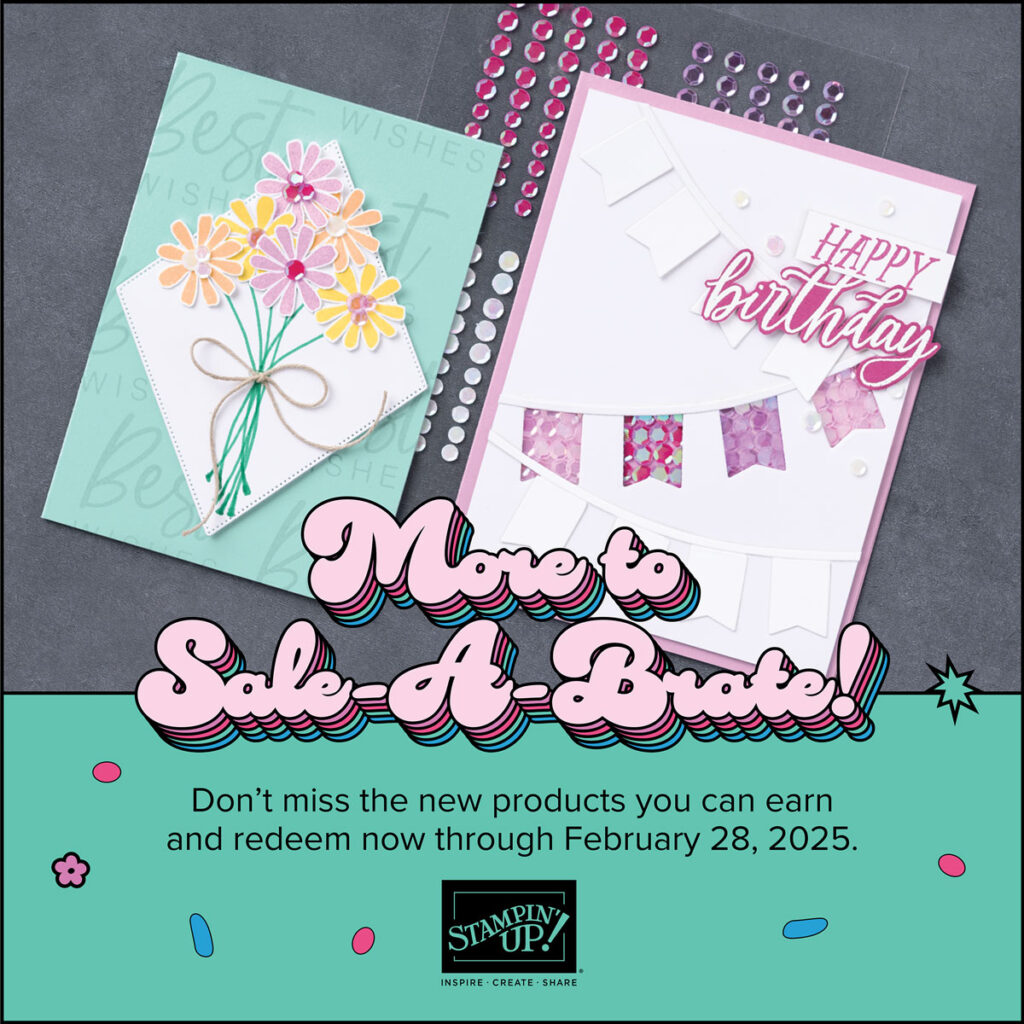
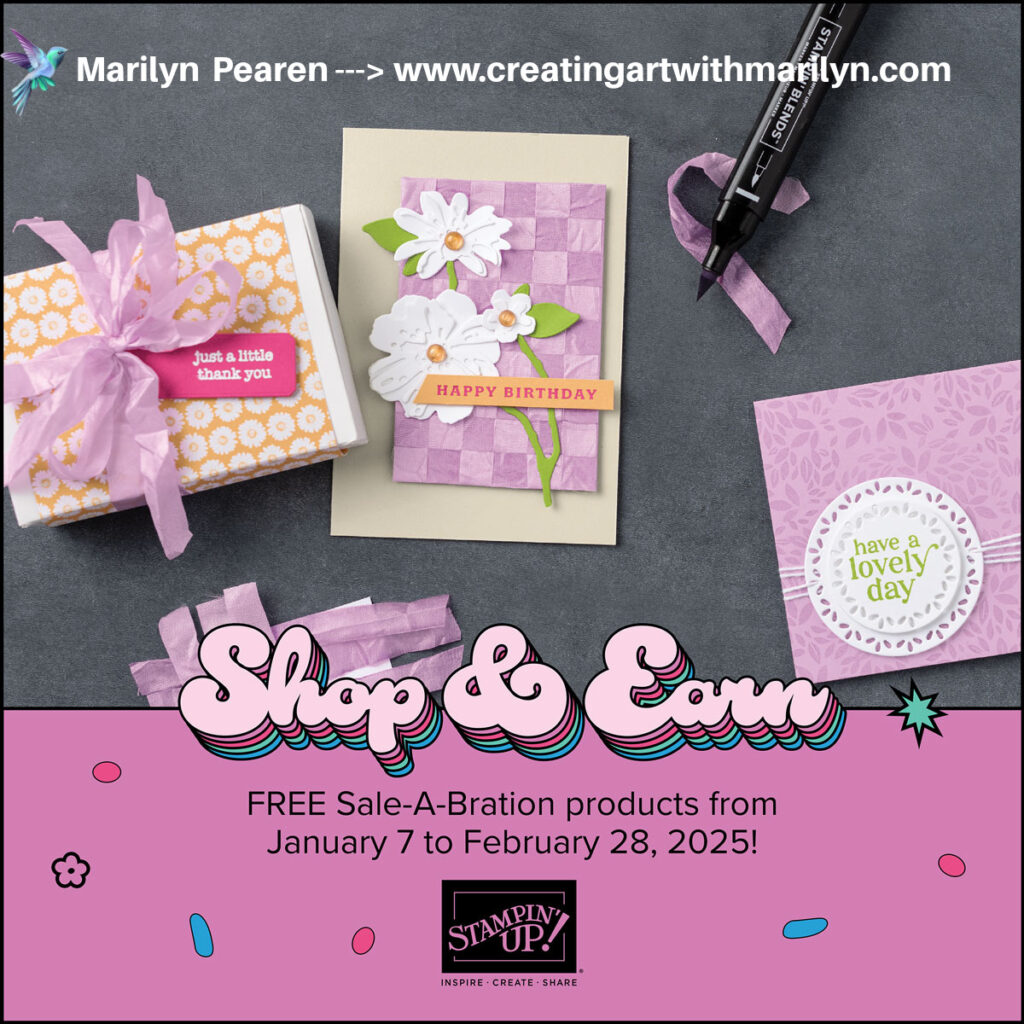
Stampin’ Up! just released some more products to the SALE-A-BRATION list!!! WHOO HOO! Now you can choose any of the items in the flyer below as a reward when your order reaches $75 or $150. There is no limit to the quantity of items you can get for FREE!
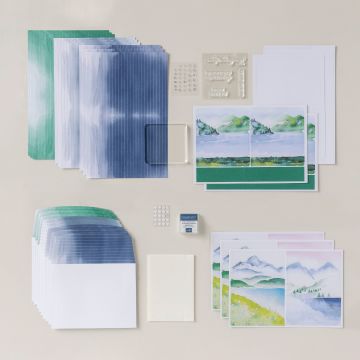
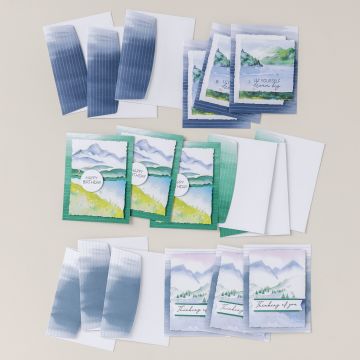
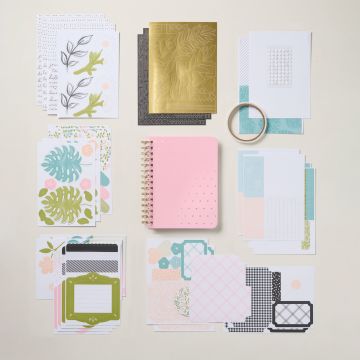
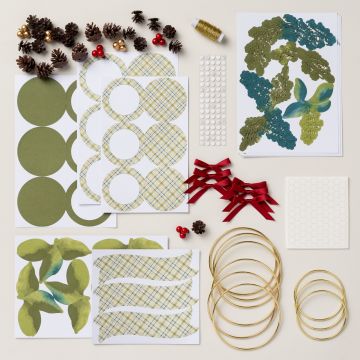
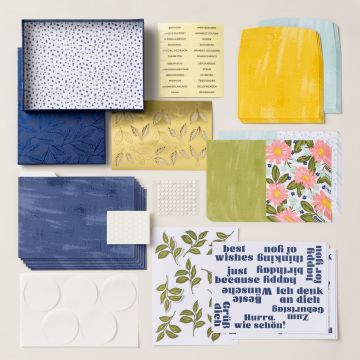
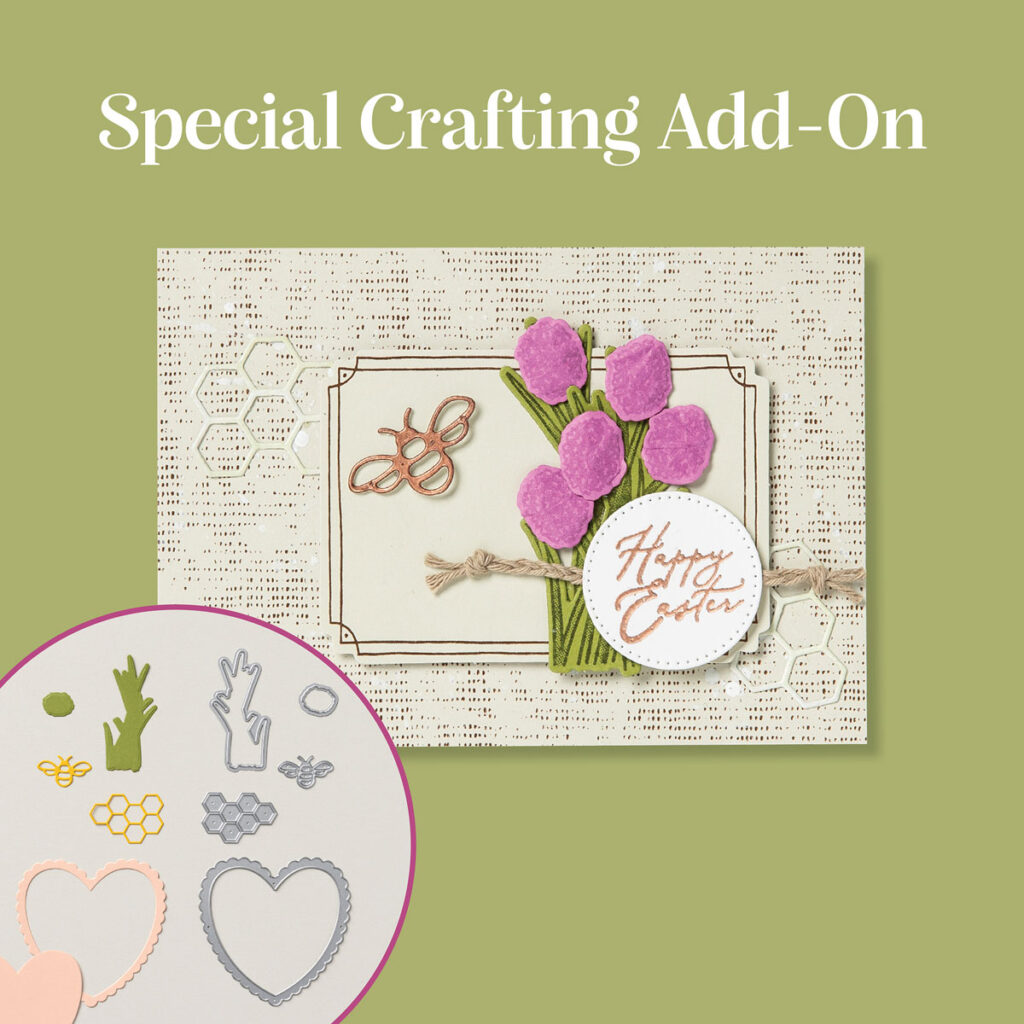
Create garden-inspired cards with this month’s kit, which also coordinates with the new Online Exclusive Grow With Love Bundle.
Your kit includes everything you need to make 9 cards (3 each of 3 designs), with 9 unique spring-themed coordinating envelopes. Your pre cut pieces will feature bronze foiled elements. A Petunia Pop Classic Stampin’ Spot is also provided, and other coordinating Stampin’ Up! colours are Basic Beige, Bubble Bath, Lemon Lime Twist, Lost Lagoon, and Old Olive.
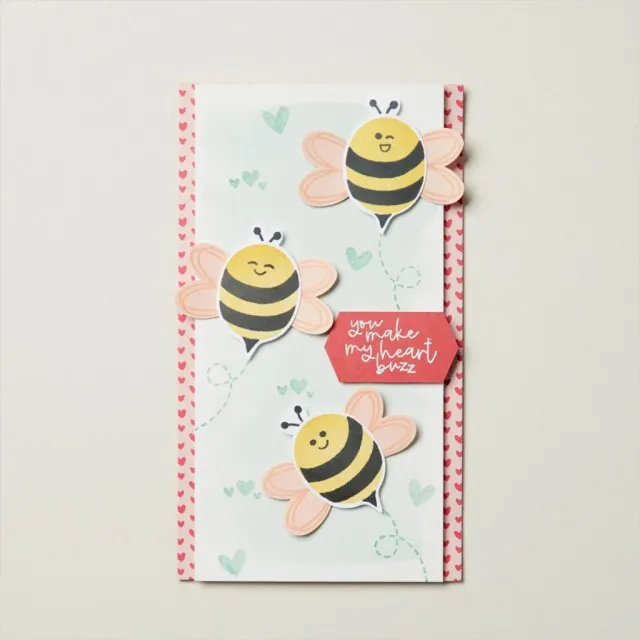
Don’t forget that you can purchase the Spring is in the Air dies which coordinate with all three of this quarter’s kits (January, February, and March 2025). This set of three dies includes scalloped heart frame, flowering chive, bee, and honeycomb elements. Don’t delay ordering as this add-on is offered while supplies last, and is only available to current Paper Pumpkin subscribers.
LAST CHANCE PRODUCTS have been updated
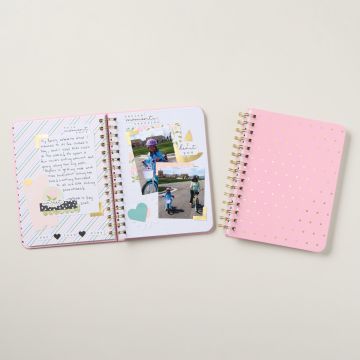
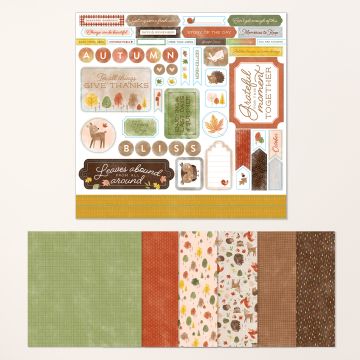
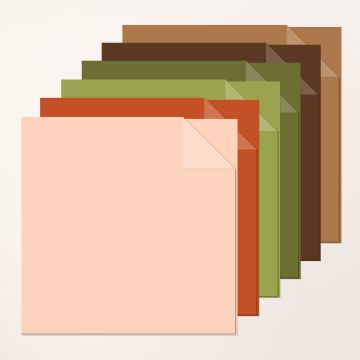
Stampin Up has updated the Last Chance list and there are some deals! If you love to scrapbook this is a great time or get some supplies as well. There are past Scrapbook Workshop Kits, two tone cardstock, stamp sets and dies, embellishments and ribbons
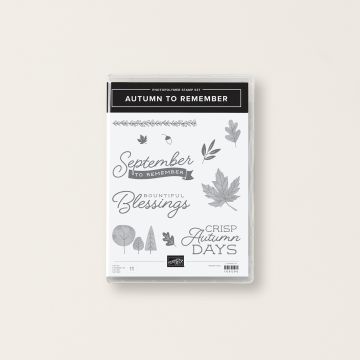
Sweet Days of Autumn 166609 $23.25Autumn To Remember 166500 $19.90Stamp Set
Posted inUncategorized|Comments Off on MORE TO SALE-A-BRATE!
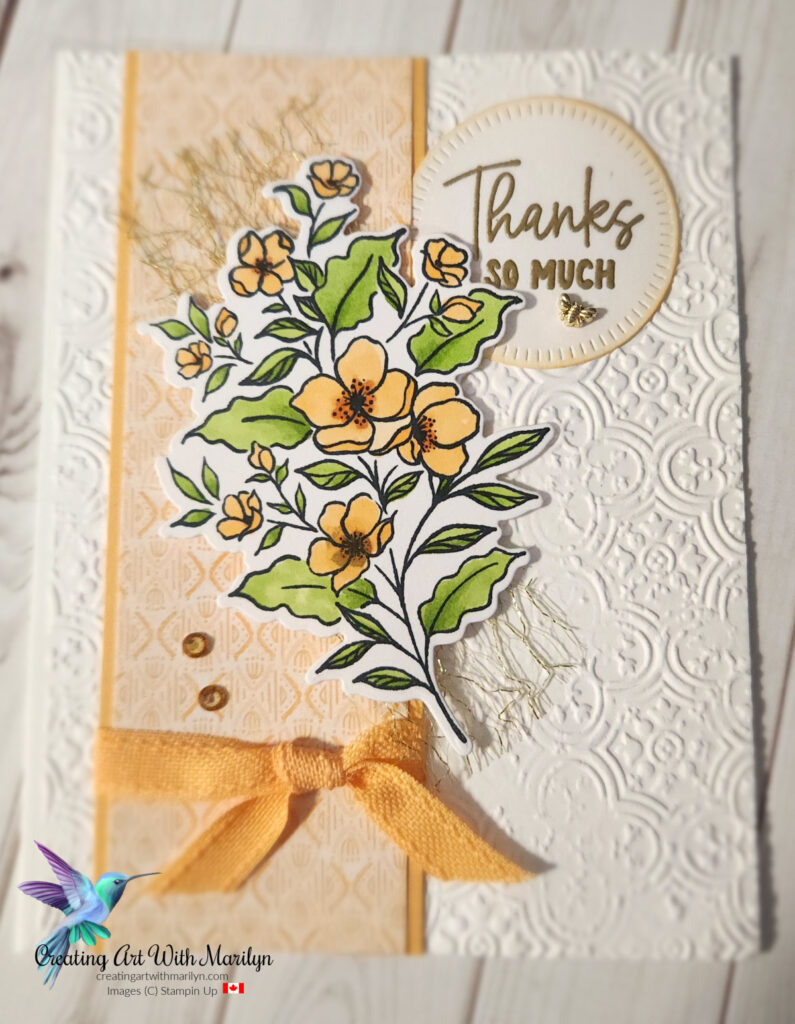
I made this card using the New Memorable Blooms Bundle. I coloured the flowers with Peach Pie and Granny Apple Green Stampin Blends. The Designer Series Paper is the Peach Pie 6×6 Assortment Pack. The ribbons are the Peach Pie Bordered Ribbon and the new Gold Open Weaved Ribbon. For complete instructions and supplies used read more…..
Posted inUncategorized|Comments Off on Memorable Blooms – Peach Pie – Thanks So Much
I made this beautiful card using the new Memorable Blooms Bundle from the Jan – Apr 2025 Mini Catalogue. I used the 6×6 Fresh Freesia Designer Series Paper Assortment Pack. The Basic White card stock is embossed with the Distressed Tile 3D embossing folder. The ribbon is the FREE Fresh Freesia Seam Binding Ribbon from Sale -A-Brations. The embellishments are the Fresh Freesia Tinsel Gem Three Pack. Complete instructions for making this card read more…..
Happy Hibiscus – Petunia Pop Thanks So Much
This card is a Book folding card using the new Online Exclusive Happy Hibiscus Hybrid Bundle. I used Petunia Pop card stock and colored the Hibiscus with Petunia Pop Stampin Blends. The leaves are die cut in Old Olive and Granny Apple Green card stock. The ribbon is Petunia Pop Border Ribbon and embellishment is the Tiny Bee Trinkets. For Complete instructions to make this card read more….
Posted inUncategorized|Comments Off on Memorable Blooms –
Sale – A – Bration is one of of our Greatest Saving Events. You will get FREE items with a $75 order. You have 2 months to place as many orders as you would like and be able to collect FREE products!
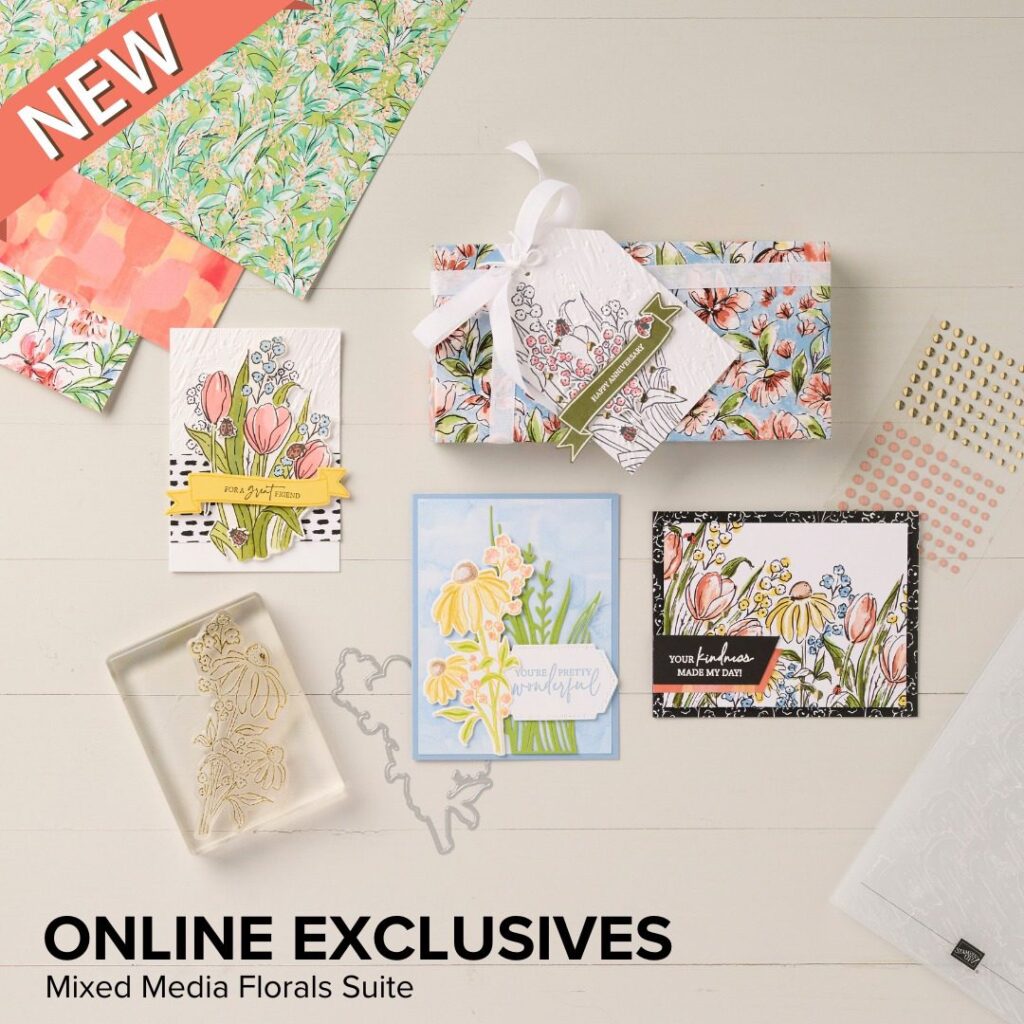
We have some fabulous new goodies in our ONLINE EXCLUSIVES product line to! You’ll find that brochure here:
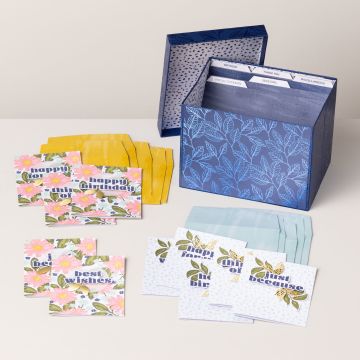
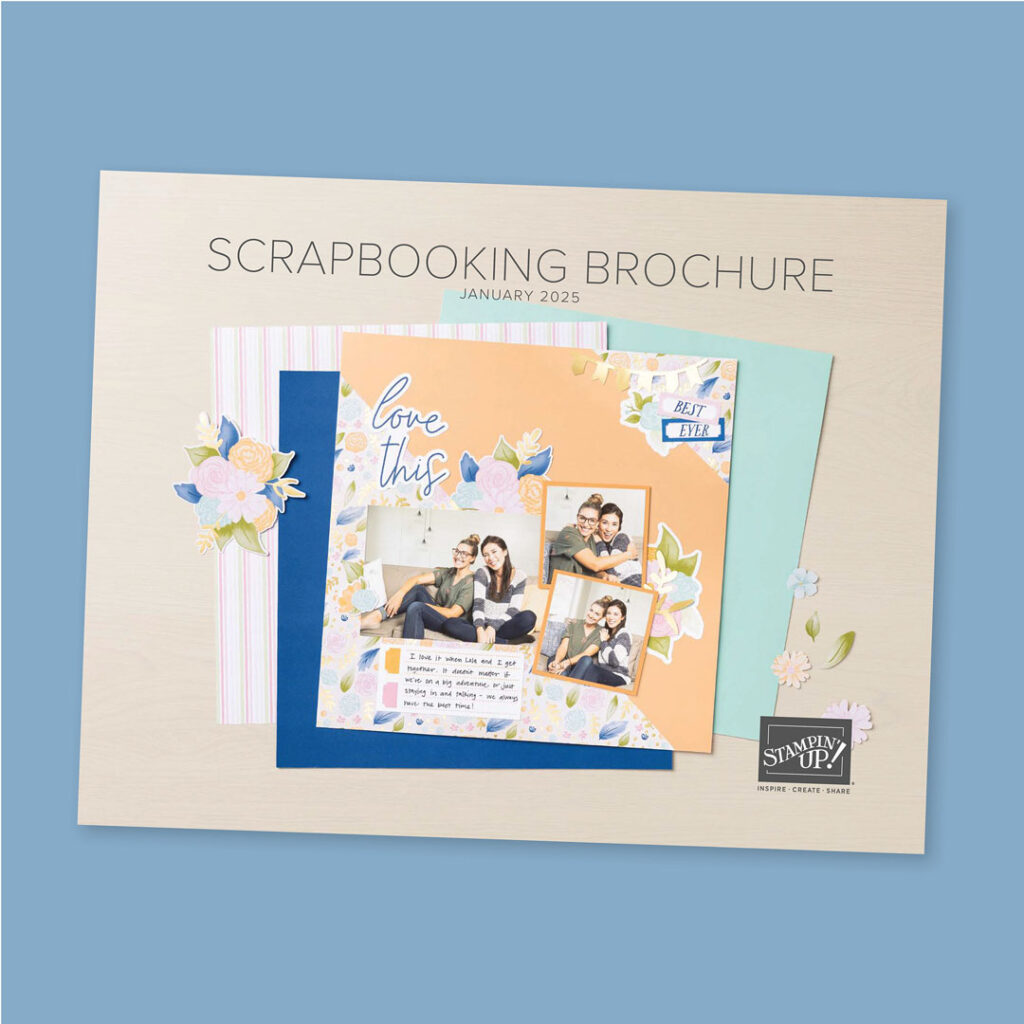
Check out our new Scrapbook Brochure
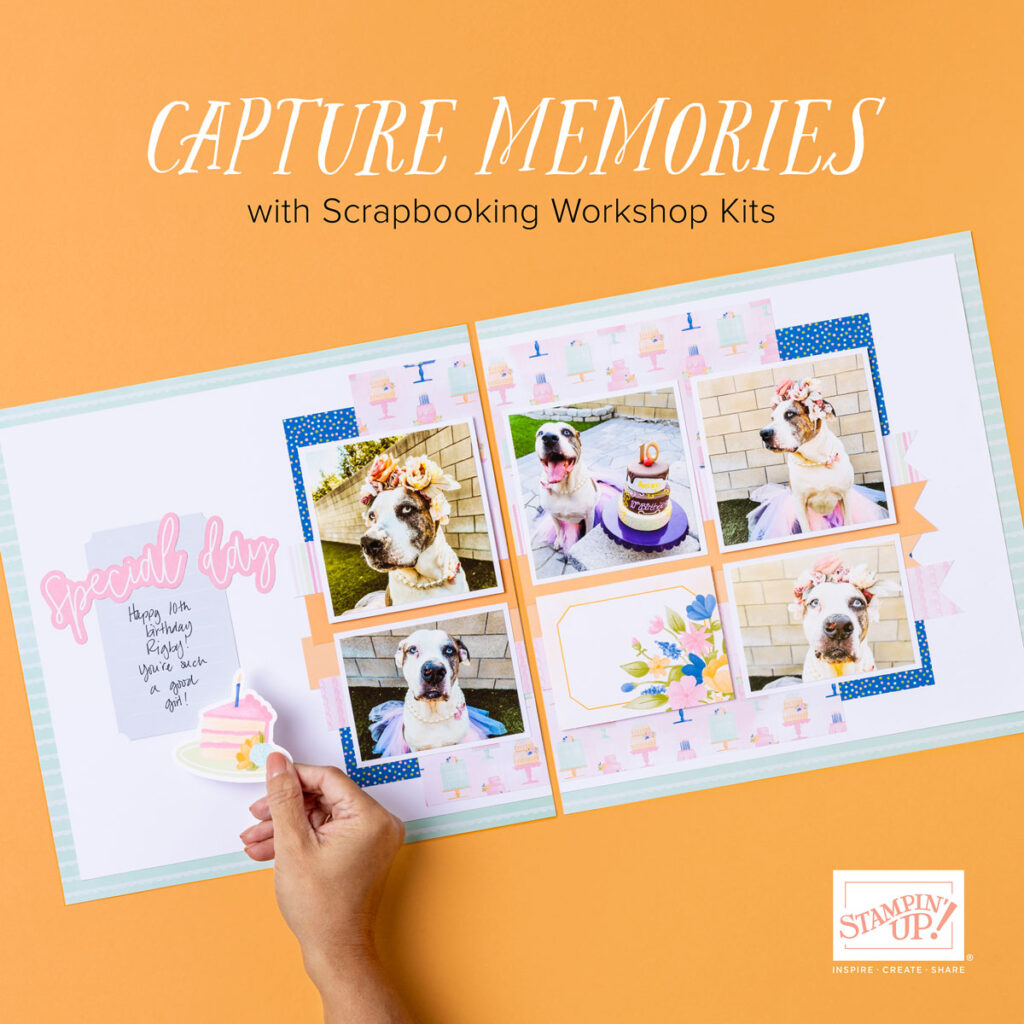
Take a look at our new Scrapbooking Workshop Kits now available from the January 2025 Scrapbooking Brochure. Capture your favorite moments forever!
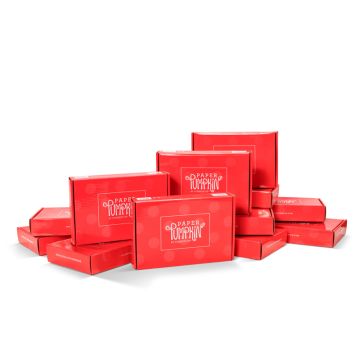
Subscribe for a great Paper Pumpkin Kit. you can choose 3 months, 6 months of a year and get FREE Sale – A – Bration items!
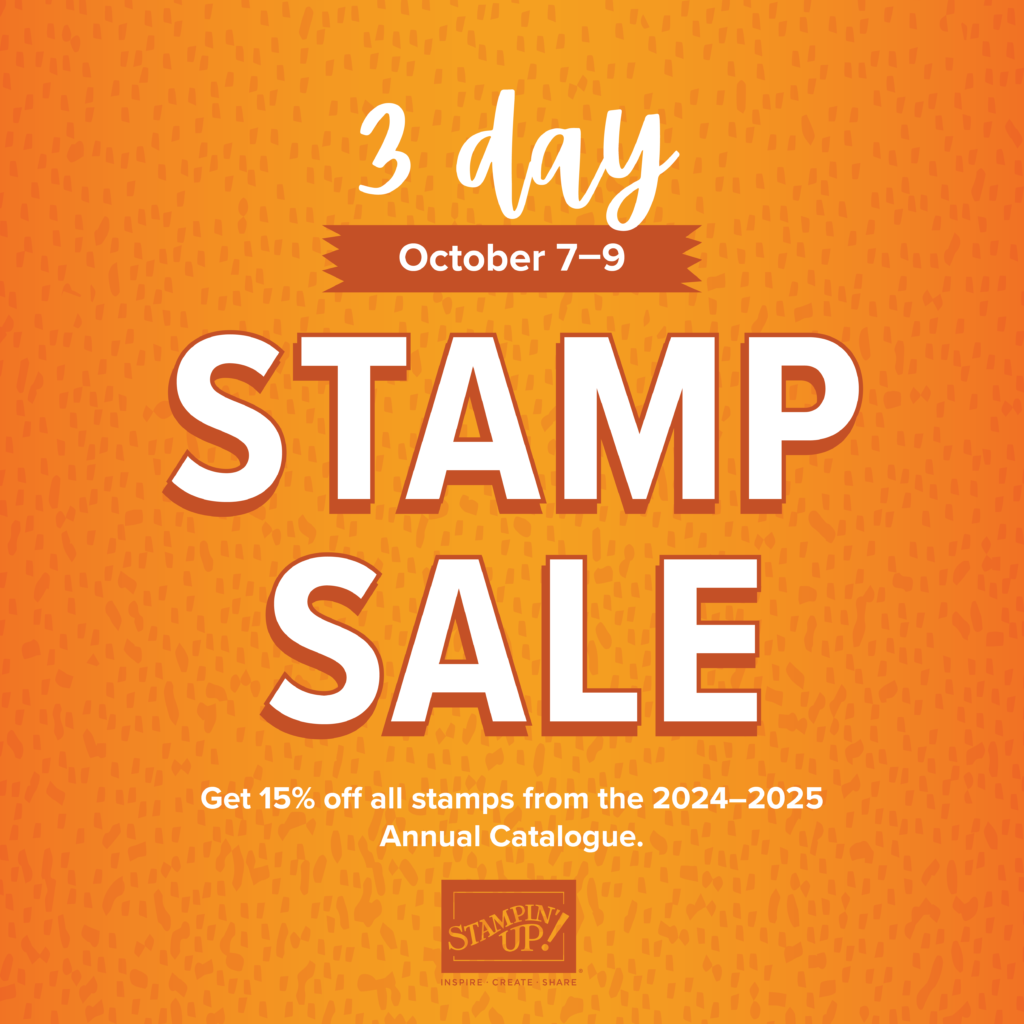
Have you been eyeing a stamp set (or two, or three) from the 2024–2025 Annual Catalog? Well, we have good news for you! On October 7, 2024, our Three-Day Stamp Sale will begin! From October 7–9, you can get those sets you’ve been wanting at a 15% discount. Act fast—this stamp-tacular sale only lasts for 3 days!
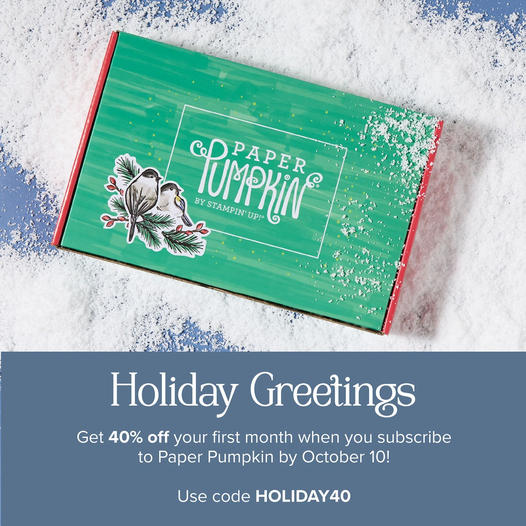
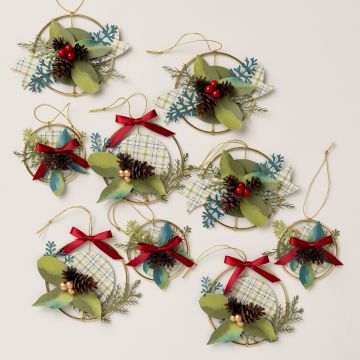
Santa Claus is comin’ to town a bit early this year—and he’s brought a holiday Paper Pumpkin sale! Starting September 11, 2024, at 12:01 a.m. (MT) until October 10, 2024, at 11:50 p.m. (MT), anyone who signs up for our monthly Paper Pumpkin subscription as a new subscriber will receive 40% off their first kit. That’s right, 40% OFF!
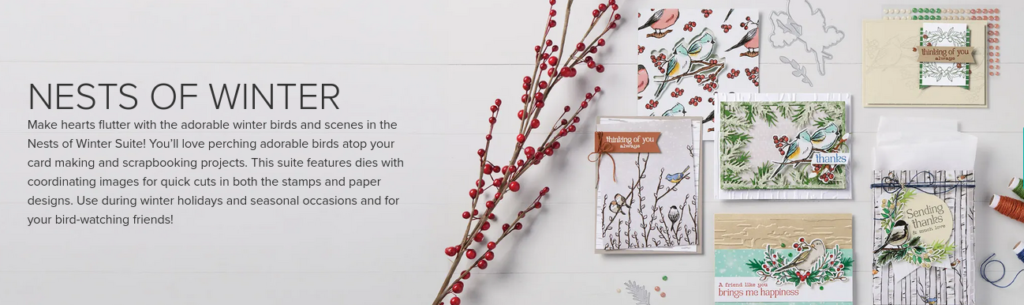
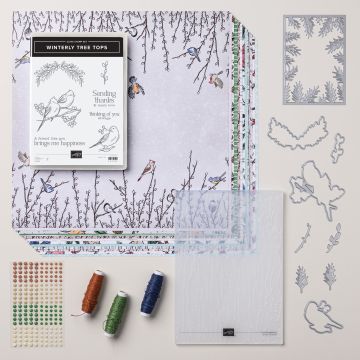
The October Kit coordinates with the Nest of Winter Collection but you have to subscribe before Oct 10th. So act now,
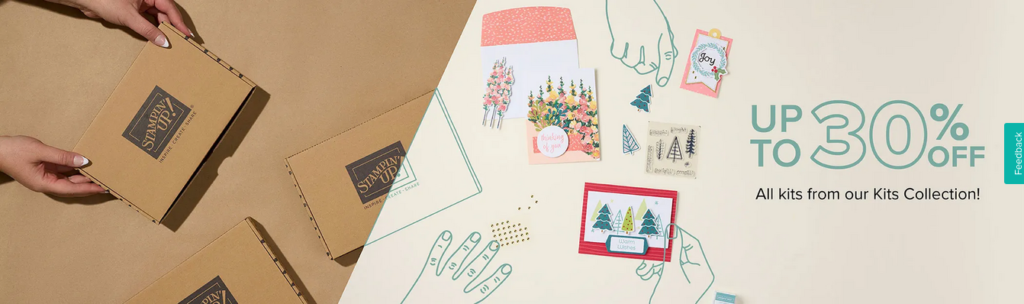
Happy October! We are kicking off the month with a fantastic sale: a Kits Collection sale! From October 1–31, you can shop all kits up to 30% off. Shop card making kits, home decor, treat packaging, and so much more. Kits are all-inclusive and come with step-by-step instructions for easy crafting. There’s something for everyone! So don’t wait; start shopping now! Kits are only available while supplies last.
Hi my name is Marilyn Pearen and I live in Prince George, British Columbia Canada. I have been a Stampin’ Up Demonstrator for 9 years now. Gosh how time flies when you are having fun and enjoying what you do. I decided to become a demonstrator to share my passion and love for card making.
All contents (including text, photographs and images are sole responsibility of Marilyn Pearen as I am an Indepentent Stampin Up! Demonstrator. The use of any contents, services, classes or products offered on this blog are not endorsed by Stampin Up! It is shared for personal use only. No contents may be removed , duplicated or copied for distribution or advertisement without permission.https://festivefridaychallenge.com/


")
")
")
")
")