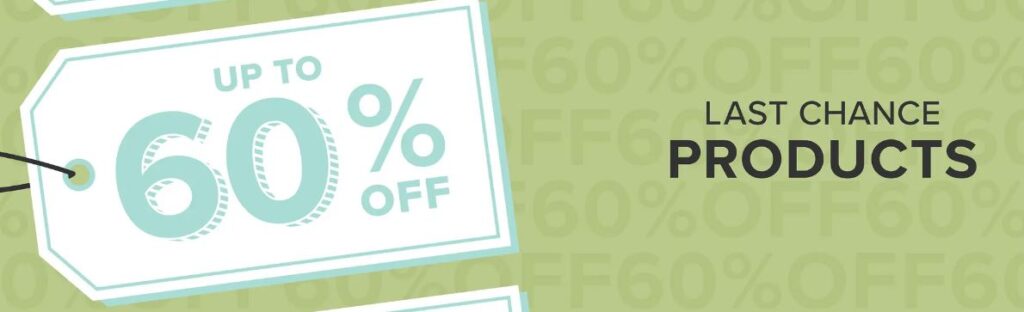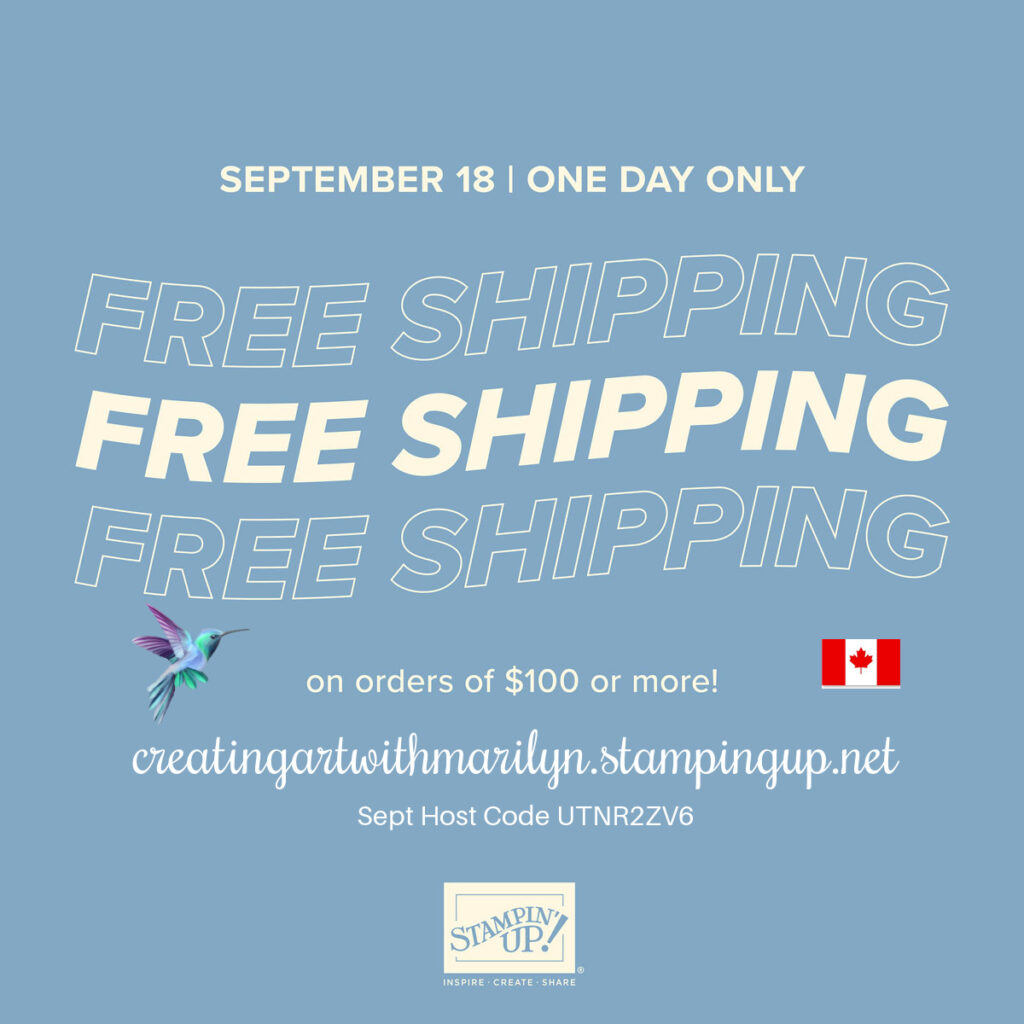
Stampin Up is offering FREE SHIPPING today, September 18, 2024 when you place an of $100 or more before taxes. You must place your order Online before 11:59 MT.
- All order types qualify for this promotion.
- Free shipping is for 24 hours only. Orders must be opened and closed on September 18, 2024.
- Free shipping automatically applies to your cart after the qualifying amount has been met, which is $75 USD | $100 CAD (before tax).
- Prepaid 3-, 6-, or 12-month Paper Pumpkin subscriptions can contribute to the qualifying amount for free shipping (Month-to-month subscriptions do not qualify). Subscriptions billed and shipped this month will be charged for the normal amount ($25.00 USD | $34.75 CAD shipping included) + tax.


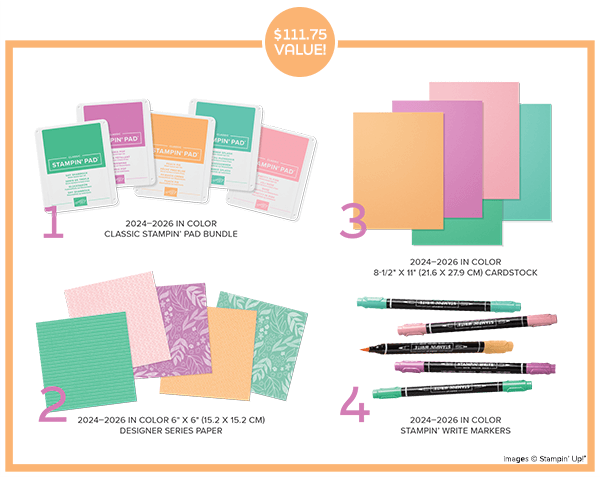
")
")
")
")


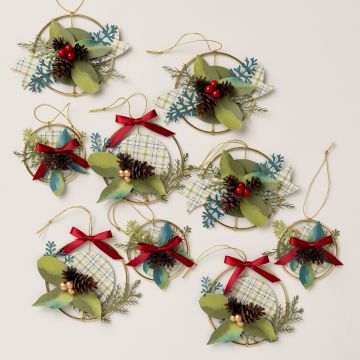
 Designer Series Paper")


 Sheer Ribbon")