
Stampin Up has done a Clearance Rack Refresh. You can save up to 60% off on selected items. These items are selling out fast, so shop now and save! Here are just a few items for sale.


Recent Comments
- Mo Rootes on Crafty Collaborations – Florals – Everyday Details – Happy Birthday
- Mo Rootes on Technique Tuesday Blog Hop – Spotlighting
- Simone Kleine on March International Top Ten Winners Blog Hop – Perched In A Tree – Thank you
- Kylie Bertucci on March International Top Ten Winners Blog Hop – Perched In A Tree – Thank you
- Mo Rootes on March Crafty Challenge Blog Hop – Color Challenge – Pansy Patch
-

-

-
Scan code to Online Store

About me
Hi my name is Marilyn Pearen and I live in Prince George, British Columbia Canada. I have been a Stampin’ Up Demonstrator for 9 years now. Gosh how time flies when you are having fun and enjoying what you do. I decided to become a demonstrator to share my passion and love for card making.
-
Newsletter
-
Request a catalogue:
-
-

-
Stampin Up! May - August 2026 Catalogue
-
Request Catalogue
-
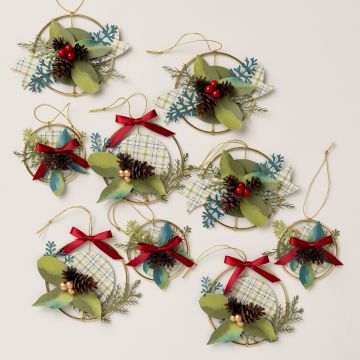
Product of the Month -- May
-

-
Berry Botanical Vellum 12x12"
-
Only $7, with an order of $100 or more
-
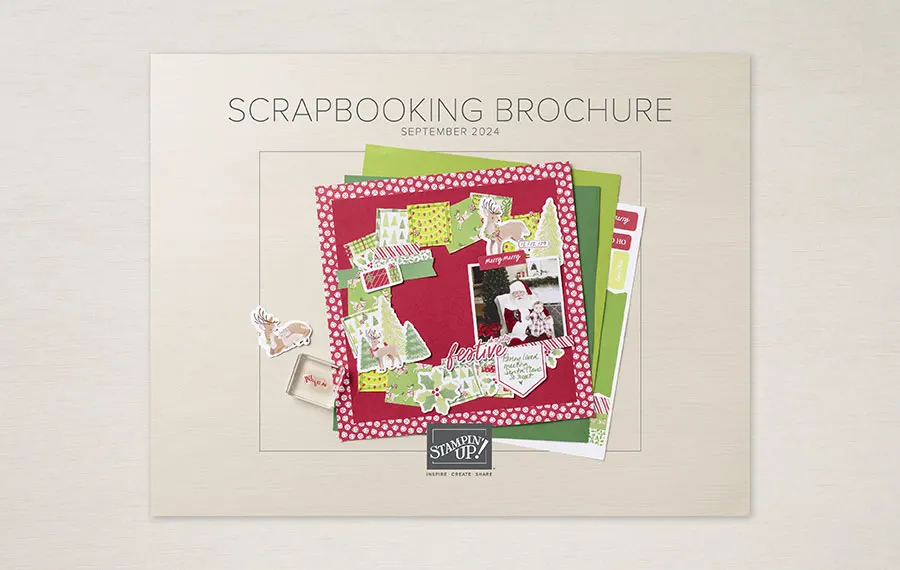
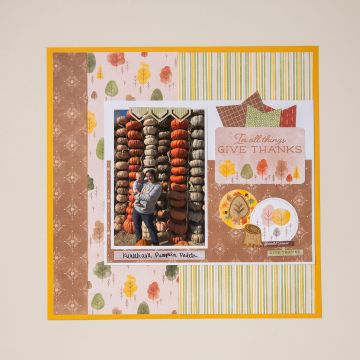
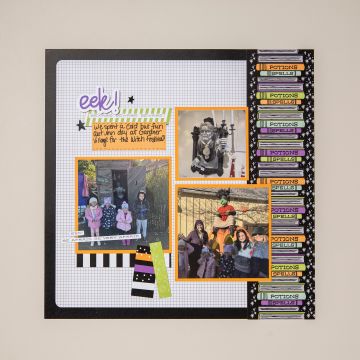
Shop - Scrapbook Brochure
-

-
Shop Online Exclusives
-

-
Scrapbook Workshop Kits
-
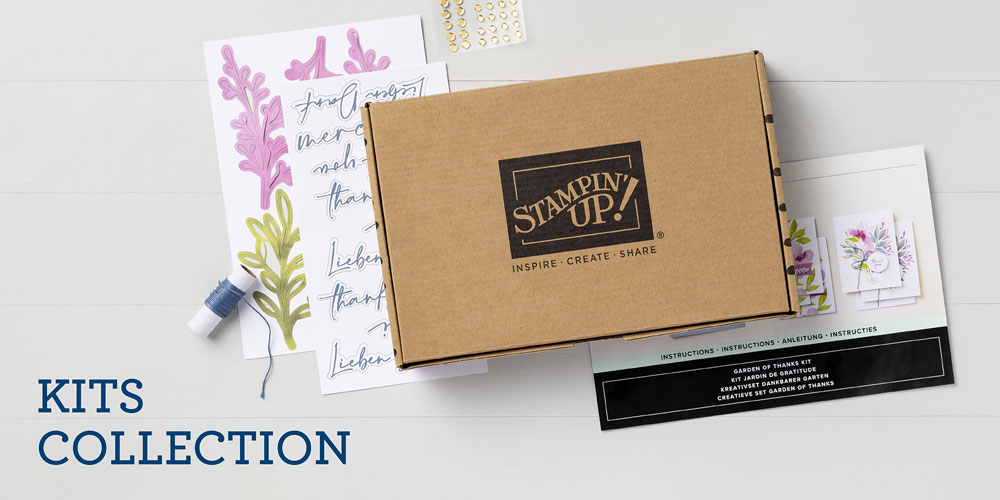
Kits Collection
-

-
2 New Kits Added This Month
-


-

Paper Pumpkin

-

-

New Cut and Emboss Machine 149653

-

-
Stampin Up Glass Mat Studio (Imperial) 163987
-
Color Coach Printout
-

-

-

-

-

Copyright.
All contents (including text, photographs and images are sole responsibility of Marilyn Pearen as I am an Indepentent Stampin Up! Demonstrator. The use of any contents, services, classes or products offered on this blog are not endorsed by Stampin Up! It is shared for personal use only. No contents may be removed , duplicated or copied for distribution or advertisement without permission.https://festivefridaychallenge.com/