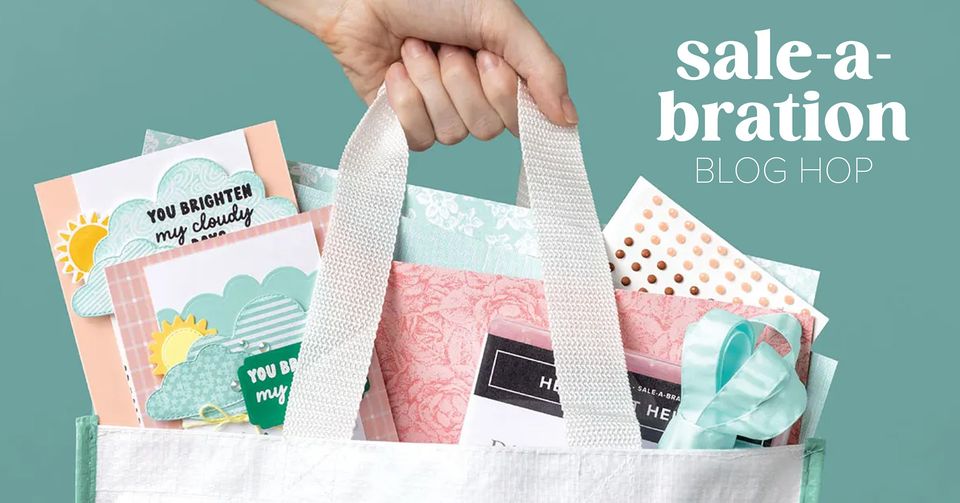
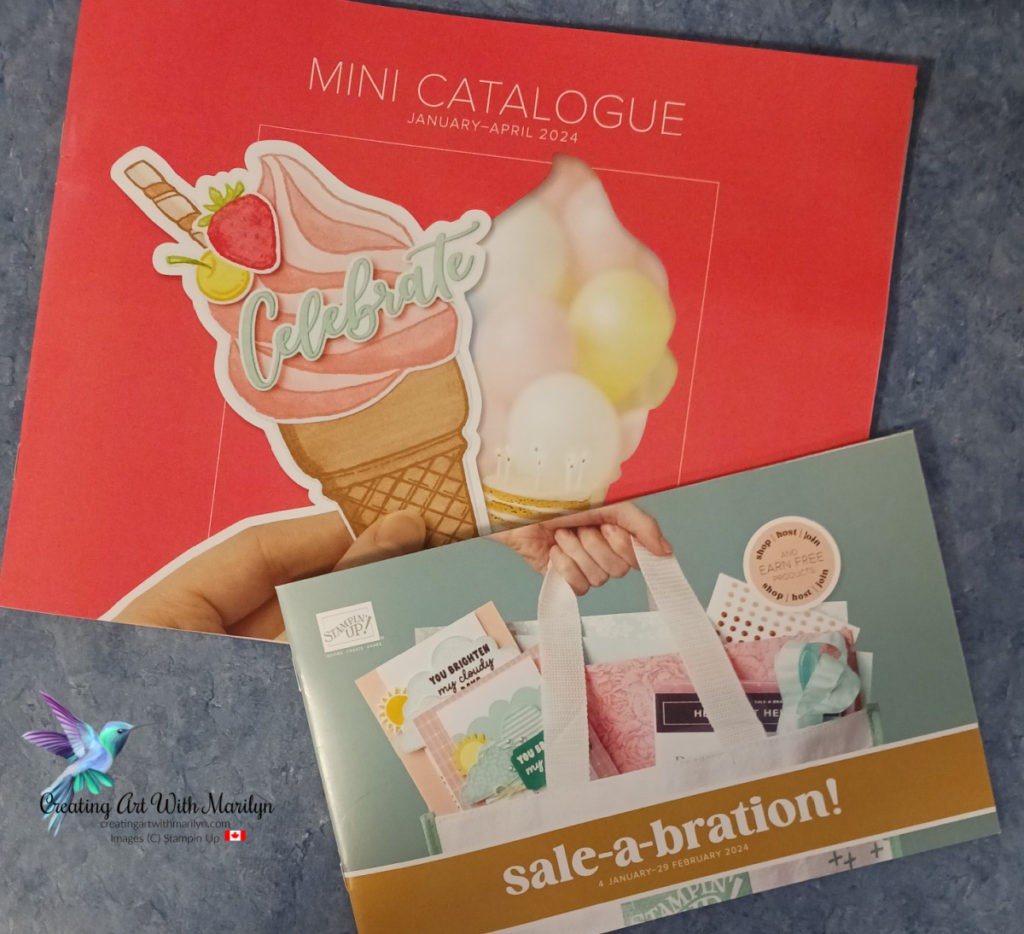
I so excited to be able to participate in the February Sale-A-Bration Blog Hop. The theme for this Blog Hop is creating a card or something using the Free products from the Jan- Feb 2024 Sale-A- Bration Brochure. I decided to use the Flight and Airy Designer Series Paper, and the Softly Sophisticated Bundle.
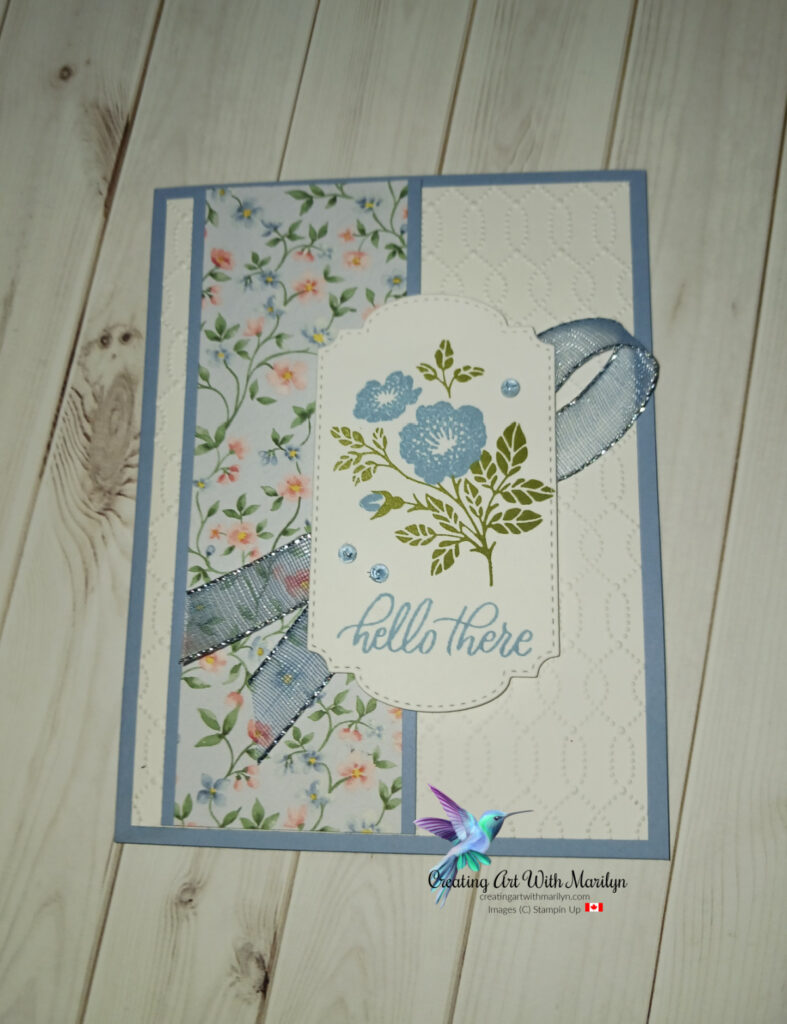
I love being able to get Free products during the Jan-Feb Sale A Bration promotion. Some of the Free Products I choice were the Flight and Airy Designer Series Paper and paired it up with the Softly Sophisticated Bundle. The embossing folder from this Bundle is such a versatile folder that it can be used with almost anything.
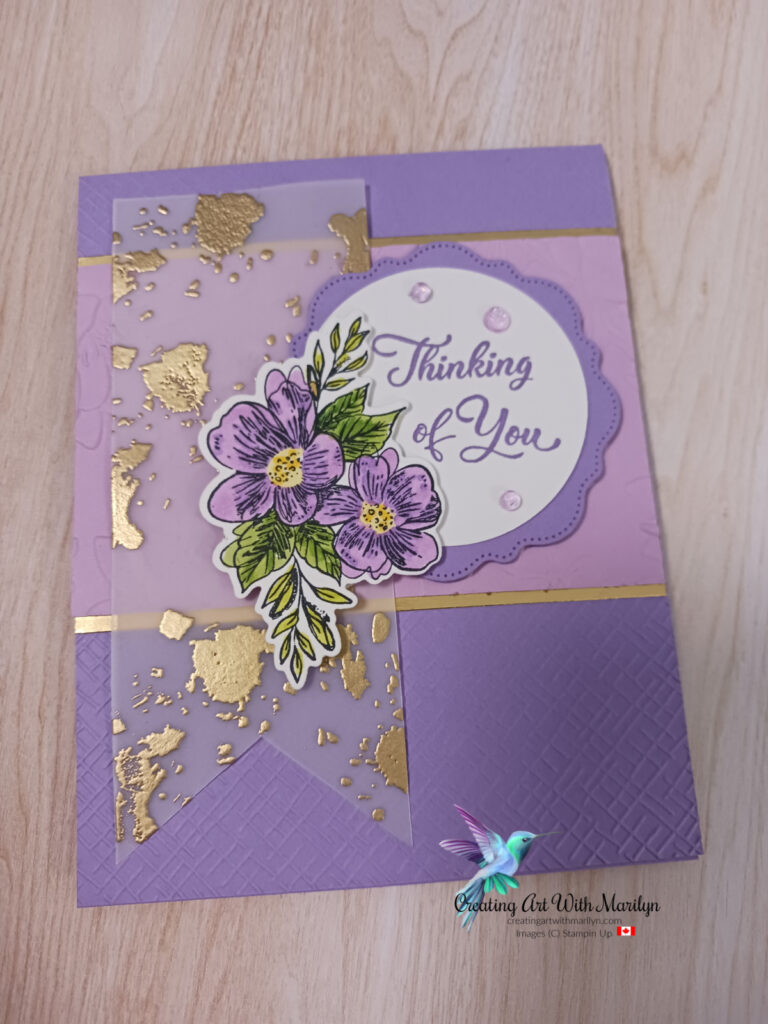
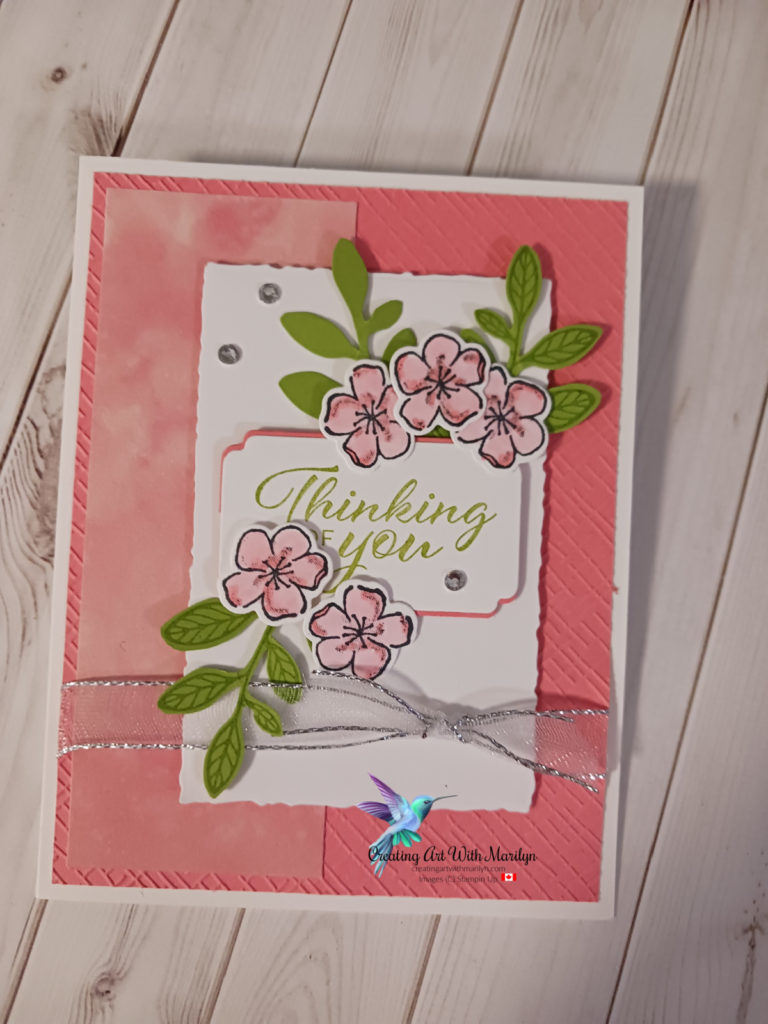
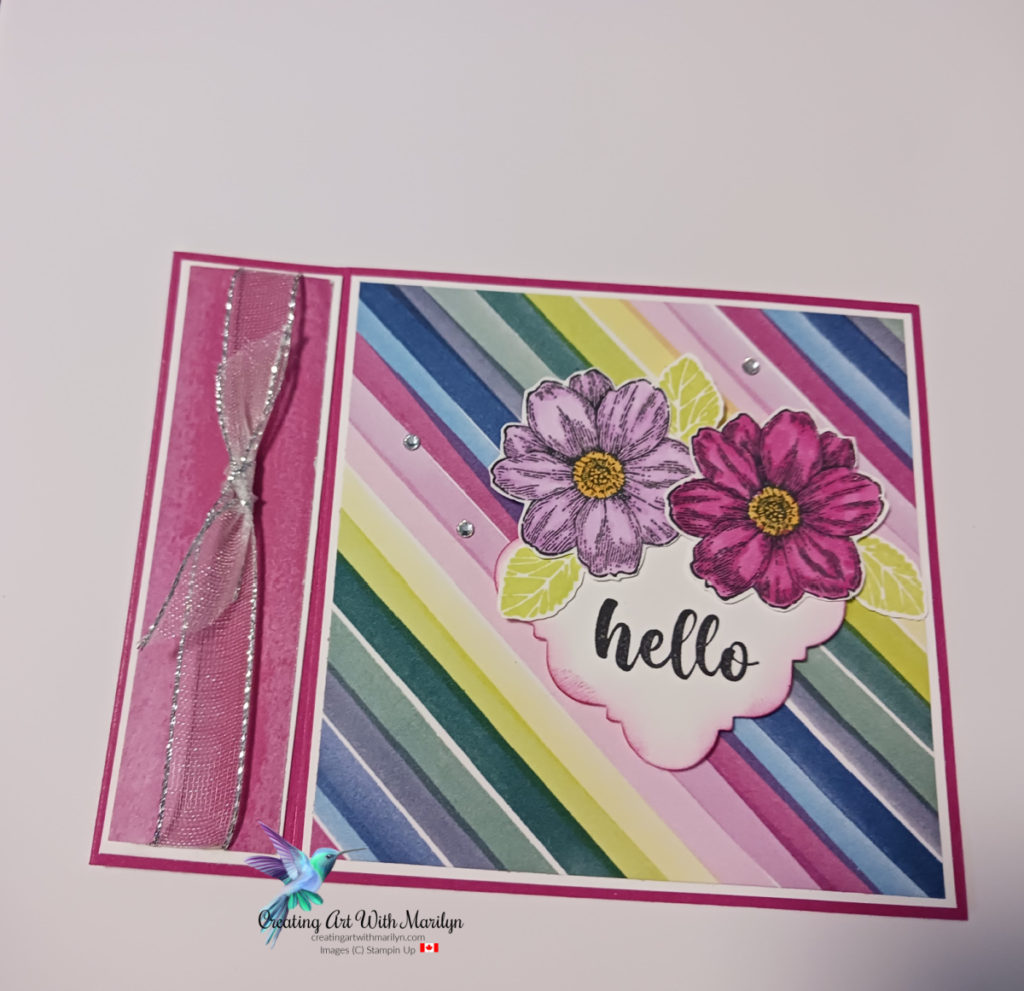
Complete details to create this card:
- Card base is Boho Blue card stock cut at 8 1/2″ x 5 1/2″, scored and folded at 4 1/4″
- Basic White card stock layer is 4″ x 5 1/4″, embossed with the Softly Sophisticated embossing folder and adhered to the card base with liquid glue
- Cut a piece of the Flight and Airy Designer Series Paper 1 3/4″ x 5 1/4″
- Cut 2 strips of Boho Blue card stock at 1/2″ x 5 1/4″, adhere them to the Flight and Airy Designer Series Paper with Stampin Seal
- Pop this layer to the card with dimensionals
- On a piece of Basic White card stock, die cut the 2nd largest decorative rectangle from the Thoughtful Expressions
- Stamp a sentiment from the Softly Sophisticated stamp set in Boho Blue ink near the bottom of the decorative rectangle
- Stamp the larger flower image from the Softly Sophisticated in Old Olive and Boho Blue ink
- With the Dark Boho Blue Stampin Blends, color a piece of the White and Silver 1/2″ Sheer ribbon that is approximately 12″ long
- Loop the ribbon on the back of the stamped rectangle
- Pop the looped ribbon and the stamped rectangle to the card with dimensionals
- Add some of the Misty Moonlight Tinsel Gems Three pack to finish the card
Now let’s hop over and see all the other Demonstrators cards!
Product List")

 Designer Series Paper")


 Sheer Ribbon")


")
")
")


 Circle Punch")


")


 Designer Series Paper")


")
")

")


 Designer Series Paper")


")
")

 Designer Series Paper")