
I am so excited to be able to participate in the Stampin Dreams Blog Hop. We are a group of Demonstrators from all around the World, who love to share what we do. Each month we participate and share projects we are working on. Our theme this month is Gift Packaging.
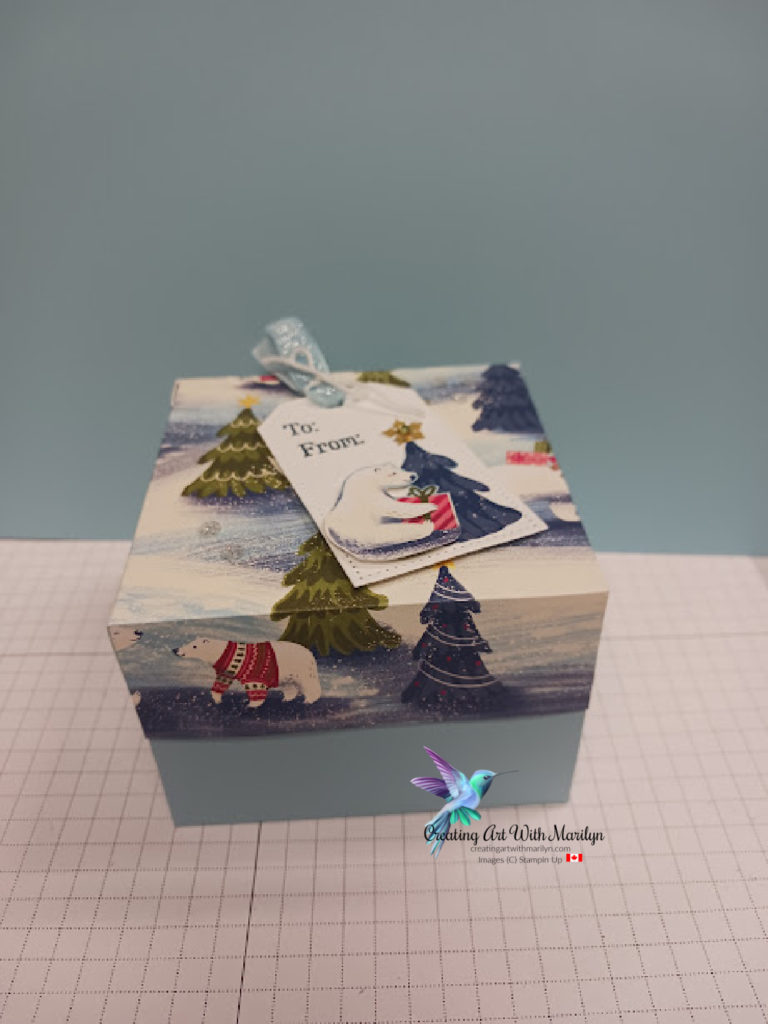
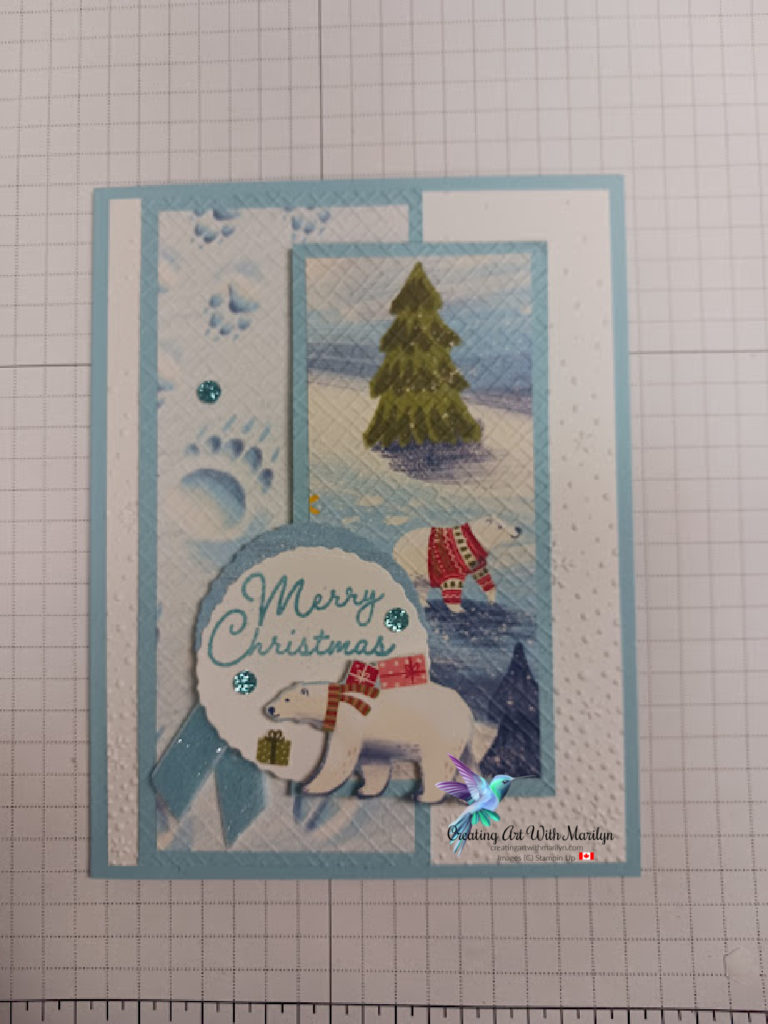
I decided to make a gift box and a coordinating Christmas card. I used the Beary Christmas 12 x 12 Designer Series Paper and the Tailored Made Tags. for the box. I embossed the card with the Snowflake Sky 3D embossing folder and the Beary Christmas Designer Series Paper layer with the Thatched Basic 3D embossing folder.
This is the cutting template for the top and bottom of the box
Cutting instructions to make the box
Bottom:
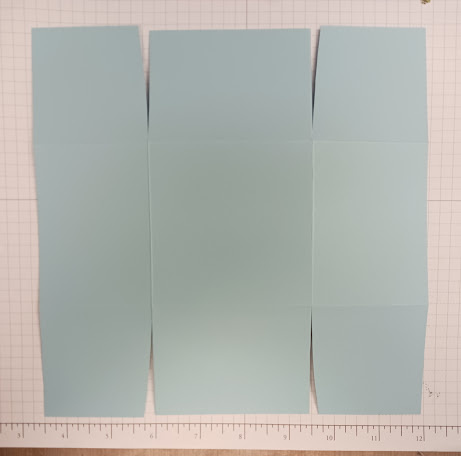
- Start with a piece of Balmy Blue card stock that is 8 1/2″ x 8 1/2″
- Score all the way around the box at 2 1/2″
- Give the score lines a good burnish
- Cut up on each score line on the opposite ends making flaps and then cut a tiny wedge on the inside of the flaps
- Fold the flaps in to create a box and glue the flaps with liquid glue and burnish the flaps to adhere well
Top:
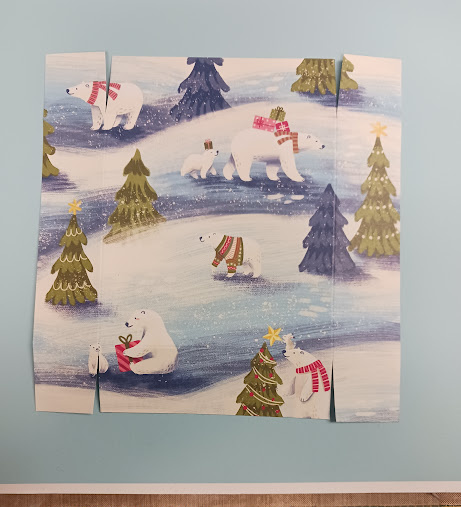
- For the top of the box, cut a piece of Beary Christmas Designer Series Paper 6″ x 6″
- Score all away around the Designer Series Paper at 1 1/4″
- Cut up each score line on the opposite sides to create the flaps and wedge the flaps, the same as the bottom part of the box.
- Fold the flaps in to create the lid and glue with liquid glue
- Die cut a tag from the Tailored Made Tags
- Fuzzy cut an image from the Designer Series Paper and add to the tag with dimensionals
- Pop the tag on the box with dimensionals
- Add a piece of the Balmy Blue Sparkle ribbon to the tag and tie it with White Baker’s Twine
- Add a snowflake embellishment from the Adhesive Backed Snowflakes to the tree
Cutting instructions for the matching card:

- Card base is Balmy Blue card stock, cut at 8 1/2″ x 5 1/2″ scored at 4 1/4″
- Basic White layer is 4″ x 5 1/4″
- Emboss the Basic White layer with the Snowfall Sky embossing folder and adhere to the card base with liquid glue
- Cut Balmy Blue card stock 2 1/4″ x 5 1/4″
- Cut a piece of the Beary Christmas Designer Series Paper 2″ x 5″ and glue these layers together with liquid glue
- Emboss this layer with the Thatched Basic 3D embossing folder
- Glue this layer directly to the card base
- Cut a piece of Balmy Blue card stock 2″ x 4 1/4″
- Cut a piece of the Beary Christmas Designer Series Paper 1 3/4″ x 4″
- Glue these layers together with liquid glue
- Emboss this layer with the Thatched Basic 3D embossing folder
- Pop this layer onto the card with dimensionals
- Die cut a Deckled Circle in Balmy Blue card stock
- Die cut another circle the same size in Basic White card stock
- Stamp a sentiment on the Basic White circle in Balmy Blue ink
- Adhere the circles together, off setting them a little
- Fuzzy cut a bear image from the Beary Christmas Designer Series Paper and add to the circles with dimensionals
- Add circles to the card with dimensionals
- Add some Balmy Blue Sparkle ribbon to the card with glue dots
- Add some Adhesive Backed Glitter Sequins to the finished card
Check out the other Demonstrators and their great creations
Product List")


 Designer Series Paper")


 Sparkle Ribbon")


A great little box and card combo Marilyn, the dsp lid looks so pretty x