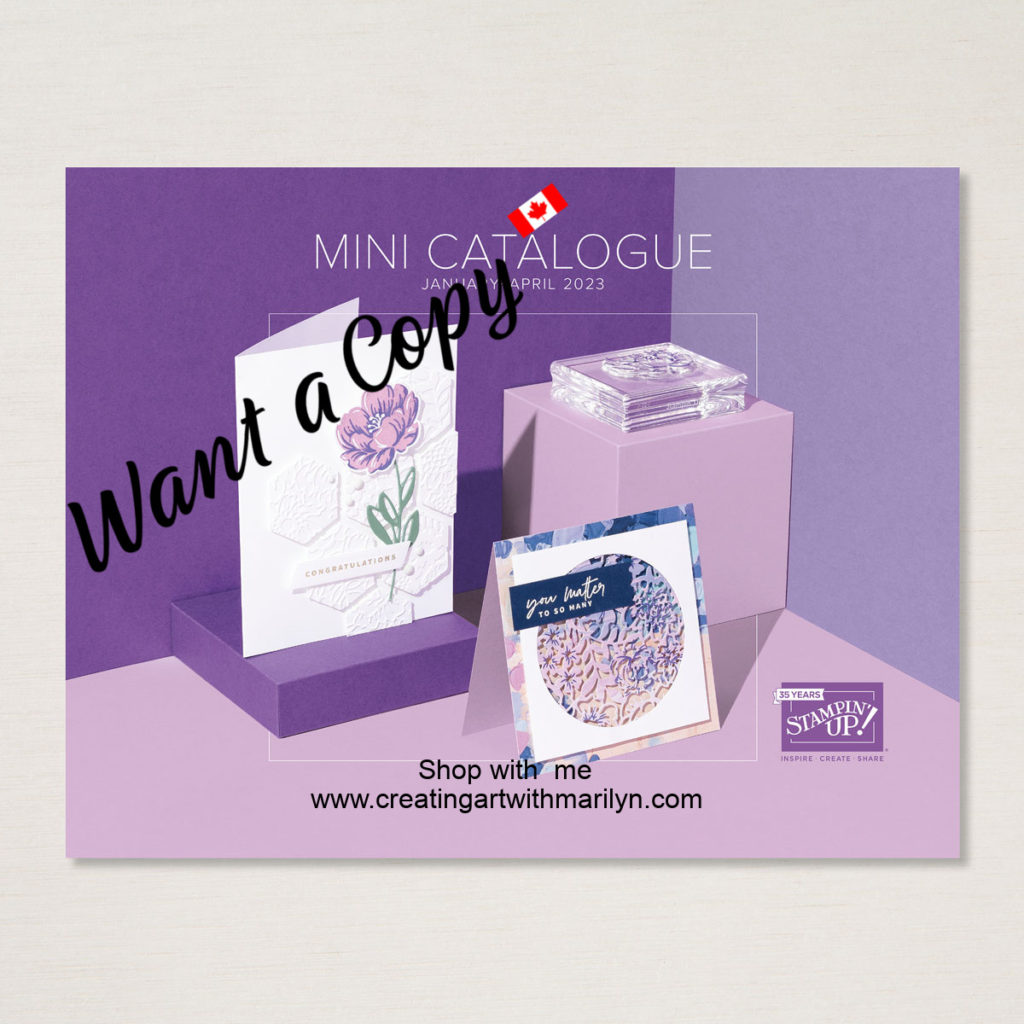
If you live in Canada and would like a copy of the New Jan – April Mini Catalogue and Sale A Brations Brochure, click here to request a catalogue. I will get one sent out to you right away so you cat start taking advantage of the Sale A Bration offers. For every order over $60 you will receive a free product from the Sale A Bration Brochure.
Posted inUncategorized|Comments Off on New January to April Mini Catalogue and Sale A Bration
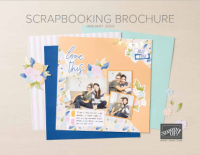
Are you like me and want all the Designer Series Paper, Embellishments, and Ribbon in the new Jan – April Mini Catalog? Why not get a sampling of it with my Product Share? I am now taking Pre-Orders for my Product Share. You will love all the new products. You will be billed Jan 2/23. Get all the details here: https://form.jotform.com/223425889368269
This offer is for Canadian Residents only!
Designer Series Paper and Specialty Paper – 95 Sheets, a sample of all the DSP – $75
Ribbon – approx 15 yards, – $25
Embellishments – 256 pieces plus the Loose Daisy Embellishments – $30
I want it all, includes all the above plus a Bonus of 12 – 6×6 of the Flowers & More Hostess DSP – $152 includes Postage or $130 for Local Pickup
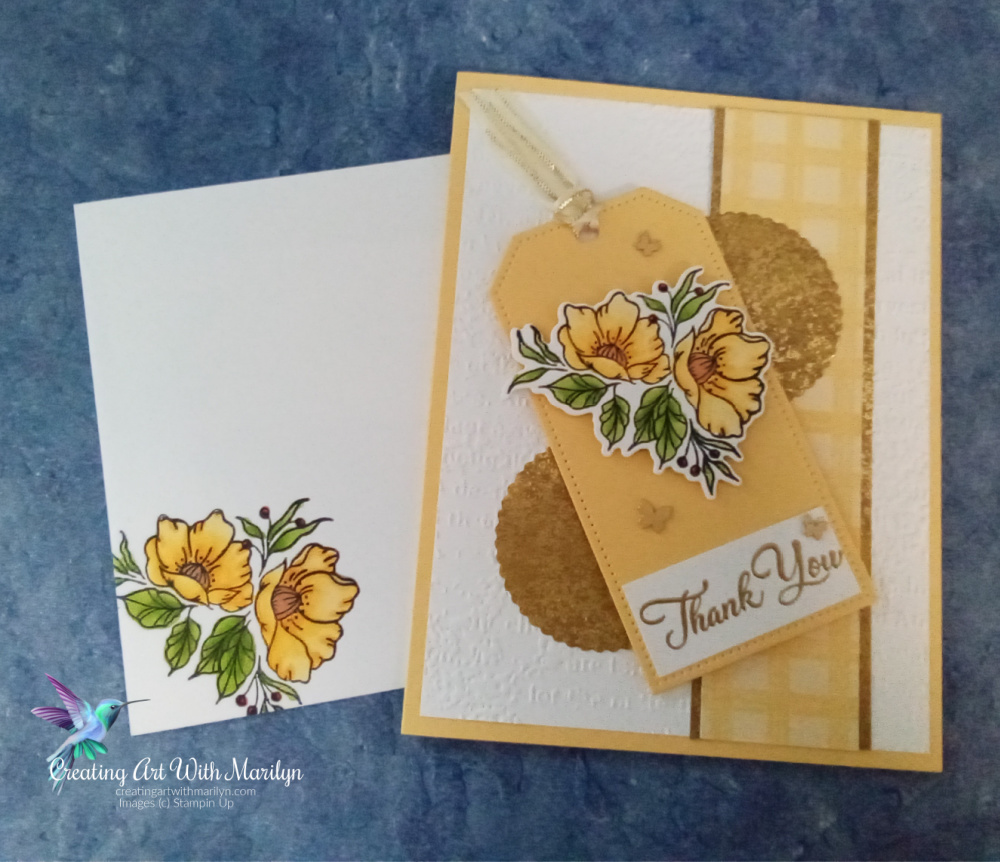
This gallery challenge is made up of very talented stampers that create amazing cards that you are able to vote on and pick your favorites later on in the month. The top ten winners will get to be part of an International blog hop at the end of the month. I’m always up for a good challenge and this month, I decided to play with an old favorite stamp set, the Hand-Penned Petals from the Annual catalogue. This stamp set has a matching die set called The Penned Flowers.
I would really appreciate you taking the time and vote for my card.
Products used in making this card:
Stamps sets – Hand Penned Petals, Go To Greetings
Dies – Penned Flowers, Stylish Shapes, Painted Labels, Tailored Made Tags
Embossing Folder – Painted Texture 3D
Designer Series Paper – 6×6 DSP Assortment – Subtles – Soft Sea Foam – 4 1/2 ” x 3 7/8″
Card Stock –Basic White – 4″ x 5 1/4″ , 2 1/2″ x 1″
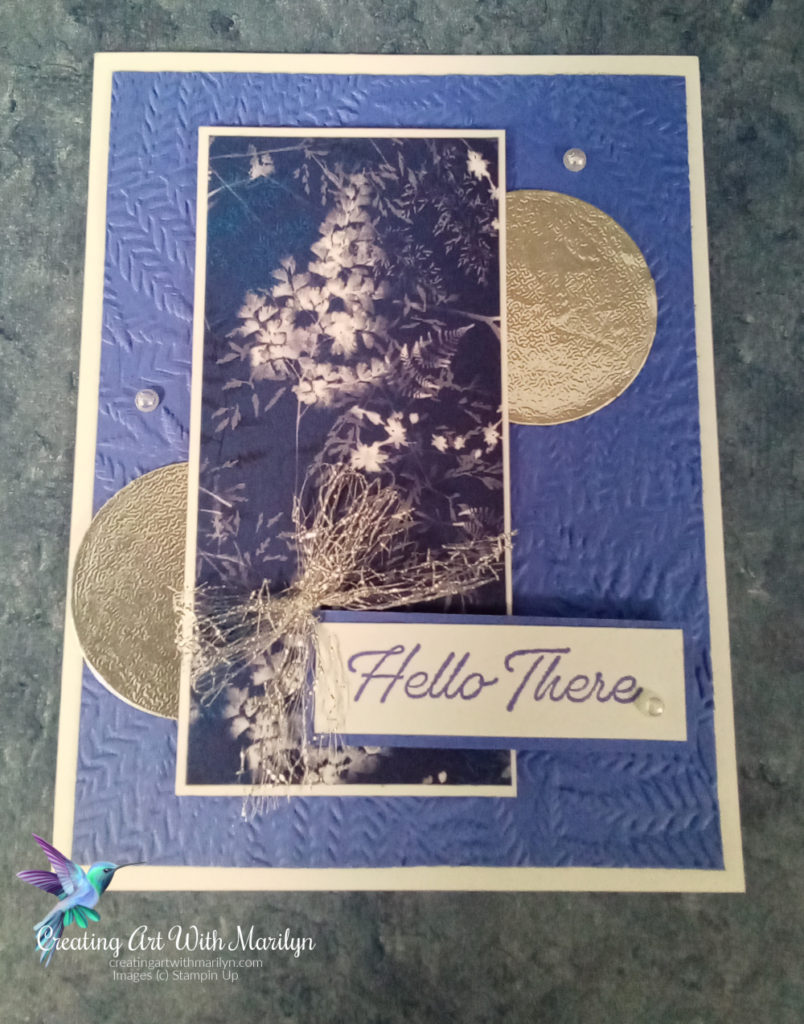
It’s time once again for another Festive Friday Challenge. This challenge is designed by several talented Demonstrators from all around the world. We are given a list of 10 inspirational items for pick from and we must use at least 3 to create our card. This weeks challenge is National Letter Writing Day FF#0123. I decided to use Hello Sentiment, Recycling and Embossing Folder to create my card. The Designer Series Paper is the Sun Prints, The embossing folder is the Fern 3D embossing folder and the Recycling is the Silver Circles. The circles are made from the foil from a sour cream container and glued to a piece of Basic White card stock and die cut using the Layering Circle Dies. For complete instructions for this card read more.
Posted inUncategorized|Comments Off on Festive Friday – National Letter Writing Day- FF#0123 – Hello There Card
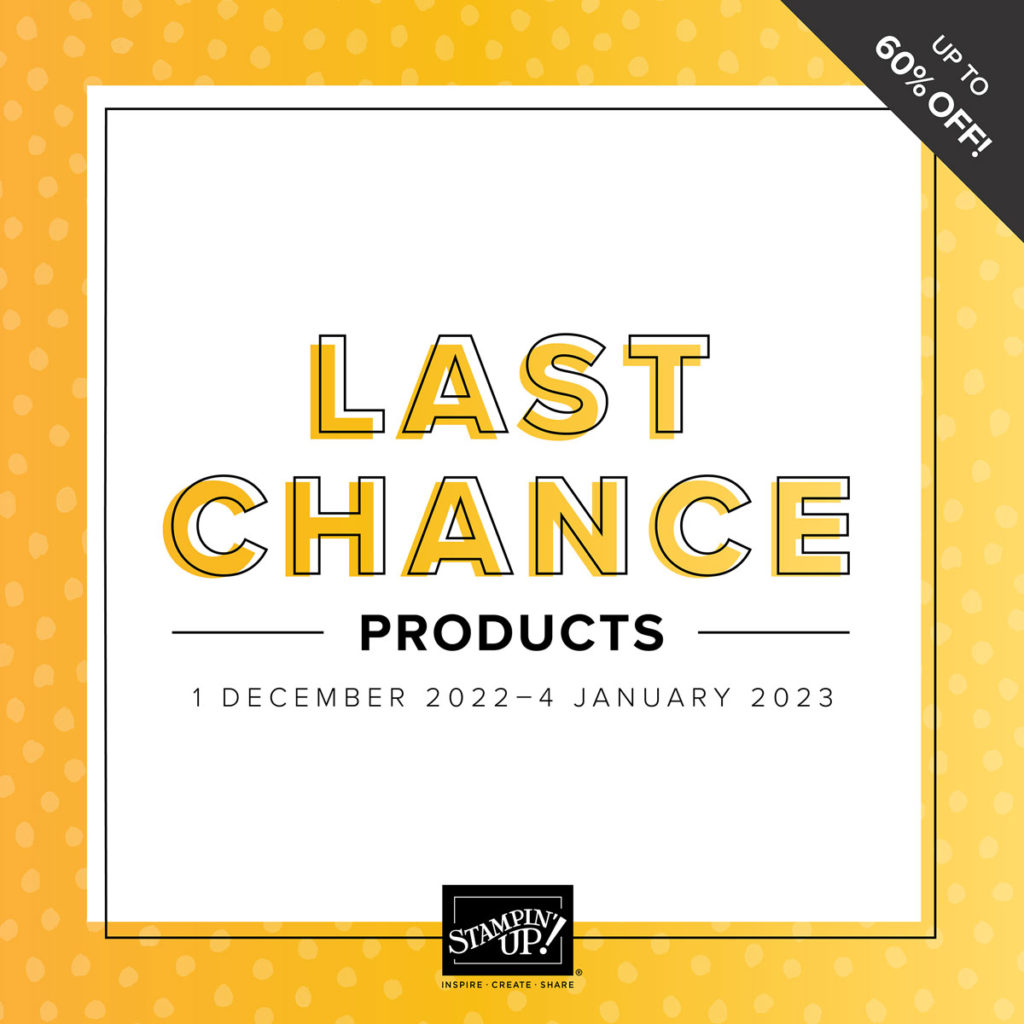
The July – December 2022 Mini Catalogue will be Retiring soon. The Last Chance Retiring List for the Mini Catalogue starts December 1st. Some items are as much as 60% off. All items are while supplies Last and will be going fast.
Stock up on your favorite products before they’re gone for good! Save up to 60% on essential craft supplies. What are you waiting for? Get your wish list started so your ready for shopping! After all, this selection of Last Chance Products is only available while supplies last.
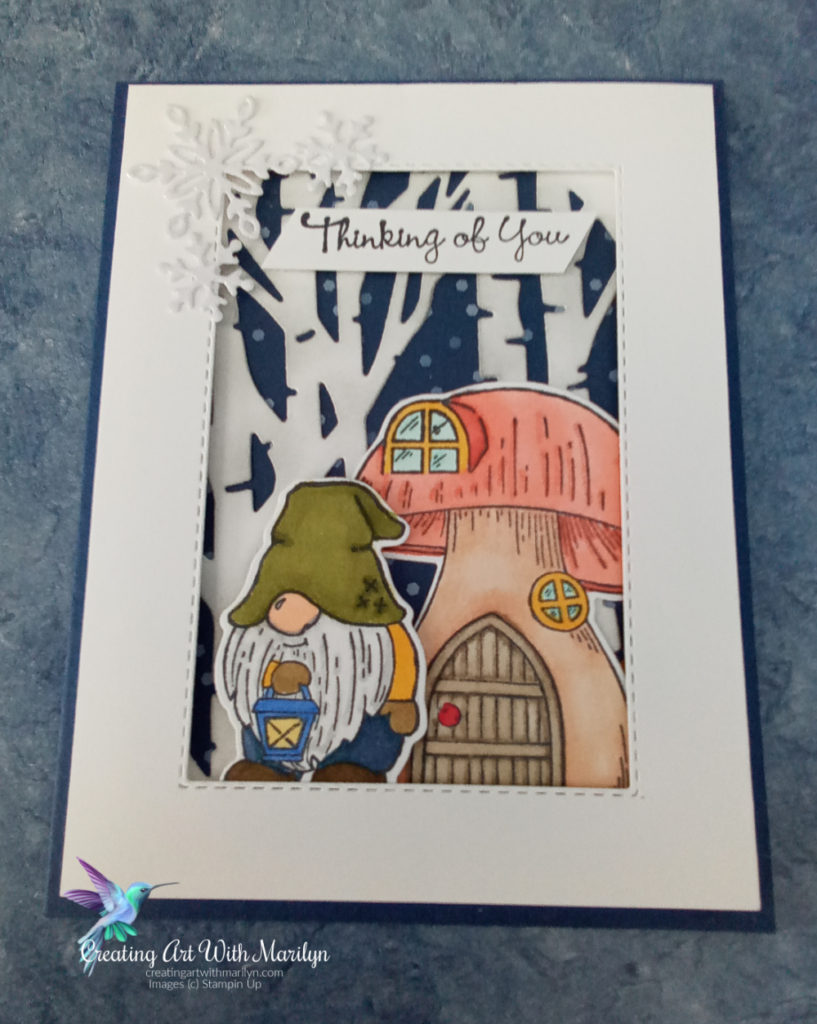
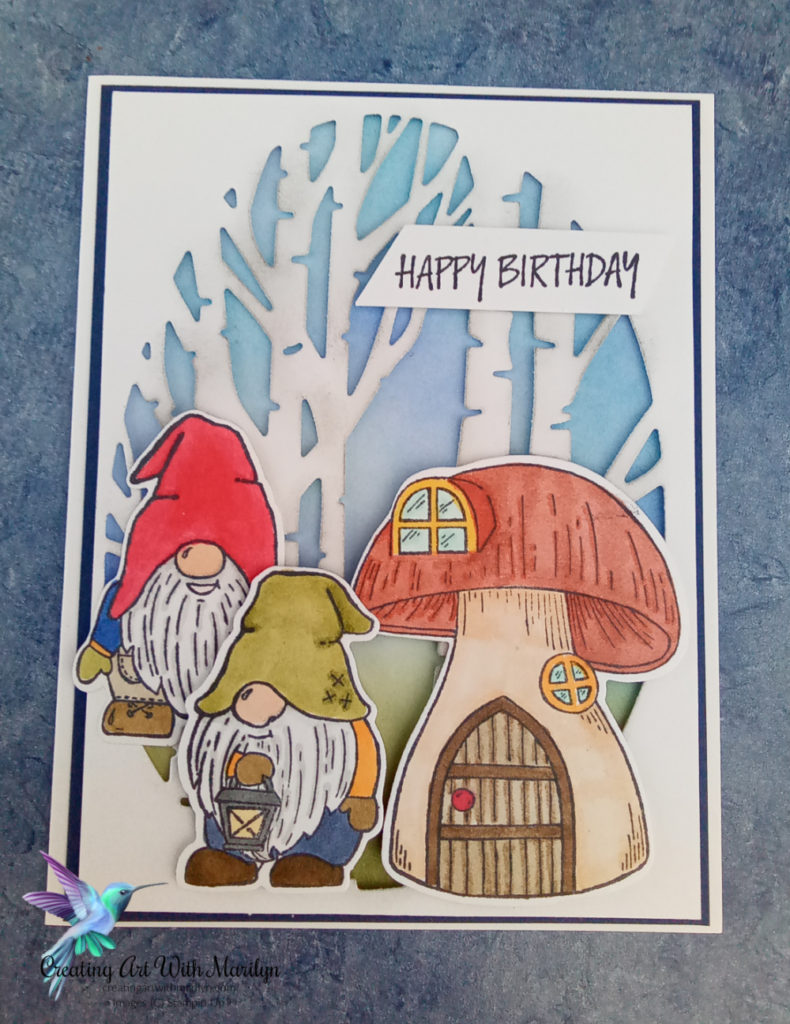
I am so please to be able to participate in Kylie Bertucci’s International Blog Highlight Winners Hop. Thank you everyone that took the time and voted for my card. Your votes made me able to participate in this Blog Hop with the Top 10 Winners from all around the World. My card was voted as #8. I decided to use the Aspen Tree and Stitches Rectangle dies, and the Cute Kindest Gnomes Bundle to create this Thank You card.
Do you live in Canada and would like the new Mini catalogue that will be available to shop from starting in January and also the Sale A-Bration Brochure? With an order of $60 or $120 you can get a free item from the Sale A Bration Brochure. Contact me or click here to fill out the form and I will send you a catalogue right away.
Posted inUncategorized|Comments Off on January to April 2023 Mini Catalogue and Sale A- Bration
It’s time for another Canada Inks Up! Team Blog Hop. We are a group of Canadian Demonstrators that love to share the projects we make and hope you get some ideas and tips from what we share. This month’s Blog Hop is Birthday.
Here are the cutting and instructions to create this card:
Card base is 8 1/2″ x 5 1/2″ scored and folded at 4 1/4″
Night of Navy card stock layer is 5 3/8″ x 4″, glued directly to the card base with liquid glue
Basic White top layer is 3 7/8″ x 5 1/4″
Die cut the Aspen Trees in the middle of the Basic White layer
Use a sponge dauber and some Smoky Gray ink and lightly sponge the tree trunks and branches to give them a little more pop
On another piece of Basic White card stock measuring 3 7/8″ x 5 1/4″ , lightly brush some Balmy Blue and Starry Sky ink for the sky using a Blending Brush. For the grass use Old Olive and Mossy Meadow and lightly brushed with a Blending Brush
Attach the sky layer to the tree die cut layer with dimensionals
Attach the tree layer directly to the Night of Navy card stock layer with liquid glue
Stamp the gnomes and the toadstool with Memento Black ink on scrapes of Basic White card stock and die cut them out with the matching dies
Color the gnomes and mushroom with Stampin Blends
Pop the mushroom and the gnomes up on the card with dimensionals
Stamp a sentiment from the Heron Habitat stamp set in Memento Black ink and cut it out and pop it on the card with dimensionals
I used the New Fitting Florets Suite to create this card. The card stock layer was stamped using the Framed Florets Stamp set, then embossed with the Quatrefoil Embossing Folder. The oval frame is die cut in Silver Foil with the Framed Florets die. The Designer Series Paper is Fitting Florets 12 x 12 paper. The image in the oval circle is from the Framed Florets stamp set, stamped in Memento Black and colored with Stampin Blends. The sentiment is from the Go To Greetings and heat embossed in Silver Embossing Powder. Complete details can be read more….
Posted inUncategorized|Comments Off on Framed Florets Birthday Card
This gallery challenge is made up of very talented stampers that create amazing cards that you are able to vote on and pick your favorites later on in the month. The top ten winners will get to be part of an International blog hop at the end of the month.
I’m always up for a good challenge and this month, I decided I wanted to play with the new Framed Florets stamp set that will be in the new January to June Mini Catalogue. This comes as a Collection with the Framed Florets Bundle, Fitting Florets Designer Series Paper, Gold Adhesive Backed Gems and a Christmas stamp set called Framed and Festive. The Designer Series Paper, Gold Adhesive Gems and the Christmas Framed and Festive stamp set will not be in the New Mini Catalogue and will only be available while supplies last.
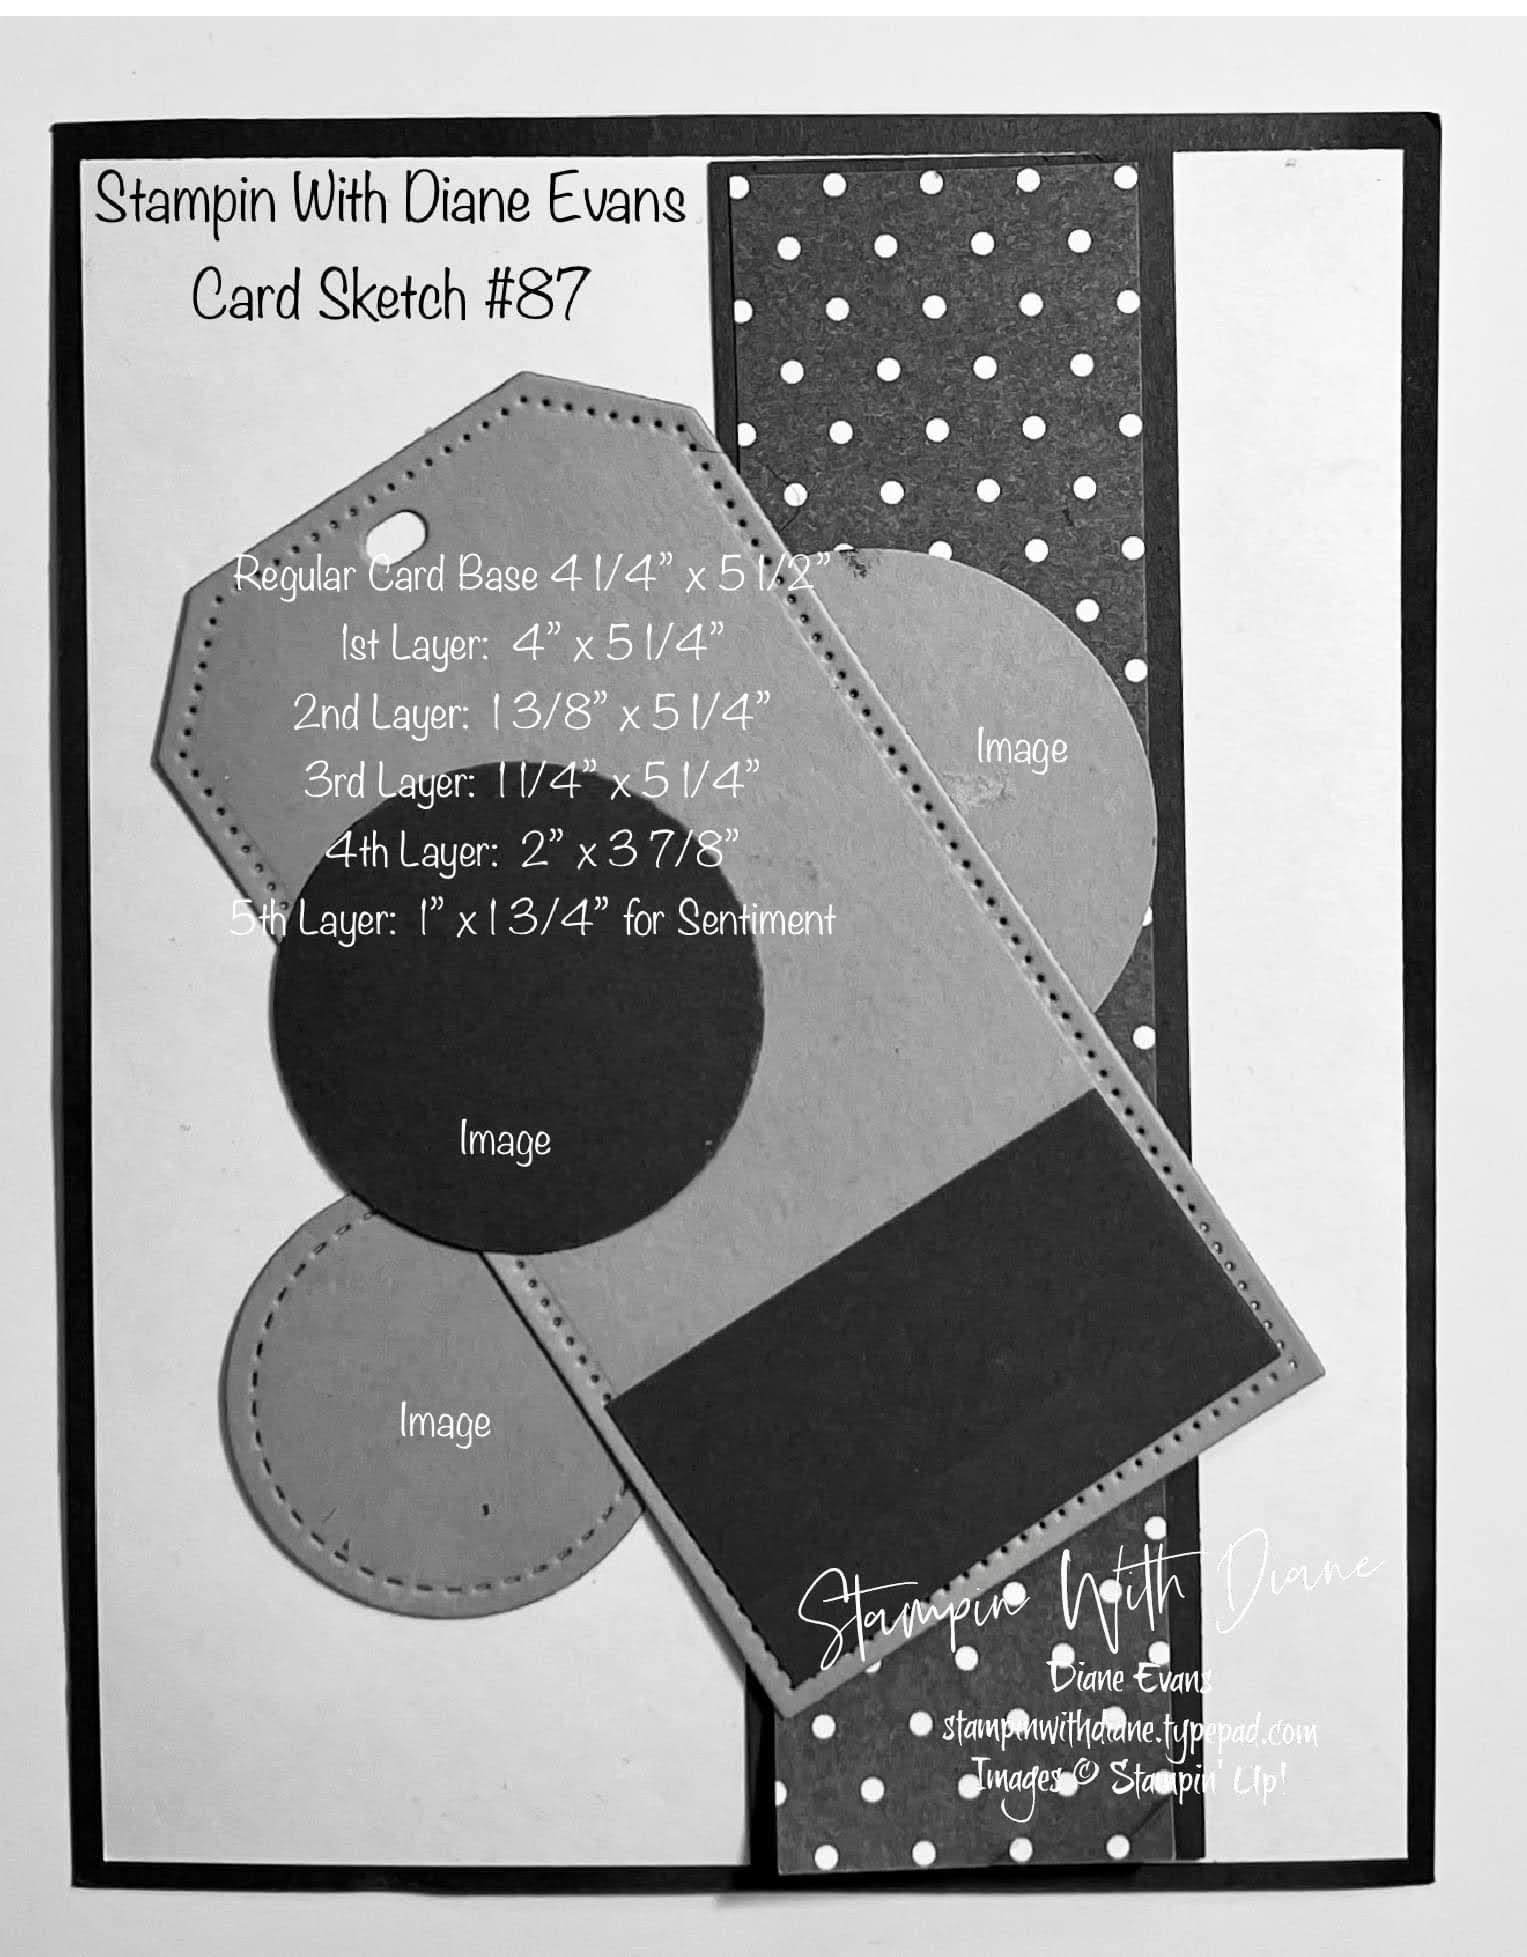
I used a card sketch from Stampin With Diane. I love this card sketch as it has so many possibilities.
I would really appreciate you taking the time and voting for my card.
Hi my name is Marilyn Pearen and I live in Prince George, British Columbia Canada. I have been a Stampin’ Up Demonstrator for 7 years now. Gosh how time flies when you are having fun and enjoying what you do. I decided to become a demonstrator to share my passion and love for card making.
All contents (including text, photographs and images are sole responsibility of Marilyn Pearen as I am an Indepentent Stampin Up! Demonstrator. The use of any contents, services, classes or products offered on this blog are not endorsed by Stampin Up! It is shared for personal use only. No contents may be removed , duplicated or copied for distribution or advertisement without permission.https://festivefridaychallenge.com/