Thank you for joining us for our Stampin’ Up!® Demonstrator Training Program Monthly Blog Hop! We are so happy that you could join us today for this blog hop for ideas and creative inspiration. We are a group of Stampin’ Up!® Demonstrators from around the world that are taking part in training that is helping us to build a successful Stampin’ Up!® business and reach some goals we have set. We really appreciate your support.
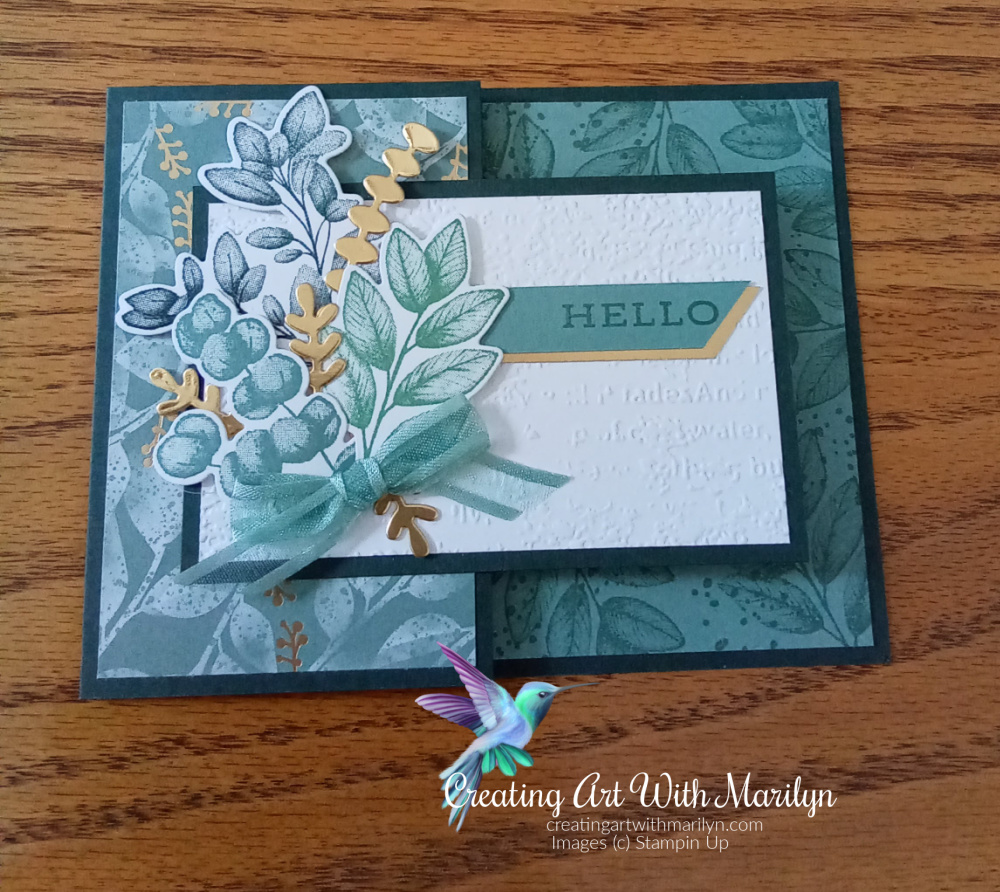
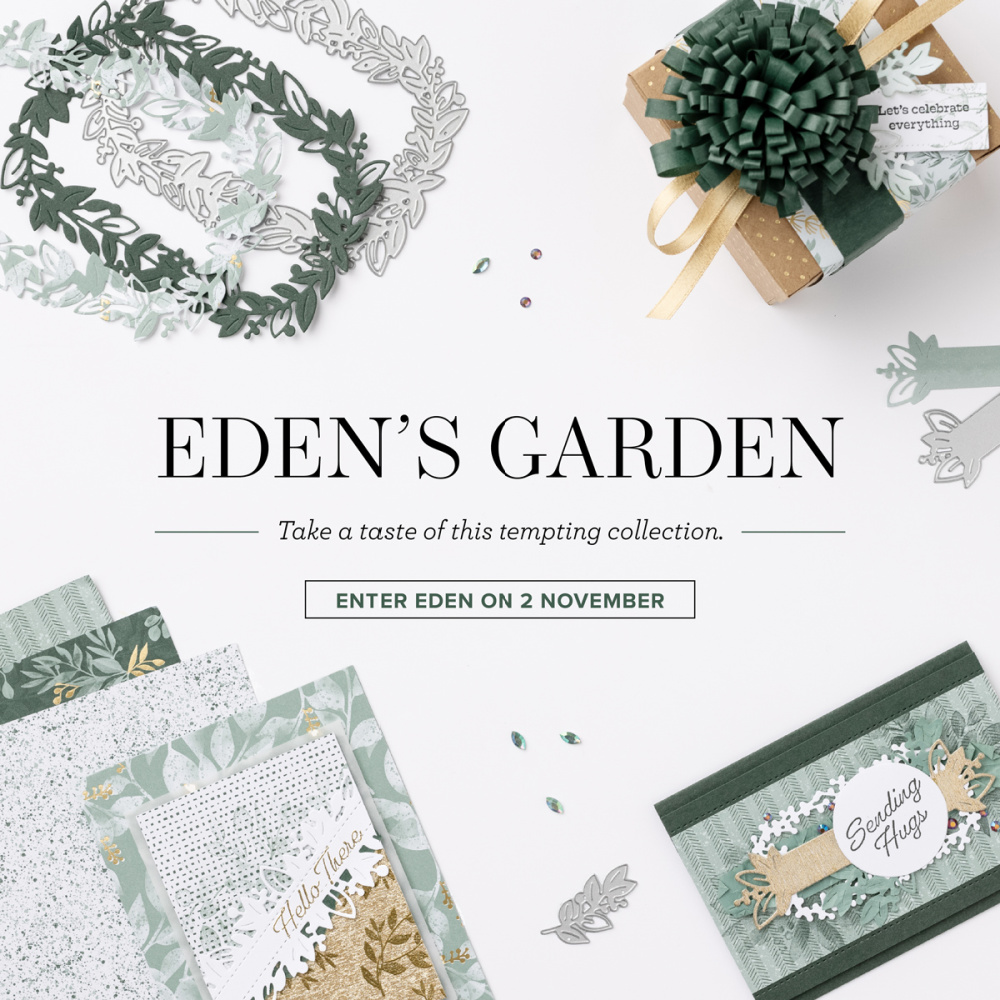
Have you played with the New Eden’s Garden Collection yet? I can’t seem to get enough of this Collection. It is one of those Collections that I don’t think you could make a bad card. I love how the Forever Fern stamp set and dies go so well with the Eden’s Garden products.
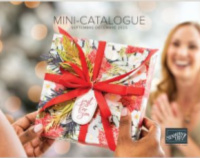
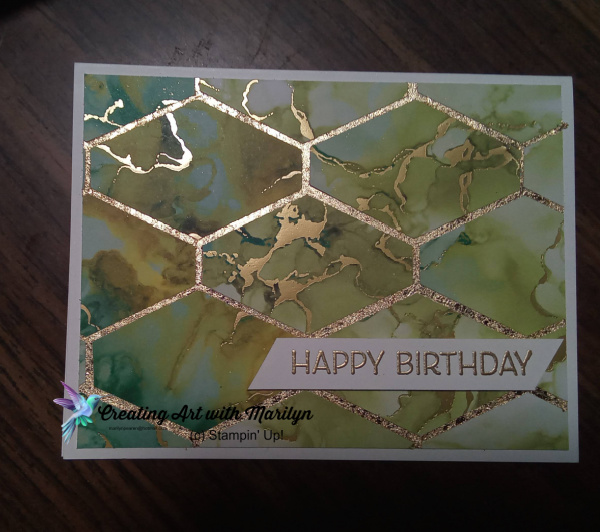
Stampin Up has released the beautiful Eden’s Garden Collection. This delightful Stamp set and Dies are an early release from the new January to June 2022 Mini Catalogue. The Designer Series Paper, the Cotton Paper and the Garden Gems will only be available from November 2nd through to January 3rd or while supplies last. Product List
Let me know if you have any questions. Orders yours today before the Pretty Designer Paper, the Cotton Paper and the beautiful gems run out.
Start With Savings- Starter Kit Promotion – November 4-30!
The Start with Savings Starter Kit promotion will provide you with an excellent opportunity to purchase your Starter Kit at a great deal! Instead of the standard $135 Starter Kit—which is already a steal of a deal—you can pick up a completely custom Starter Kit for only $100!!! What an absolutely unbeatable bargain for a box with a value of $165!
There’s no better time than November for you to join as a demonstrator! From November 4-30, you’ll be able to purchase your Starter Kit with big savings!
If you have any questions about joining the Stampin Up Community, send me an email at marilynpearen@hotmail.com and I would be happy to chat with you about this Promotion.
Posted inUncategorized|Comments Off on Stampin Up Eden’s Garden Collection is now available
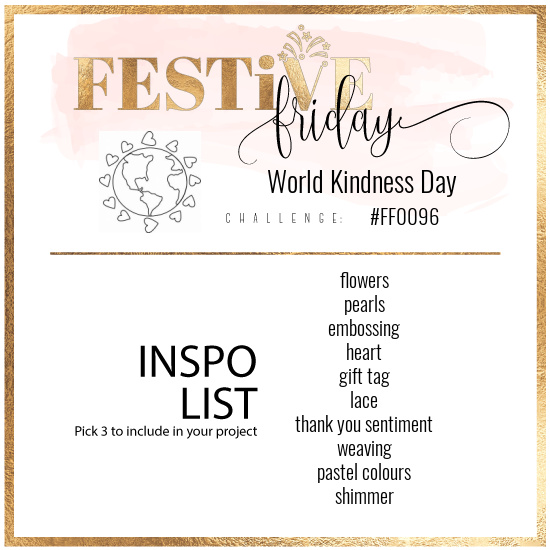
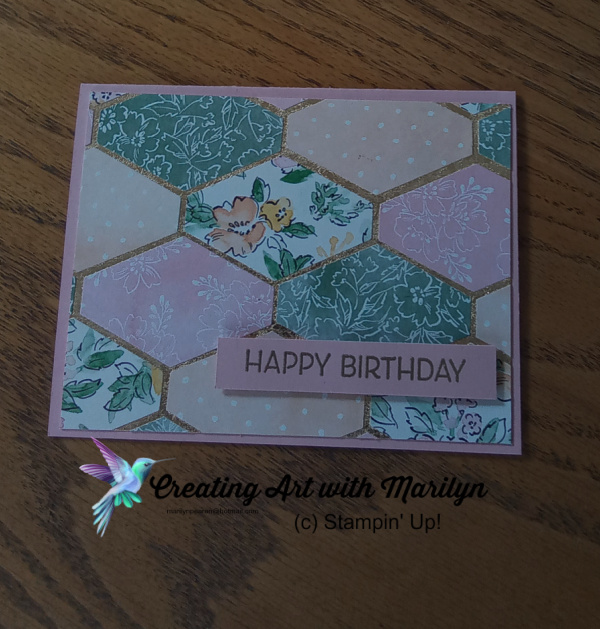
I am so excited to be able to participate in another Festive Friday Challenge. This week’s challenge is #FF0096 World Kindness Day. We have to pick at least 3 or 4 items from the Inspiration List for our card. For my card I decided to use a Christmas Bundle from the Annual Catalogue. I managed to use 6 of the elements from the list, flower, pearls, embossing, gift tag, thank you, pastel colours. Here is my card and I will list the my supply list at the end.Continue reading →
Welcome Stampers to our October Canada Inks Up Blog Hop. I am so happy to be able to participate in the Blog Hop. The theme for this Hop is Creating a Card Using Punches. I saw Ruth from Artful Stamping with Ruth and Melva Peters do a technique using punches and I wanted to try it. These were the cards I came up with.
I used the Tailored Tag Punch with the Hand Penned Designer Series Paper and the Gold Foiling for my first card and then the Expressions in Ink Designer Series Paper and Gold Foiling to create my second card. Sit back and watch the video for instructions on how I made these cards.
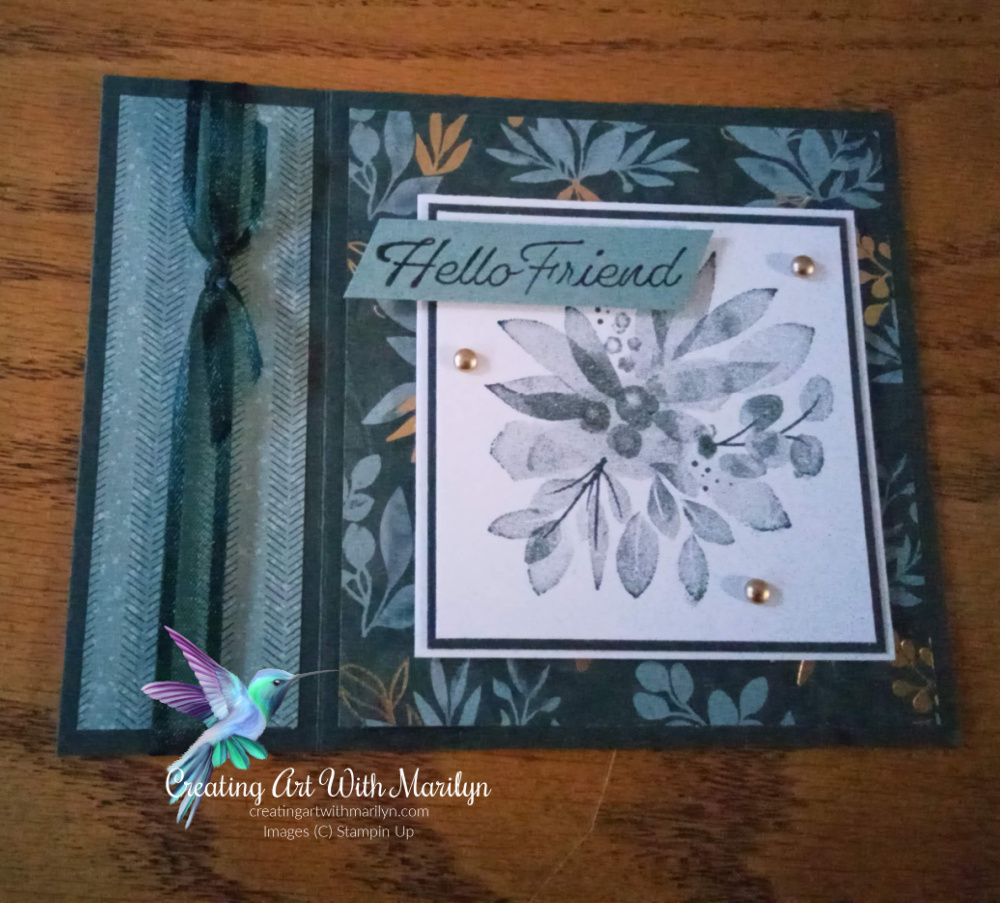
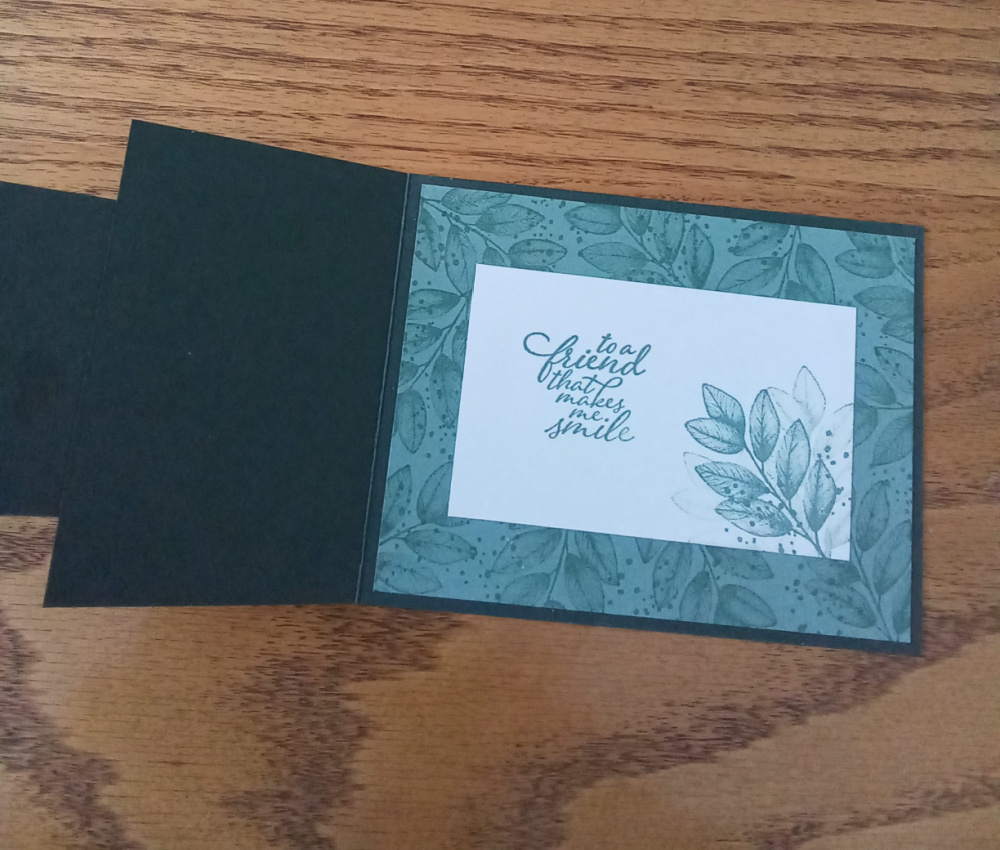
I am so excited to be able to play with the new Eden’s Garden Collection. I decided to use this collection and make a book card. For instructions on making this card
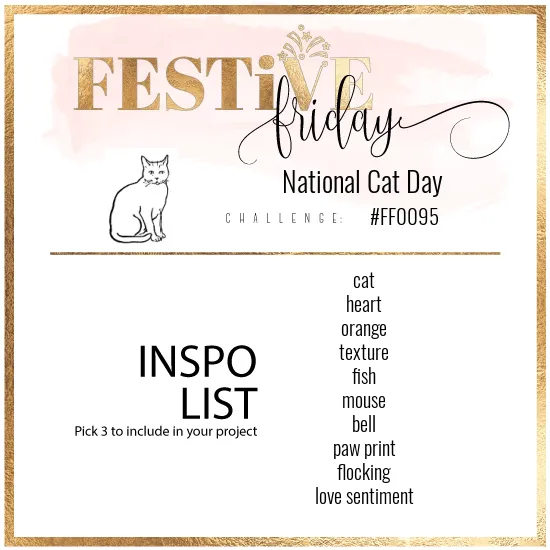
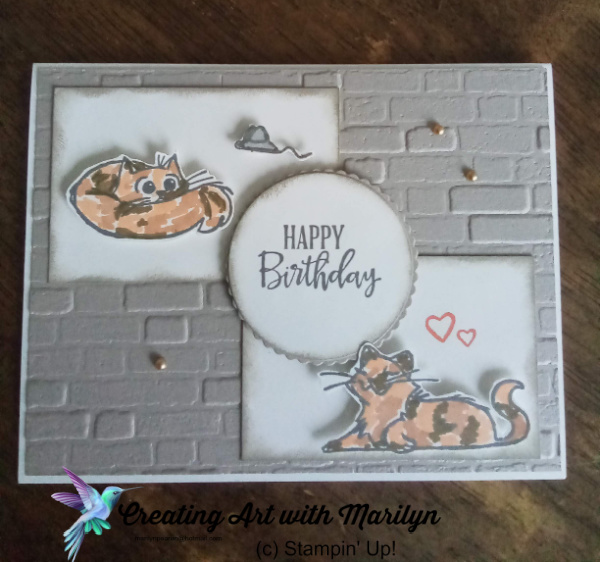
I am honoured to be able to join in the Festive Friday Challenge once again. This week’s challenge is National Cat Day. The goal was to use at least 3 or more of the items from the inspiration list on your project. I used 5 of the items. My card has cat, heart, orange, texture and mouse. The supplies will be listed below.Continue reading →
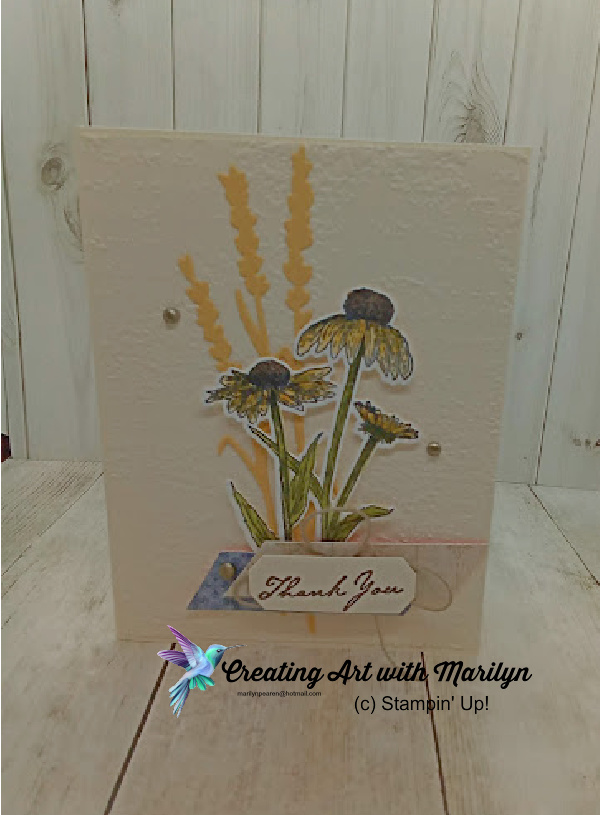
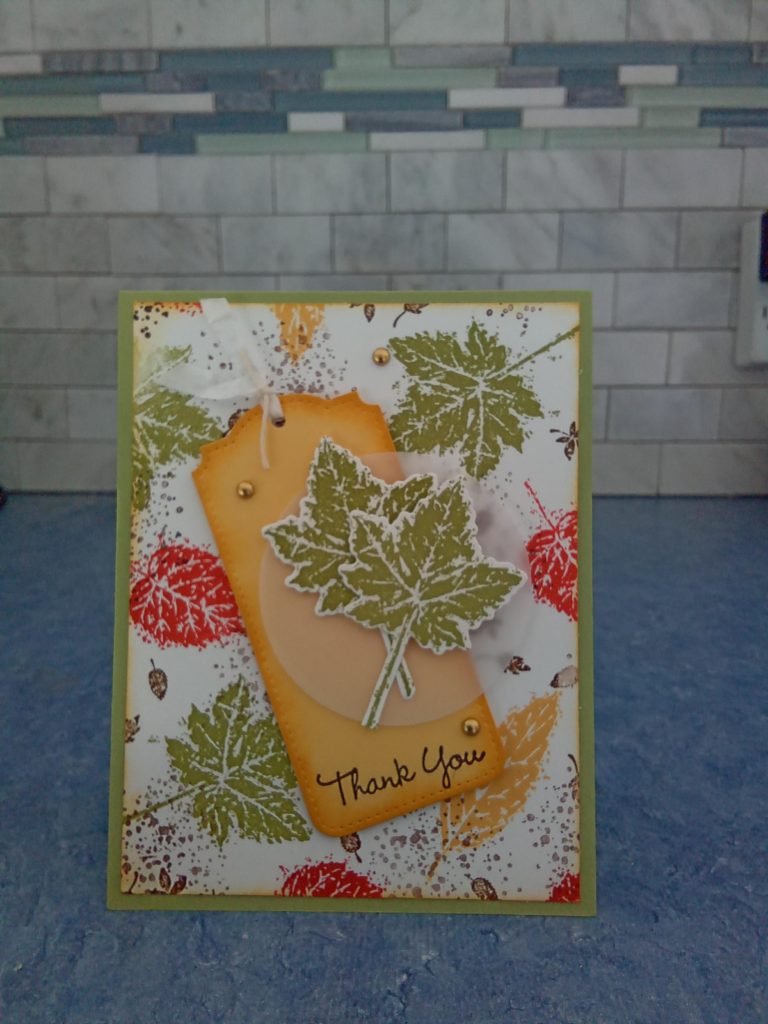
I am so please to be able to participate In Kylie and Bruno’s Demonstrator Training Program Blog Hop. The theme for October is a Thank you card. I decided to use the Nature’s Harvest Suite. I love this stamp set and can’t stop playing with it.
Instructions for the card:
Cut a card base of Very Vanilla 8 1/2″ x 5 1/2″ and score at 4 1/4″
Cut another layer of Very Vanilla at 4 1/8″ x 5 3/8″ and emboss it using the Timeworn Type embossing folder
Attach this layer to the card with liquid glue
On a scrap of Basic White card stock stamp the flower image from the Nature’s Harvest Stamp set in Memento Black
Color the flower with the Stampin Blends in Light So Saffron, Dark Daffodil Delight, Light and Dark Old Olive. and Bronze
Die cut the flower out using the Harvest Die
With So Saffron card stock die cut the wheat design and attach it to the card with liquid glue
Pop the flower image up with dimensionals and place it on the card over the wheat image a little
Cut two different pieces of the Harvest Meadow DSP that are 3/4″ x 3″ and cut the ends on an angle
Pop these pieces with dimensionals on the bottom of the flower stems over lapping each other a little
Make several loops using the Crumb Cake Bakers Twine on top of the pieces of DSP
Stamp the Thank You from the Nature’s Harvest stamp set on Very Vanilla card stock with Early Espresso and die cut it out using the Harvest die
Attach the sentiment to the card with dimensionals
Place three of the Brushed Metallic Adhesive Backed Dots on the card
Thank you for checking out my card. Now grab a beverage and hop over and check all the other great Demonstrations and their cards.
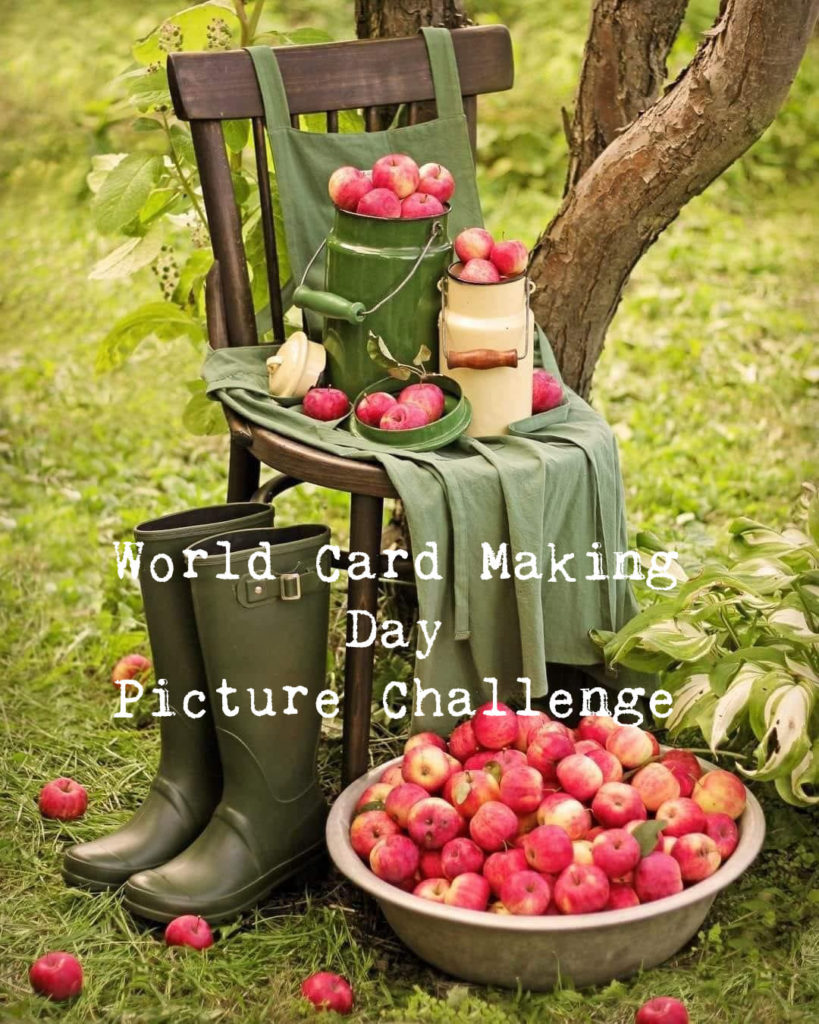
On World Card Making day we had to do a picture challenge where we had to look at a photograph and design a card with what we saw in the photograph whether if was colors or elements. I decided on the colors. I used Old Olive, So Saffron, Cajun Crazy Crumb Cake and Early Espresso. To see how I made this continue reading
Hi my name is Marilyn Pearen and I live in Prince George, British Columbia Canada. I have been a Stampin’ Up Demonstrator for 7 years now. Gosh how time flies when you are having fun and enjoying what you do. I decided to become a demonstrator to share my passion and love for card making.
All contents (including text, photographs and images are sole responsibility of Marilyn Pearen as I am an Indepentent Stampin Up! Demonstrator. The use of any contents, services, classes or products offered on this blog are not endorsed by Stampin Up! It is shared for personal use only. No contents may be removed , duplicated or copied for distribution or advertisement without permission.https://festivefridaychallenge.com/

")

 Specialty Designer Series Paper")
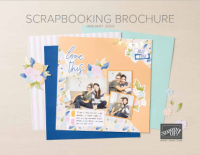
 Cotton Paper")

")


 Designer Series Paper")