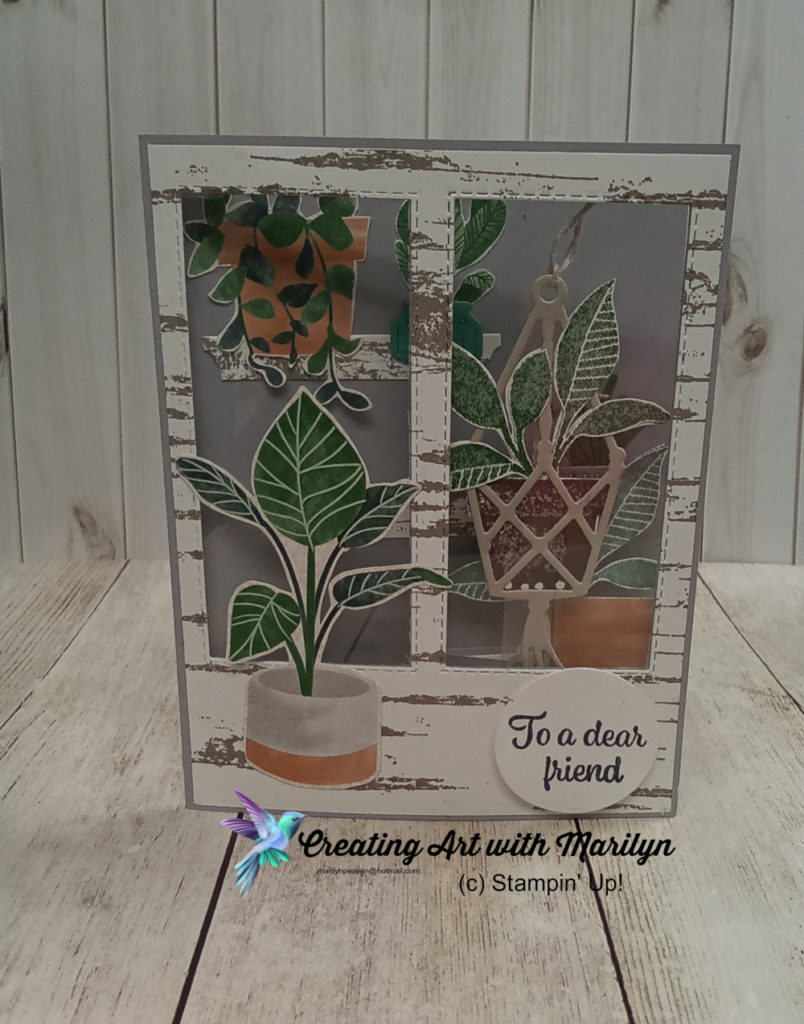
I made this card for my Grand Daughter who was graduating from Elementary School this year. Unfortunately it was made with retired products.
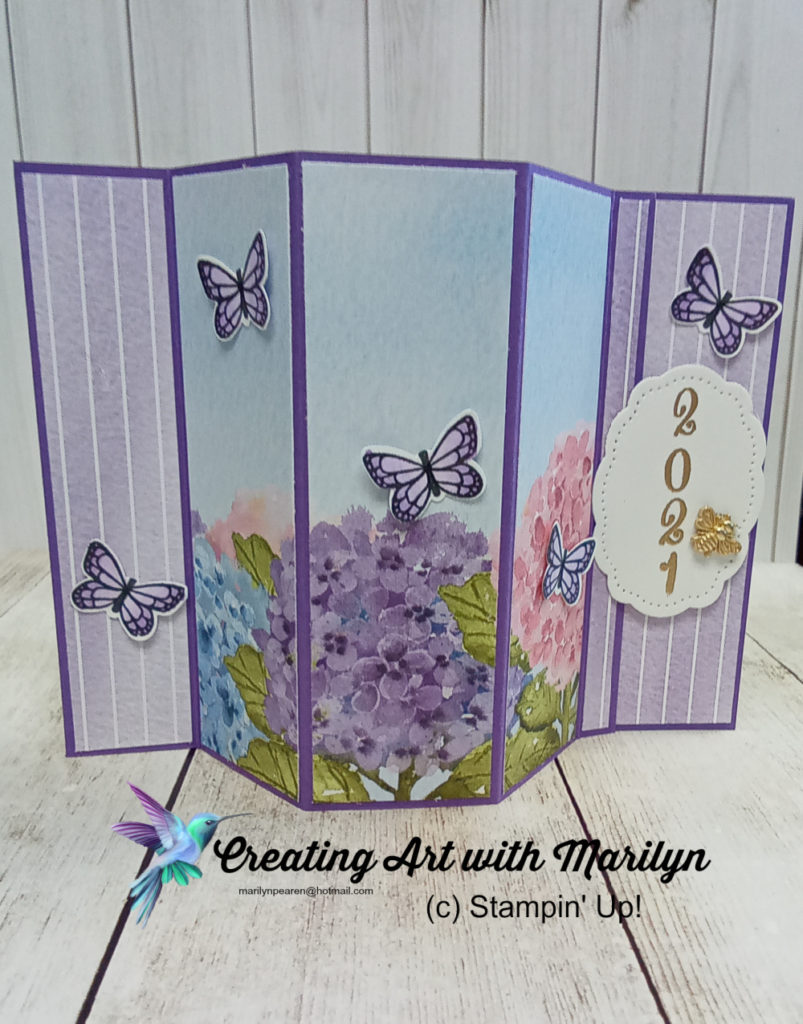
Stamp sets: Make a Difference, Butterfly Gala
Dies and Punches: Butterfly Duet punch, small sentiment die
Cardstock and DSP: Gorgeous Grape, Hydrangea Hill DSP
Ink and Blends: Highland Heather light and dark blends, Purple Posy light and dark blends
Other Products: Versa Mark, Gold embossing powder
Instructions to make card
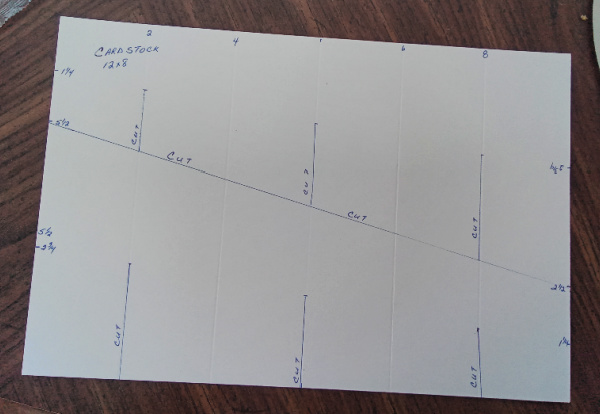
- Card base is Gorgeous Grape, cut at 11 x 4-1/4, scored at 3/8, 1-3/4, 3-1/8, 4-1/2, and 5-1/2
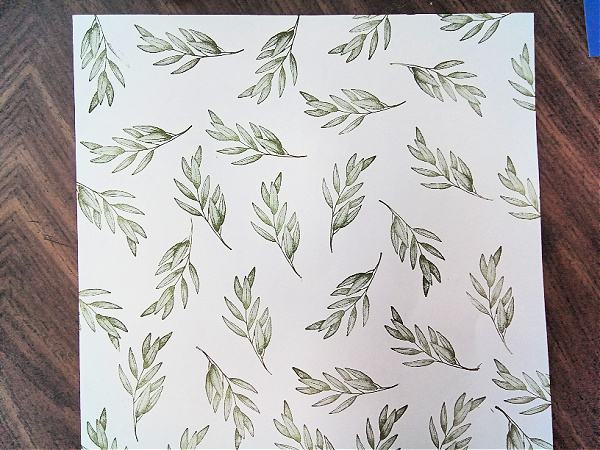
- Cut 2 pieces of different DSP (1) 2-5/8 x 4-1/8, and (1) 3-3/4 x 4-1/8
- Cut the 2-5/8 x 4-1/8 piece at 7/8, 1-1/4 and 1/4 (these are for the left and right ends of the card and also the inside panel)
- Cut the 3-3/4 x 4-1/8 piece into 3 strips of 1-1/4 (if you are using a pattern as your focal point mark the order these pieces are cut in
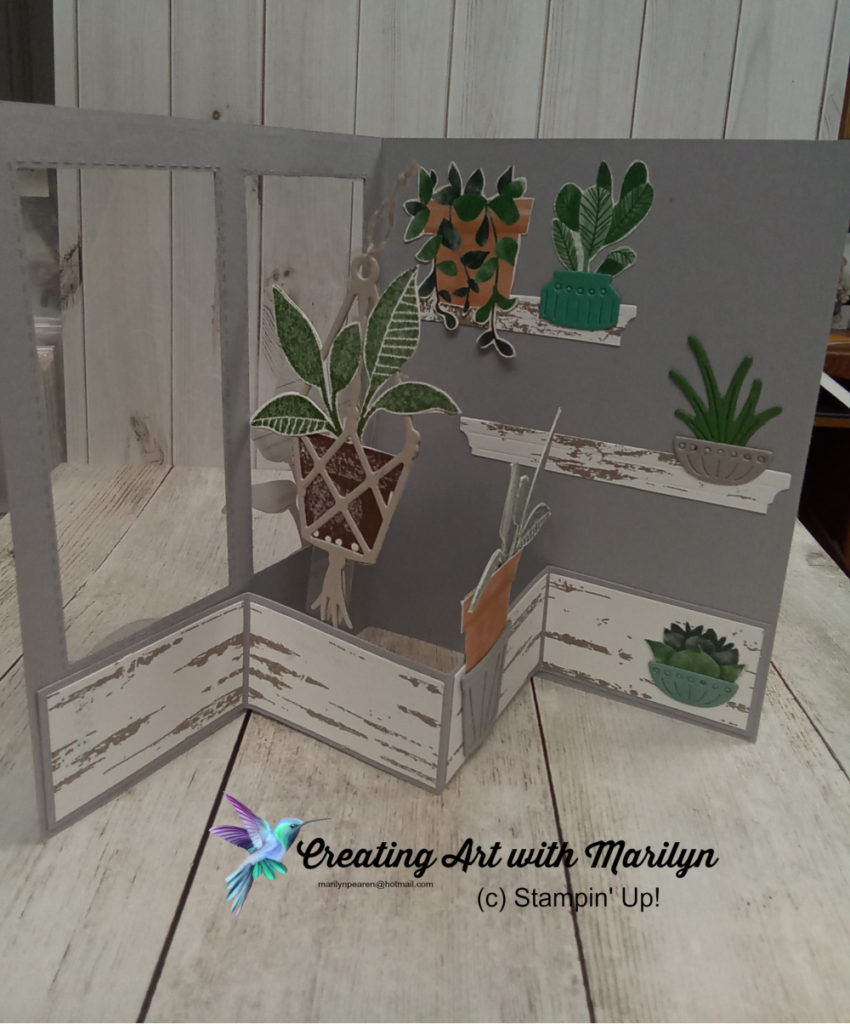
- Fold the card base in half and glue the 1 inch piece together making you bay window effect
- Glue the 7/8 piece of DSP to the front of the glued piece then glue the three focal window panels on the bay window (take note that they are in the proper order)
- Glue the 1/4 inch piece to the thin strip at the end of the card base
- On the inside glue the other strip that is 1-1/2 x 4-1/8 to the right edge of the card base
- Cut and glue a piece of Basic White 2-7/8 x 4-1/8 to the inside of the card butting it right up to the edge of the 1-1/2 panel (this is for the sentiment)
- Using Versa Mark, stamp the year on the punched out piece with the numbers from Make a Difference stamp set and heat emboss with Gold embossing powder. Attach it to the edge of the inside of the card with dimensionals so that the front of the card can be tucked into it forming the bay window
- Stamp 5 of the small butterflies from the Butterfly Gala and color them with the Stampin Blends and punch them out with the Butterfly Duet punch
- Attach them to the card with liquid glue
- For a little bling add a Bumblebee Trinket to your card.


")
")


 Cardstock")


")


 Designer Series Paper")