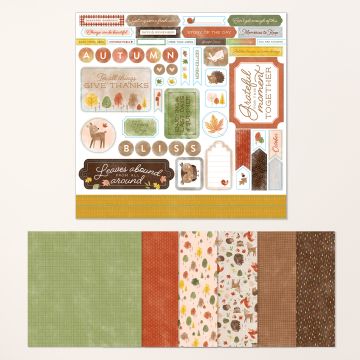
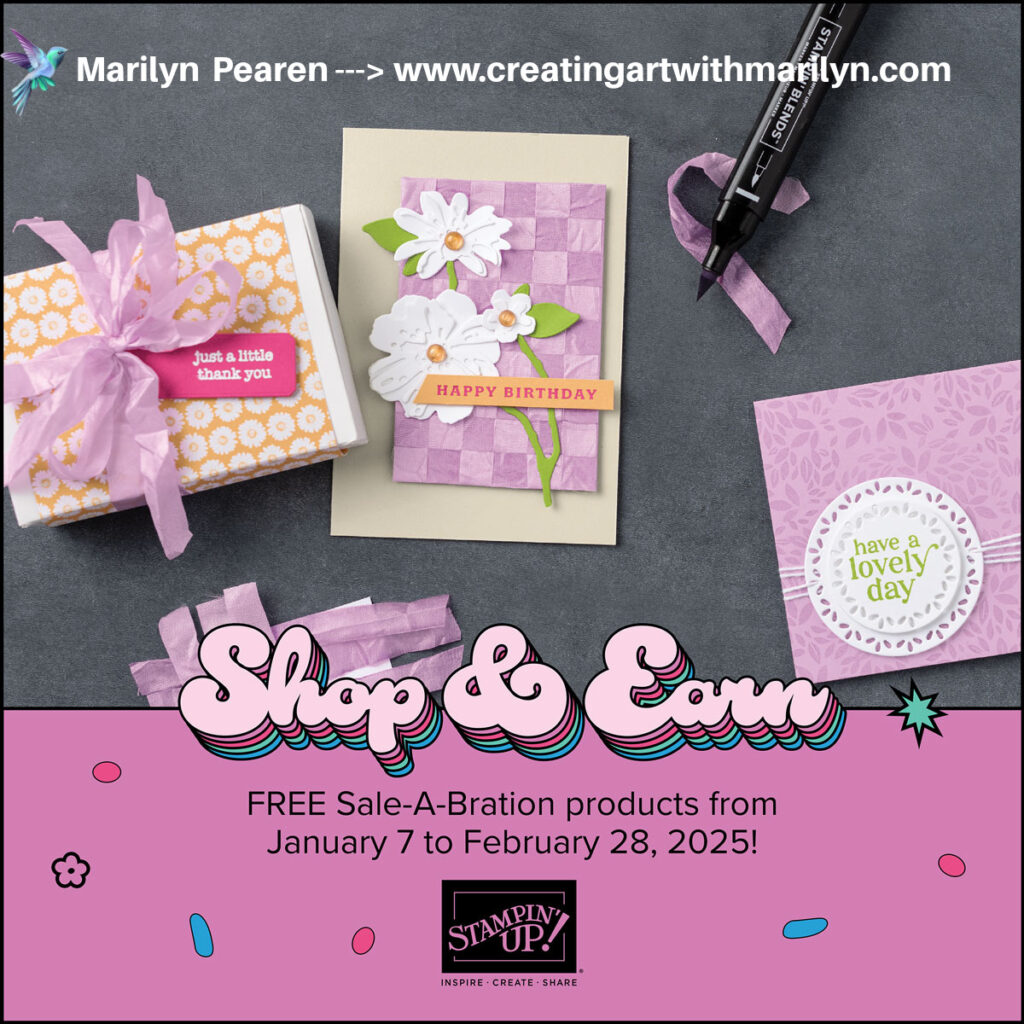
Stampin’ Up! just released some more products to the SALE-A-BRATION list!!! WHOO HOO! Now you can choose any of the items in the flyer below as a reward when your order reaches $75 or $150. There is no limit to the quantity of items you can get for FREE!
Shop at my Online Store here:
CURRENT FEBRUARY HOSE CODE: SYVRQX4Q and a FREE package of Antique Pearls with your order.
BE SURE TO USE THE ITEM CODE FROM THE SALE A BRATION FLYER TO GET THE ITEM FREE
Here are a few fun products with some of these items
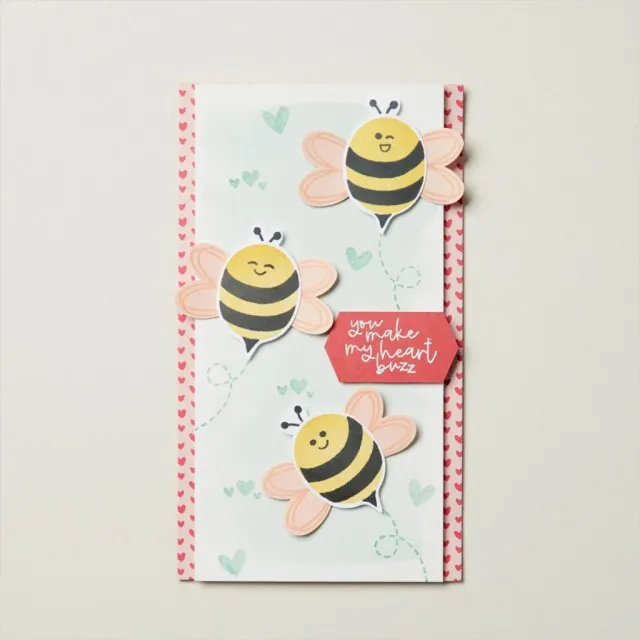
Bee Builder Punch-168077

Alphabet A La Mode Dies-168074

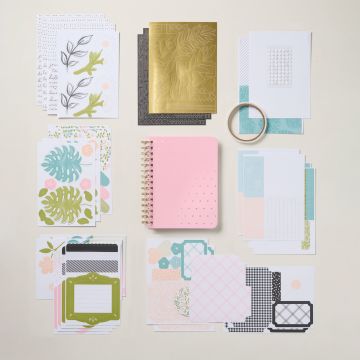
Happy Houseplant Kit-168088
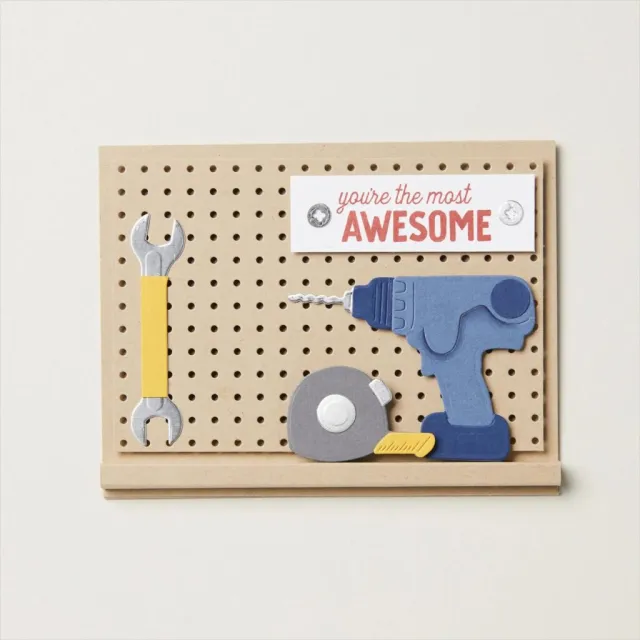
Trusty Tools Dies-168076

Brushed Brass Butterflies-168091
Night of Navy and Gold Ribbon-168073
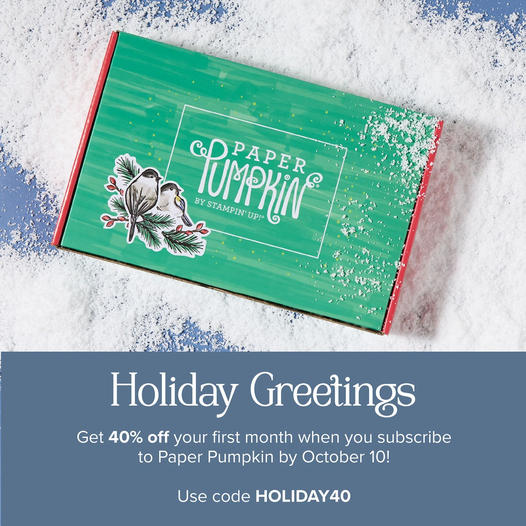
This is also a GREAT time to subscribe or renew your Paper Pumpkin Subscription and receive FREE Sale-A-Bration items!!!!!
Click here to Subscribe or Renew your subscription
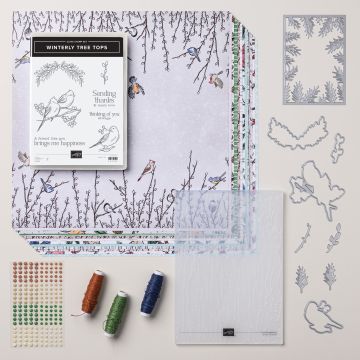
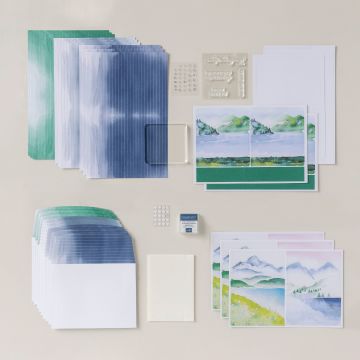
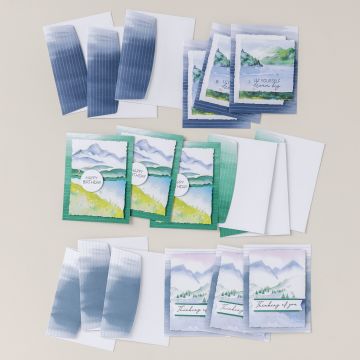
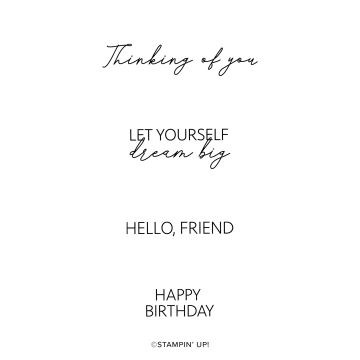
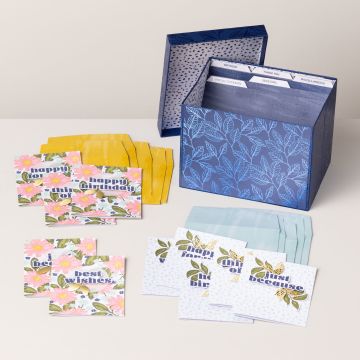
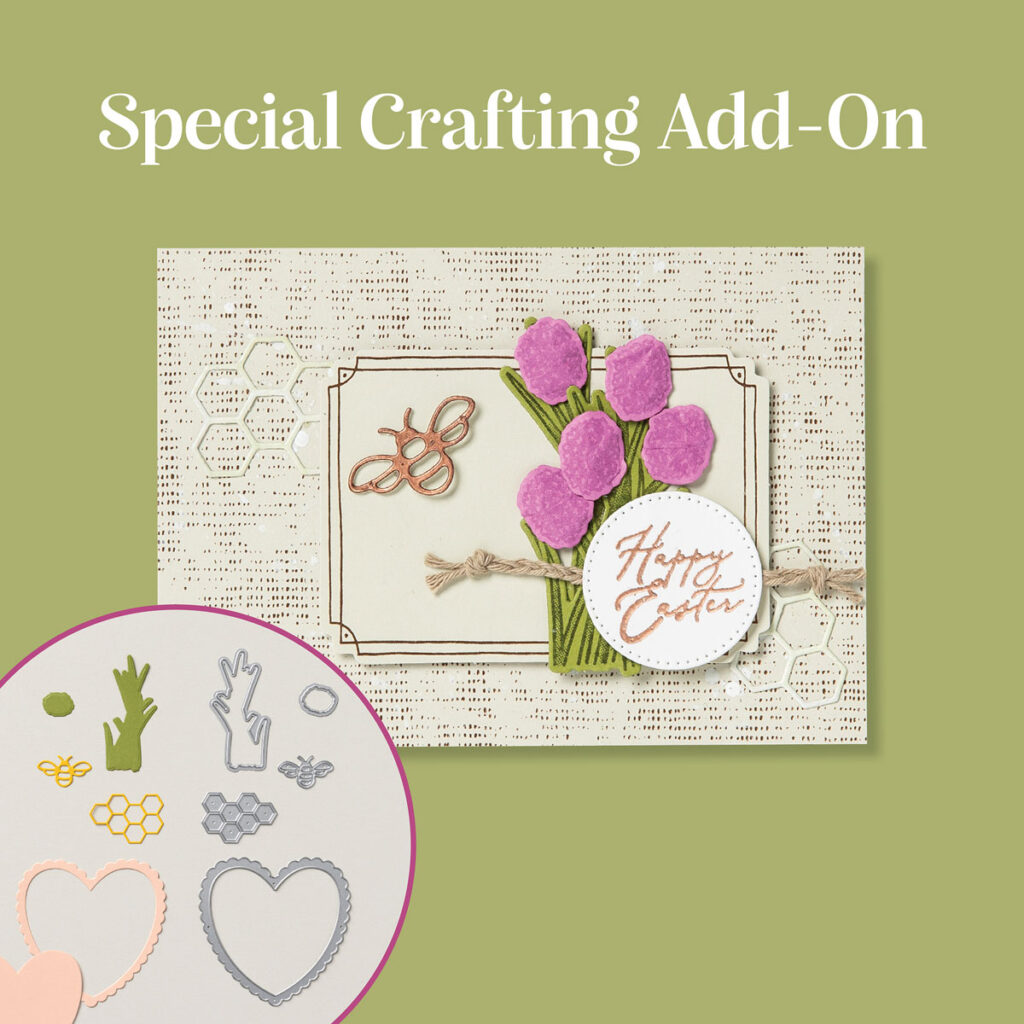
Subscribe now and get the February Hello Spring Kit.

Create garden-inspired cards with this month’s kit, which also coordinates with the new Online Exclusive Grow With Love Bundle.
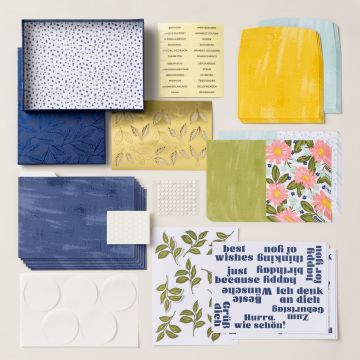
Your kit includes everything you need to make 9 cards (3 each of 3 designs), with 9 unique spring-themed coordinating envelopes. Your pre cut pieces will feature bronze foiled elements. A Petunia Pop Classic Stampin’ Spot is also provided, and other coordinating Stampin’ Up! colours are Basic Beige, Bubble Bath, Lemon Lime Twist, Lost Lagoon, and Old Olive.
Don’t forget that you can purchase the Spring is in the Air dies which coordinate with all three of this quarter’s kits (January, February, and March 2025). This set of three dies includes scalloped heart frame, flowering chive, bee, and honeycomb elements. Don’t delay ordering as this add-on is offered while supplies last, and is only available to current Paper Pumpkin subscribers.

LAST CHANCE PRODUCTS have been updated
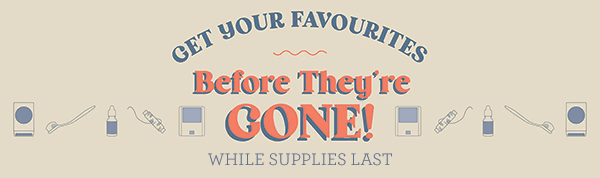
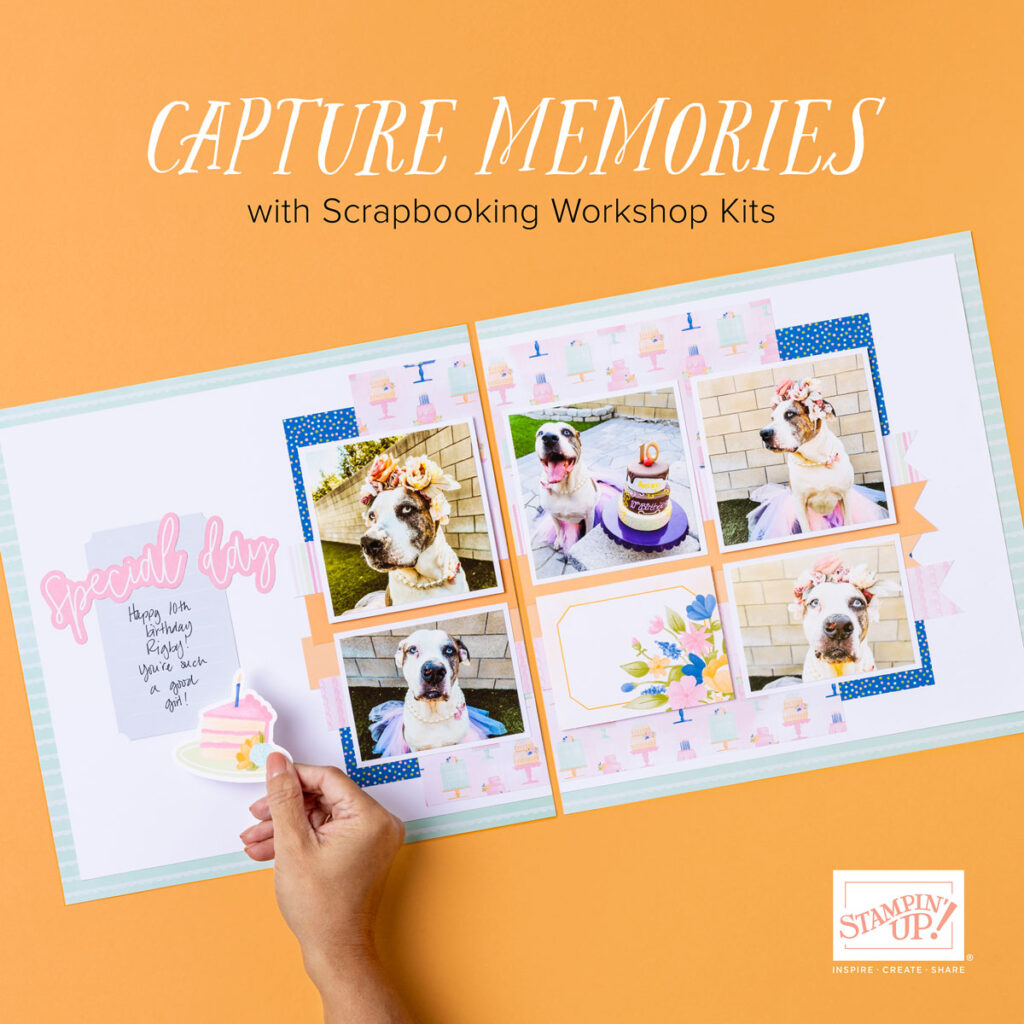
Stampin Up has updated the Last Chance list and there are some deals! If you love to scrapbook this is a great time or get some supplies as well. There are past Scrapbook Workshop Kits, two tone cardstock, stamp sets and dies, embellishments and ribbons


")
")
")
")
")