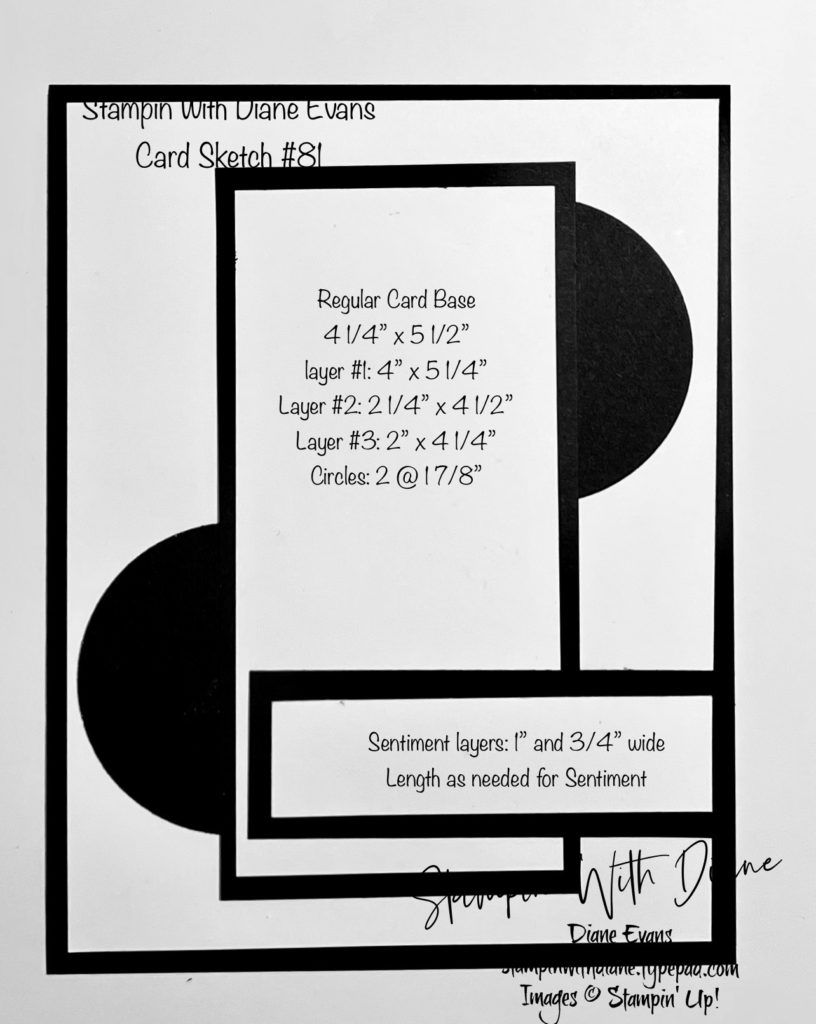
Merriest Moments Card Sketch #81
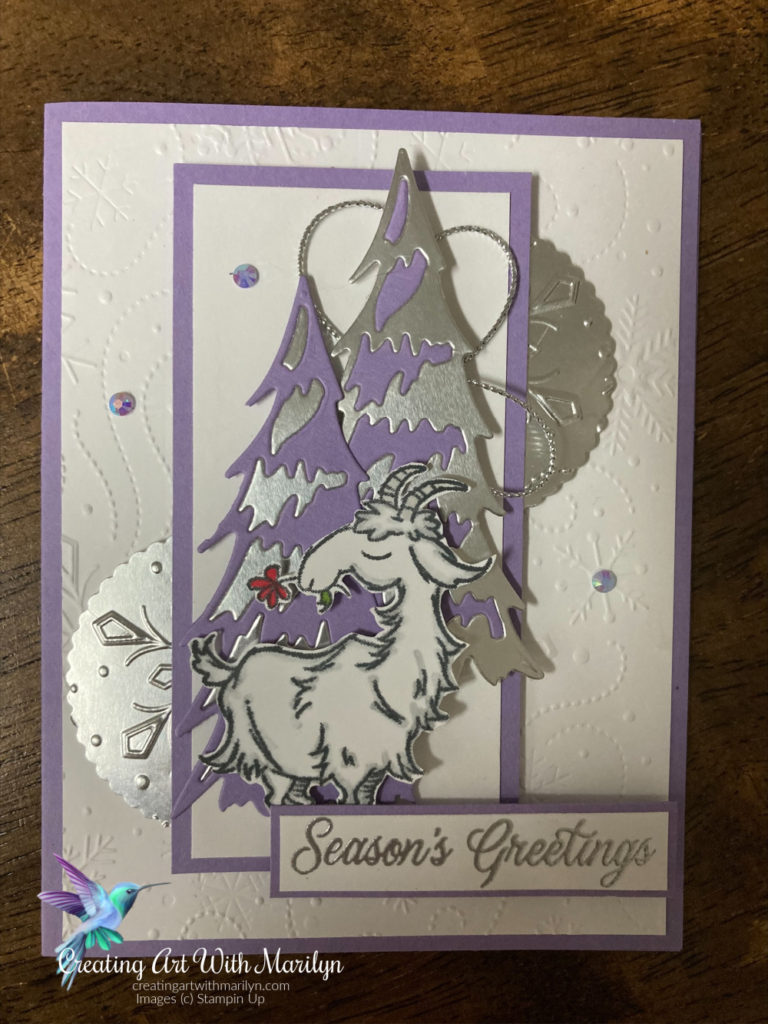
This card was created using a card sketch. I really like this sketch and how versatile it is.
Instructions to create card:
- Card base Soft Succulent
- Basic White layer embossed with Timeworn Type 3D embossing folder
- Stamp poinsettias in Real Red ink and do second generation on layer #3
- Make 2 masks of the poinsettia petals and cover the poinsettia petals and stamp fern image in Soft Succulent
- Die cut a 1 7/8 scalloped circle and cut it in half and glue it to the focal layer.
- Bow is made from the Real Red 3/8″ Sheer Ribbon
- Metallic Pearls are then placed on the card to add some bling
Festive Friday Challenge-Christmas Jumper Day #FF0098
Welcome stampers. I am so happy to be able to participate in the Festive Friday Challenge once again. This weeks challenge is Christmas Jumper Day #FF0098 . We had to create a project or card using at least 3 items from the inspiration list. I have made my card using the Merriest Moments Bundle and for my inspiration I picked red, green, gold and ribbon.
Products Used:
- Merriest Moments Bundle
- Winter 3D Embossing Folder
- Basic White Card stock
- Real Red Card Stock
- Brushed Metallic Card stock
- Old Olive Ink
- Real Red Ink
- Gold Embossing Powder
- Gilded Gems
- Gold Brushed Metallic Card stock
Instructions to create card:
- Card basic Real Red card stock cut 8 1/2 x 5 1/2 scored at 4 1/4
- Basic white layer 4 1/8 x 5 3/8 embossed with the Winter 3D embossing folder
- Real Red layer 2 1/8 x 4 3/8
- Basic White layer 2 x 4 1/4
- Stamp and die cut out poinsettia and leaves in Real Red and Old Olive
- Cut out a 1 7/8 scalloped circle in the Gold Brushed Metallic Card Stock, cut it in half and attach it to the back of the rectangle layer.
- Pop up the poinsettias and leaves with dimensionals
- Run a piece of the Elegant Gold Trim connection the poinsettias
- Add a Gilded Gem to each of the centers of the poinsettias
- For the sentiment Gold emboss a greeting on a piece of Basic White that is 2 5/8 x 1/2 and layer it to a piece of Real Red Card stock
Stampin Up – Canada Inks Up November Blog Hop – Fancy Fold
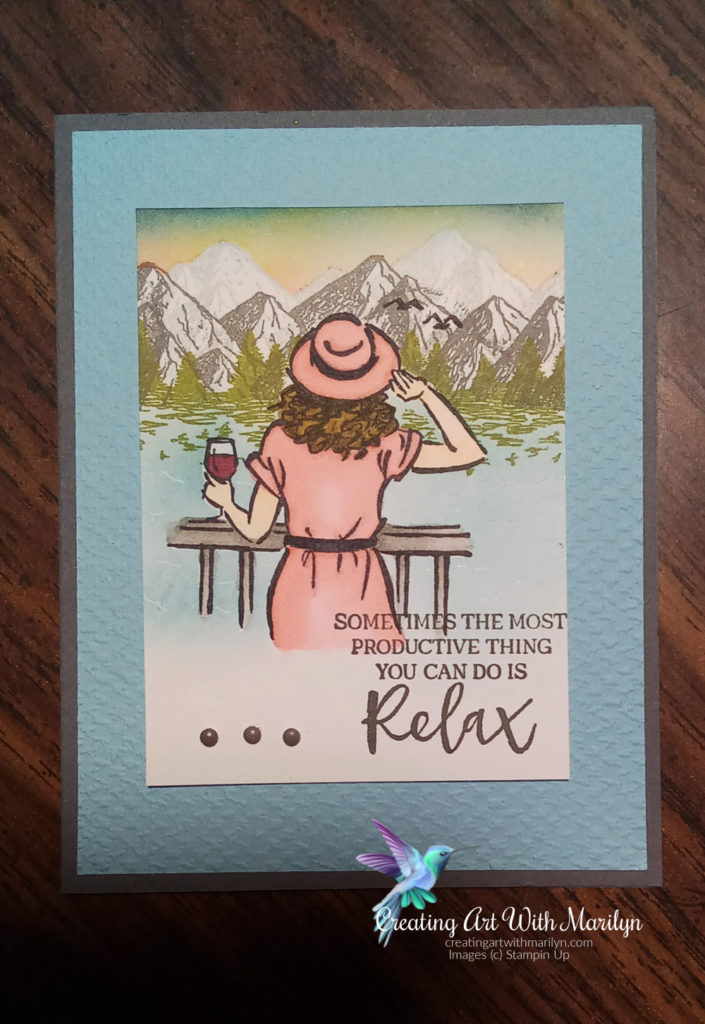
Welcome to Canada Inks Up Blog Hop for November 2021. We are a group of Canadian Demonstrators, that are sharing our ideas in hope to inspire you. This month’s theme is a Fancy Fold Card. I love making fancy fold and fun fold cards. Today I’m using the new In the Moments stamp set that will be available in the new January to June Mini Catalogue.
I love to color using my Blends and this card was perfect for that. I stamped the lady on a piece of Basic White and colored her with my Blends and then fussy cut her out. I also did a reverse image of her because the blends bleed though the card stock and I wanted to hide the back of the image. I then stamped the sentiment on the card front and die cut a circle out and then ran the layer though the Tasteful Textile embossing folder. I also cut out the circle in the Basic Gray layer matching the placement on the white layer. I attached the Basic White layer to the front of the Basic Gray with liquid glue.
To make the card base I cut 2 pieces of Basic Gray card stock cut 8 1/2 x 5 1/2 scored at 4 1/4. I glued the two pieces so that one opens to the right and the other opens to the left, gluing them in the center of the card.
For the inside flap of my card I used the Mountain Air stamp set and stamped the mountains in Smokey Slate and then moved the stamp over a little and stamped it again giving the look of background mountains as well. I stamped the trees on the base of the mountains in Old Olive. I make a mask of the mountains, then brushed a sun set using Pumpkin Pie, Daffodil Delight and finished the sky in Misty Moonlight. I was quite please with the way the sky turned out. I lightly brushed the shore line in Misty Moonlight to give it a darker shore line and then brushed the water in Balmy Blue. I stamped the sail boat from the Sailing Home stamp set and colored it. I then stamped the trees in Mossy Meadow from the Mountain Air Stamp set. The island that the trees are on is from the Evergreen Elegance stamp set and stamped in Early Espresso. I used a white gel pen for the ripples in the water.
For the signing area of the card I cut a piece of Basic White at 4 x 5 1/4 and stamped the trees from the Mountain Air stamp set in Mossy Meadow.
To finished the front of the card with some bling, I placed 3 of the silver metallic pearls.
I hope you enjoyed my card and not hop over and see the great creations from the other Demonstrators.
Festive Friday-National Cookie Day #FF0097
Festive Friday Challenge- National Cookie Day- #FF0097
Cutting Instructions:
- Card Base 8 1/2 x 5 1/2 scored 4 1/4
- Layer 5 3/8 x 4 1/8
- Ivory 3 1/2 x 3 for cookies in shaker
- Scrapes of ivory card stock for cookies and cookie die cut
- Early Espresso scarp for die cut
Stampin Up Starter Kit
Now is a great time to join the Stampin’ Up community and join my team. Your Starter Kit will consist of $165 worth of products of your choice for only $100. That’s right $100. and today is the last day to be able to take advantage of the Seasonal Sale. Stampin’ Up is offering card stock, ink pads and the dies from the Annual Catalogue at 10, 15 and 20% off. You will also get a free Paper Pumpkin Kit. If you join the Stamping Community this month your will not be charged for shipping and taxes.
Kylie’s Demonstrators Training Blog Hop for November
Thank you for joining us for our Stampin’ Up!® Demonstrator Training Program Monthly Blog Hop! We are so happy that you could join us today for this blog hop for ideas and creative inspiration. We are a group of Stampin’ Up!® Demonstrators from around the world that are taking part in training that is helping us to build a successful Stampin’ Up!® business and reach some goals we have set. We really appreciate your support.
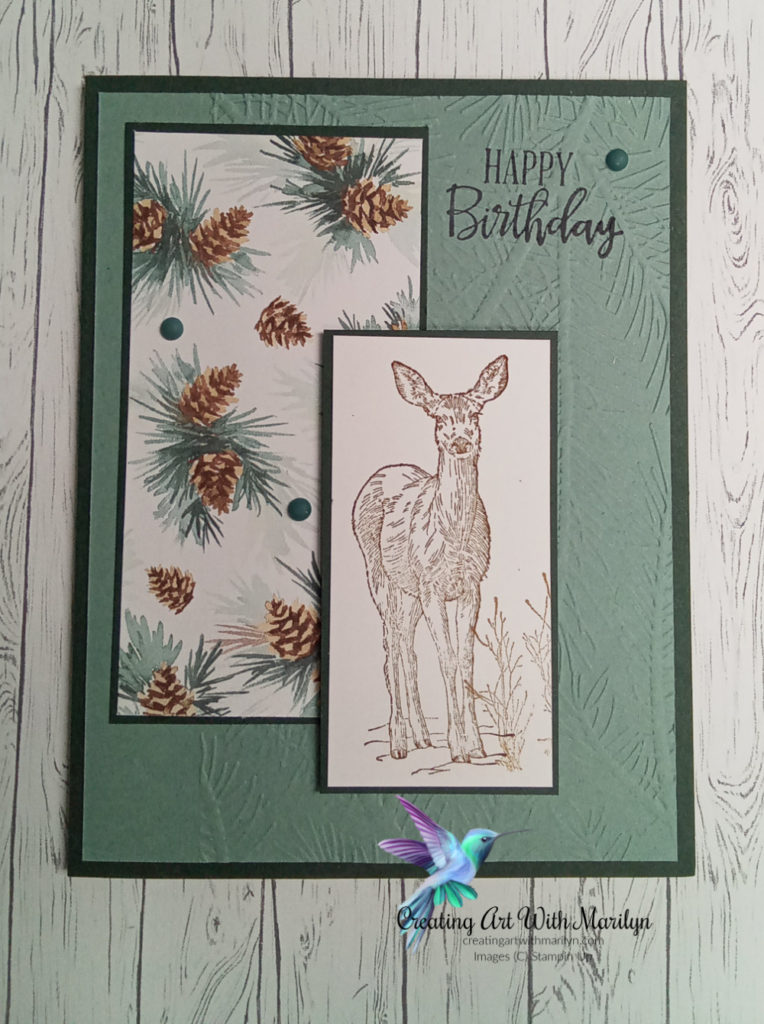
Stampin Up Peaceful Cabin and Mountain Air Card
Eden’s Garden
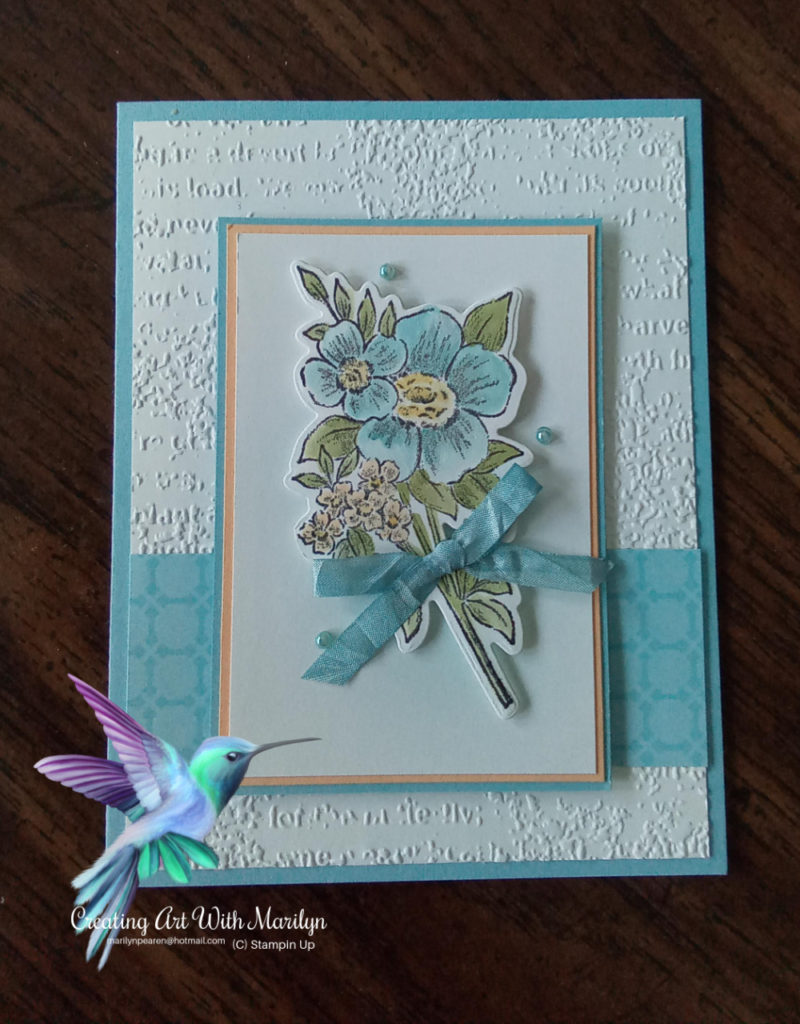
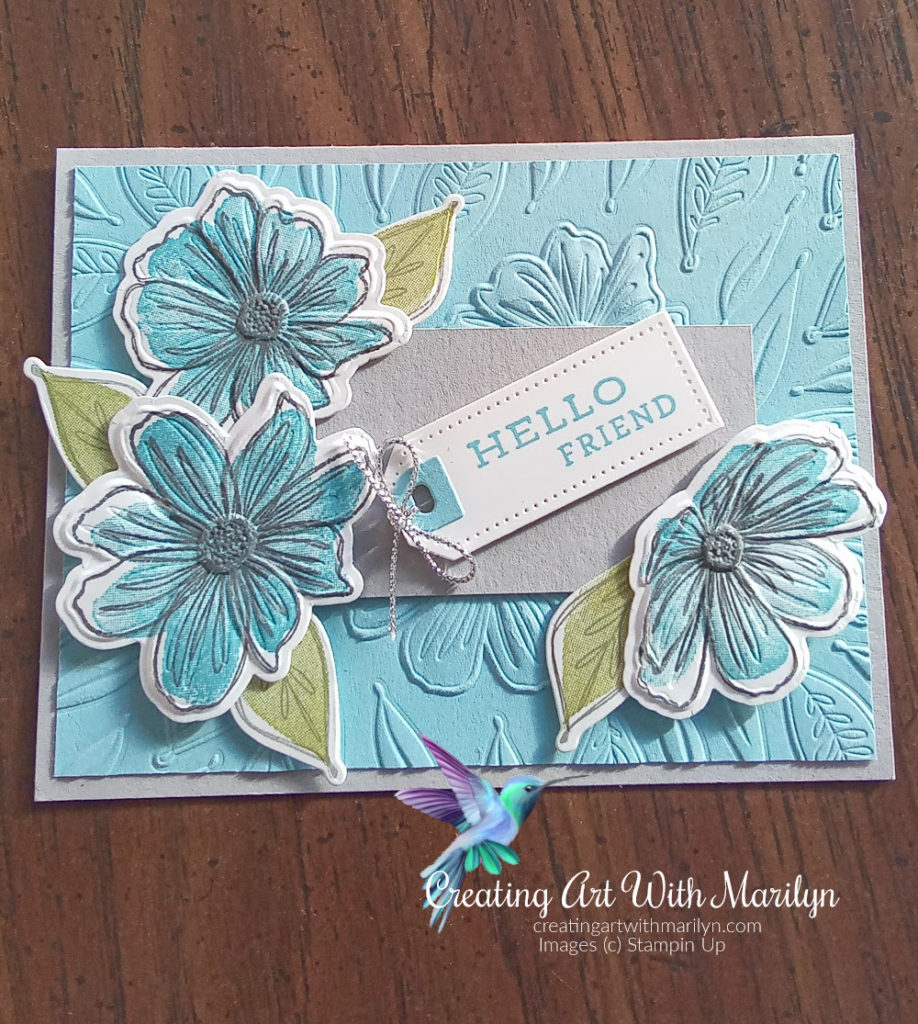
Have you played with the New Eden’s Garden Collection yet? I can’t seem to get enough of this Collection. It is one of those Collections that I don’t think you could make a bad card. I love how the Forever Fern stamp set and dies go so well with the Eden’s Garden products.
Stampin Up Eden’s Garden Collection is now available
Let me know if you have any questions. Orders yours today before the Pretty Designer Paper, the Cotton Paper and the beautiful gems run out.
Start With Savings- Starter Kit Promotion – November 4-30!
The Start with Savings Starter Kit promotion will provide you with an excellent opportunity to purchase your Starter Kit at a great deal! Instead of the standard $135 Starter Kit—which is already a steal of a deal—you can pick up a completely custom Starter Kit for only $100!!! What an absolutely unbeatable bargain for a box with a value of $165!
There’s no better time than November for you to join as a demonstrator! From November 4-30, you’ll be able to purchase your Starter Kit with big savings!
If you have any questions about joining the Stampin Up Community, send me an email at marilynpearen@hotmail.com and I would be happy to chat with you about this Promotion.